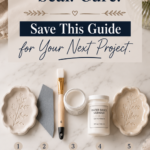
If you have ever spent an afternoon making the perfect air dry clay dish only to watch the paint rub off or the surface soften the first time it got damp, this post is for you. Sealing air dry clay is the single most skipped step in the entire craft, and it is the difference between a project that lasts a weekend and one that lasts for years. Today I am walking you through every sealing method I use, which one is right for your project, and the one rule you absolutely cannot break before you open a single jar of sealer.
This post contains affiliate links, which means I may earn a small commission if you make a purchase through my links, at no extra cost to you. As an Amazon Associate I earn from qualifying purchases. I only recommend products I genuinely use and love in my own craft room.
Why You Need to Seal Air Dry Clay
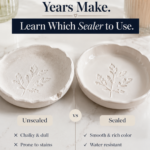
Air dry clay is porous. Unlike kiln-fired ceramics, it never vitrifies, which means moisture, oils from your hands, dust, and humidity can all work their way into the surface long after your project is “finished.” An unsealed piece will chip more easily, absorb stains, and slowly break down in humid rooms like kitchens and bathrooms. Sealing locks the surface, protects your paint, deepens your colors, and gives your piece that professional, finished look that makes handmade clay projects look expensive.
The One Rule: Let Your Clay Dry Completely First
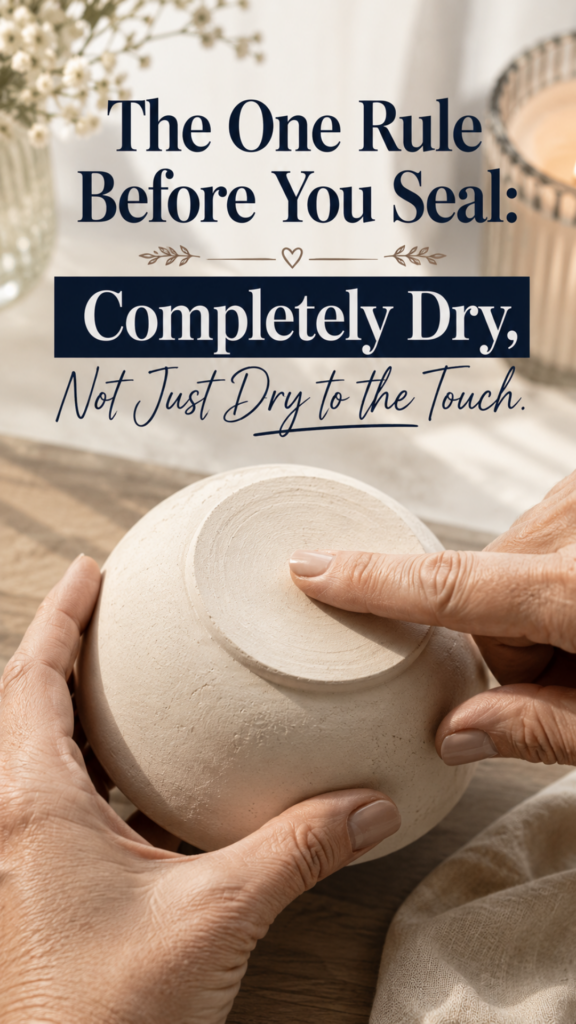
Before we talk about sealers, this is the part I need you to hear. Your clay must be completely, thoroughly, all-the-way dry before you seal it. Not dry to the touch. Completely dry.
Air dry clay hardens from the outside in, so a piece can feel firm on the surface while still holding moisture at its core. If you seal a piece that is still drying, you trap that moisture inside. Trapped moisture leads to cracking, mold growth under the sealer, cloudy or peeling finishes, and pieces that stay permanently soft in the center.
Here is how to know your piece is truly ready:
Wait longer than you think. Thin pieces need at least 24 to 48 hours. Thicker pieces like bowls, sculptures, and anything over half an inch thick can take 72 hours or more.
Check the color. Wet air dry clay is darker. Your piece should be a uniform, lighter color all over with no darker patches, especially on the underside.
Do the touch test. Press the thickest part gently. It should feel room temperature and hard. Cool-feeling clay is still releasing moisture.
Flip it. The bottom dries last. Turn your piece over partway through drying so air reaches every side, and confirm the base looks and feels as dry as the top.
When in doubt, give it one more day. No sealer can fix a piece that was sealed too soon.
Skip the Craft-Aisle Guesswork
The exact air-dry clay, tools, sealers, and finishing supplies I actually keep in my studio — sent straight to your inbox.
You're in!
Your Boutique Clay Shopping & Supply Checklist is on its way — check your inbox in the next few minutes.
If you don't see it, peek in your Promotions tab or spam folder and drag it over to your main inbox so my next email lands where you'll actually see it.
The Best Ways to Seal Air Dry Clay
1. Mod Podge
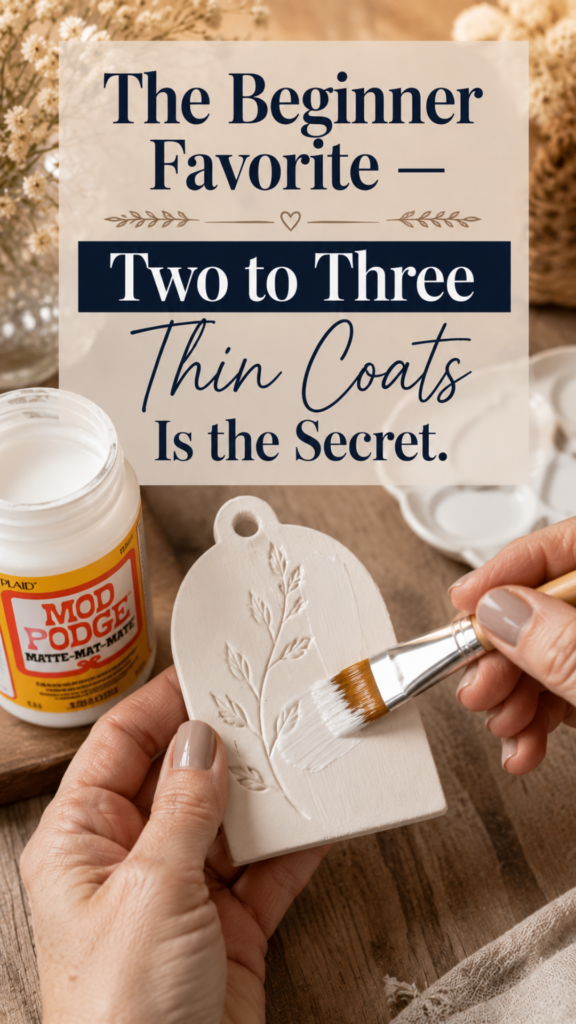
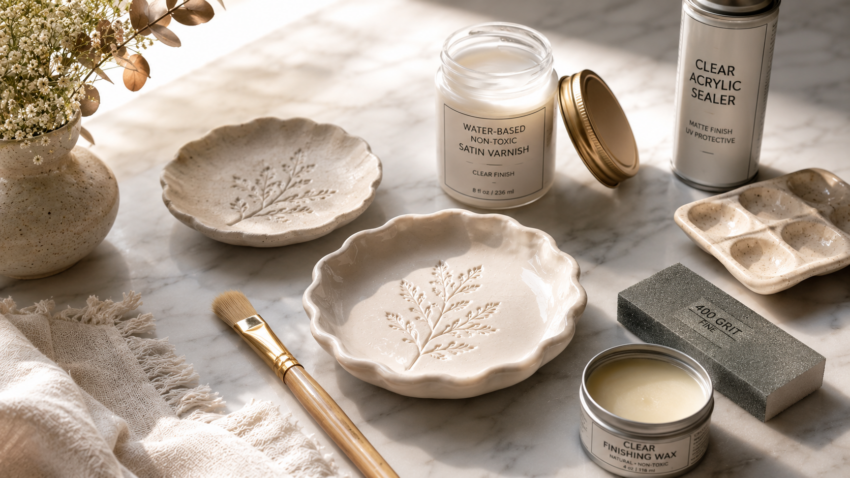
The beginner favorite for good reason. Mod Podge is affordable, easy to find, and brushes on smoothly over painted or unpainted clay. Choose matte for a soft natural finish or gloss for shine. Apply two to three thin coats, letting each coat dry fully before the next. The catch: Mod Podge is water resistant, not waterproof. It is perfect for decorative pieces, ornaments, and trinket dishes, but not for anything that will regularly contact water.
2. Water-Based Acrylic Varnish
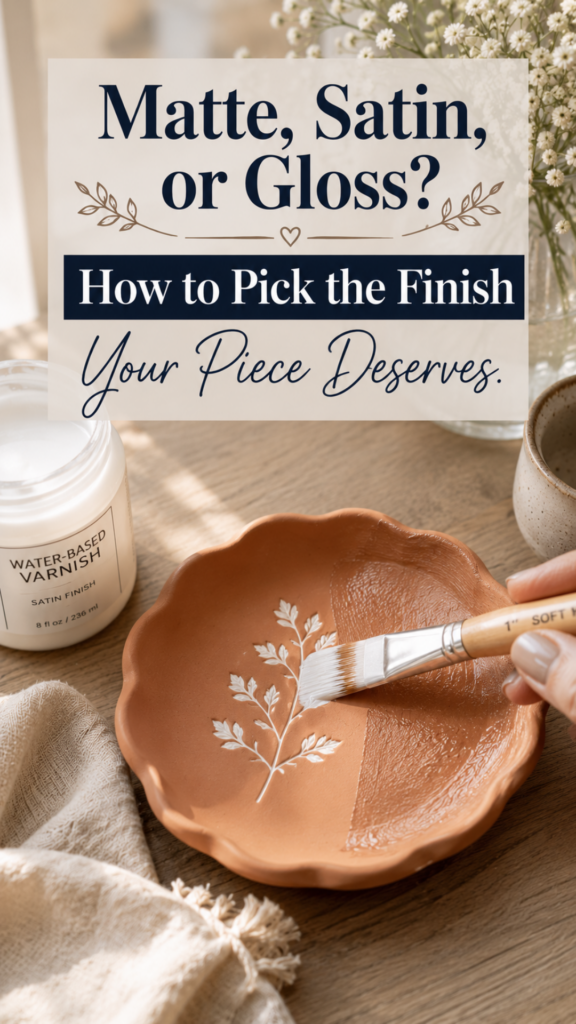
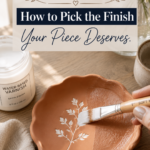
My go-to for most projects. A water-based polyurethane or acrylic varnish gives a harder, more durable finish than Mod Podge and comes in matte, satin, and gloss. Matte preserves that soft handmade look, satin gives a gentle sheen, and gloss makes colors pop like glazed ceramic. Use a soft flat brush, work in thin coats, and sand very lightly with fine grit between coats for the smoothest finish.
3. Spray Sealer
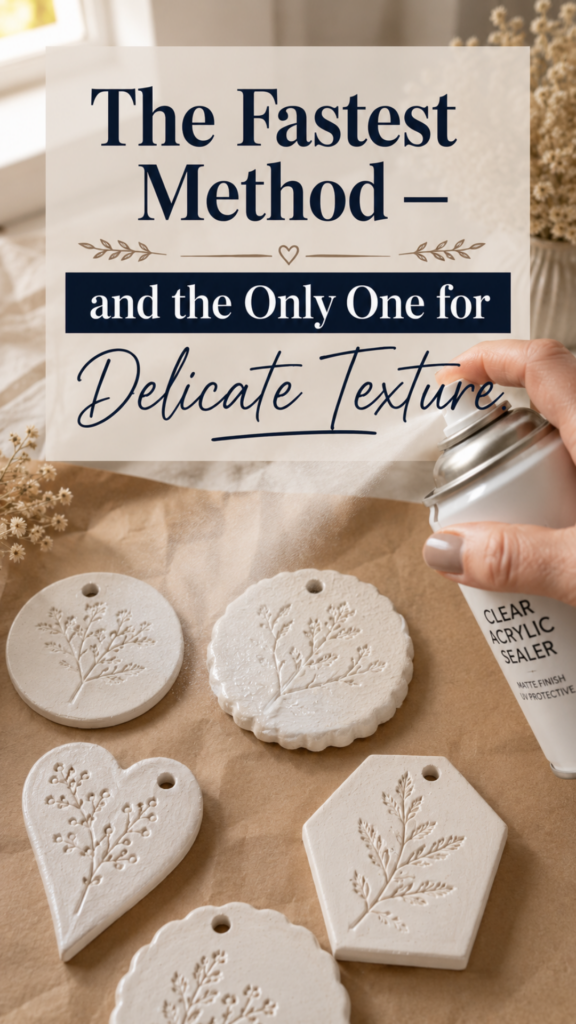
Acrylic spray sealer is the fastest option and ideal for pieces with texture, tight corners, or delicate details a brush might disturb — think pressed flower plates, textured ornaments, and sculpted pieces. Spray in light, even passes from about 10 to 12 inches away, in a well-ventilated space. Two to three light coats always beat one heavy coat, which can drip and pool in crevices.
4. A Mini Resin Kit
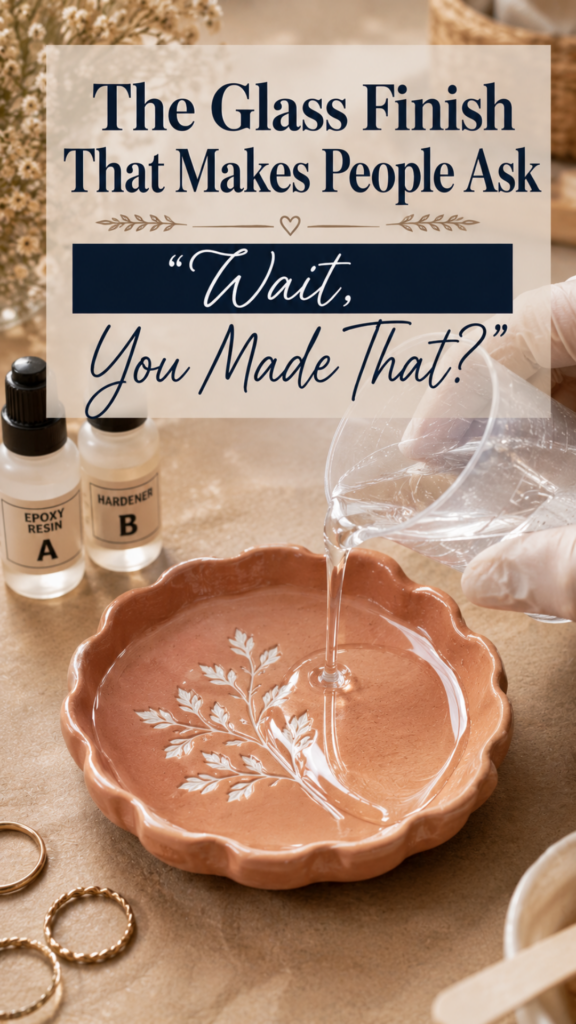
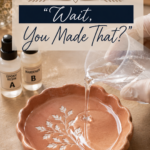
This is the upgrade option, and honestly, it is the one that makes people ask “wait, you made that?” A mini epoxy resin kit gives air dry clay a thick, glass-like, fully waterproof coating that no varnish can match. It is the best choice for jewelry dishes, trinket trays, coasters, and any statement piece you want to look boutique-quality.
Mix equal parts resin and hardener exactly as your kit directs, pour or brush a thin layer over your fully dry (and fully painted) piece, and pop any bubbles with a quick pass of a lighter or heat tool held a few inches away. Work on a protected surface, wear gloves, and let it cure undisturbed for 24 to 72 hours depending on your kit. A mini kit is perfect here because most clay projects only need a small amount, so you are not committing to a big bottle set on your first try.
One note: resin is the only method on this list that makes air dry clay genuinely waterproof on the sealed surfaces. Everything else is water resistant at best.
5. Wax Finish
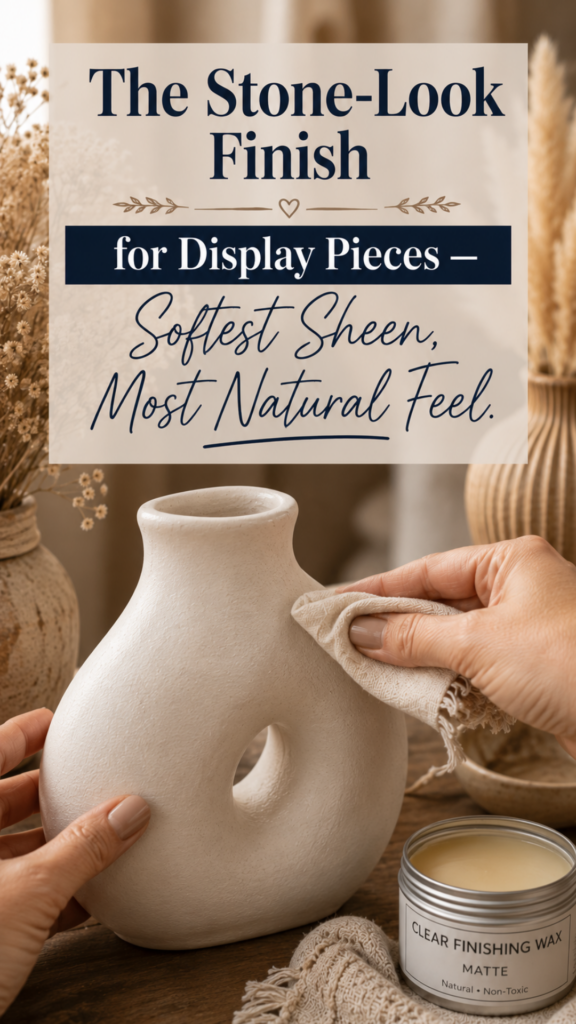
A soft furniture-style finishing wax buffed over dry clay gives the most natural, stone-like matte finish of all. It is lovely for sculptural and boho pieces, but it offers the least protection, so save it for display-only items.
Which Sealer Should You Use?
Decorative pieces and ornaments: Mod Podge or matte varnish. Trinket dishes and jewelry trays: satin or gloss varnish, or resin if you want the luxe finish. Coasters or anything near moisture: a mini resin kit, no contest. Highly textured or delicate pieces: spray sealer. Natural, earthy display pieces: wax.
And a hard rule regardless of sealer: air dry clay is never food safe and should never hold liquids directly, even sealed with resin. Keep it to dry goods, jewelry, and decor.
How to Seal Air Dry Clay Step by Step
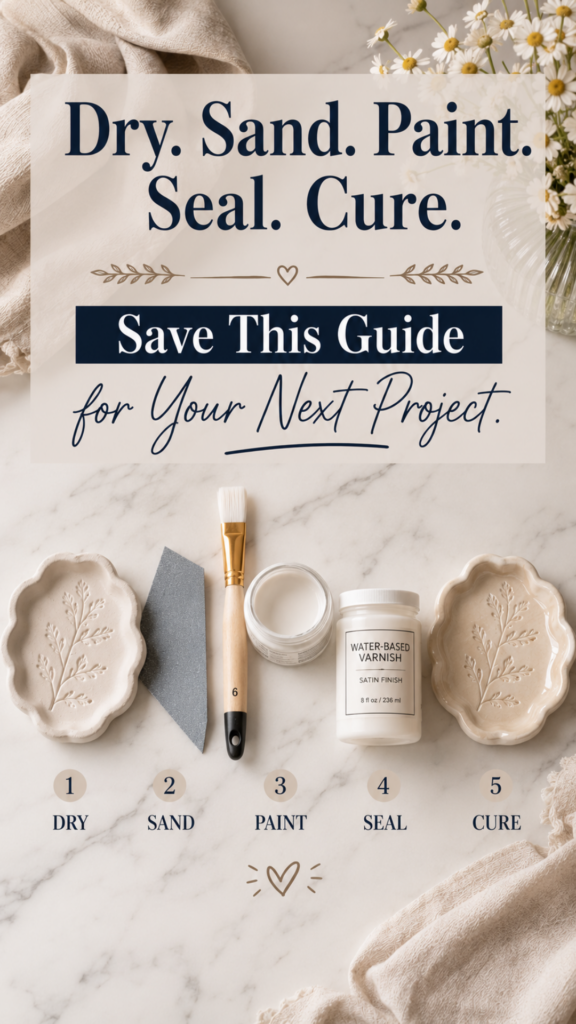
- Confirm your piece is completely dry using the checks above — color, touch, and base.
- Sand lightly with fine grit sandpaper and wipe away all dust with a dry cloth.
- Finish all painting first and let paint dry fully, since sealer locks in whatever is underneath.
- Apply your first thin coat and let it dry per the product directions.
- Add one to two more thin coats, drying fully between each.
- Cure. Give the finished piece 24 hours (or the full resin cure time) before handling or gifting.
Frequently Asked Questions
Can you make air dry clay waterproof?
You can make it highly water resistant with varnish, and genuinely waterproof on coated surfaces with epoxy resin. But no sealer makes air dry clay safe for holding water long term or safe for food contact.
How long should air dry clay dry before sealing?
A minimum of 24 to 48 hours for thin pieces and 72 hours or more for thick ones. The piece must be uniformly light in color and feel room temperature and hard all the way through, including the base.
Can you use Mod Podge to seal air dry clay?
Yes, and it is a great beginner option for decorative pieces. Just remember it is water resistant, not waterproof.
What happens if you seal air dry clay too early?
Trapped moisture can cause cracking, mold under the finish, cloudy patches, and a piece that never fully hardens. Always wait until it is completely dry.
Skip the Craft-Aisle Guesswork
The exact air-dry clay, tools, sealers, and finishing supplies I actually keep in my studio — sent straight to your inbox.
You're in!
Your Boutique Clay Shopping & Supply Checklist is on its way — check your inbox in the next few minutes.
If you don't see it, peek in your Promotions tab or spam folder and drag it over to your main inbox so my next email lands where you'll actually see it.
Ready to Turn Your Creative Skills Into Income?
If you love making things and want to build a business around your creative passion, The Evergreen Profit Machine walks you through how to set up a content and product strategy that works for you around the clock. It is practical, beginner-friendly, and built for multi-passionate creators just like you.
Grab it here for just $27: aligneddesignmarketing.com/tepm
Which sealing method are you trying first? Drop it in the comments below.
Jennifer Dawn