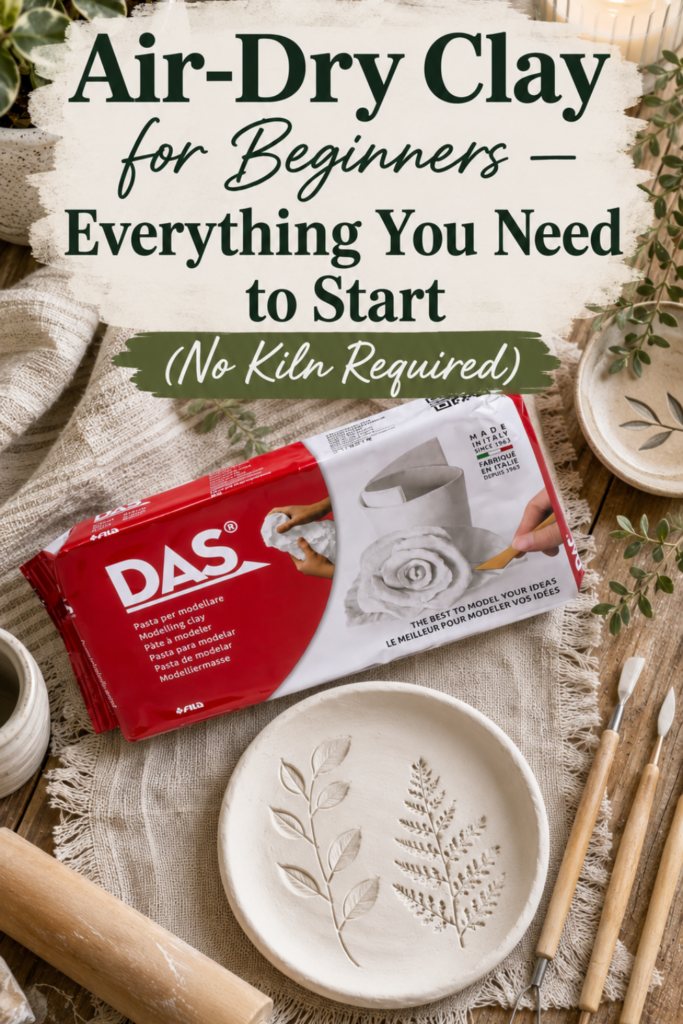
If you have been eyeing all those gorgeous handmade dishes, ornaments, and little mushrooms on Pinterest and thinking “I could never” — I am here to tell you that you absolutely can. Air dry clay for beginners is genuinely one of the most forgiving, low-cost, and satisfying crafts you can pick up, and you do not need a kiln, a pottery wheel, or a single fancy tool to start. If you have a table, a rolling pin, and an afternoon, you have everything you need to make your first piece today.
This post contains affiliate links, which means I may earn a small commission if you make a purchase through them, at no extra cost to you. As an Amazon Associate I earn from qualifying purchases. I only recommend products I genuinely use and love in my own craft room.
I have been working with clay for several years, and air dry clay is still the medium I recommend to every single beginner who asks me where to start. It is affordable, endlessly versatile, and the mistakes are easy to fix. This guide walks you through exactly what air dry clay is, how to use air dry clay from your very first piece, the supplies actually worth buying, beginner-friendly project ideas, and the handful of tips that will save you from the most common frustrations.
Skip the Craft-Aisle Guesswork
The exact air-dry clay, tools, sealers, and finishing supplies I actually keep in my studio — sent straight to your inbox.
You're in!
Your Boutique Clay Shopping & Supply Checklist is on its way — check your inbox in the next few minutes.
If you don't see it, peek in your Promotions tab or spam folder and drag it over to your main inbox so my next email lands where you'll actually see it.
What Is Air Dry Clay?
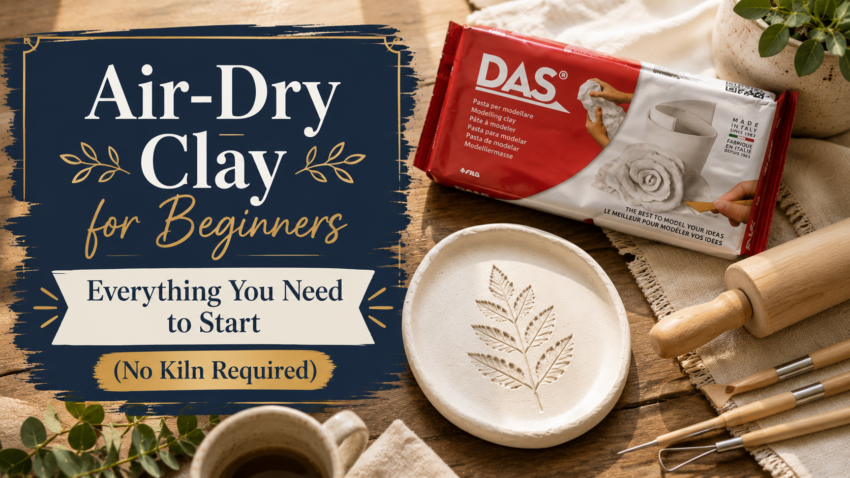
Air dry clay is exactly what it sounds like: a moldable clay that hardens on its own as it dries in the open air, no baking or firing required. Unlike polymer clay, which needs an oven to cure, or traditional pottery clay, which needs a kiln, air dry clay simply firms up over 24 to 72 hours on your countertop.
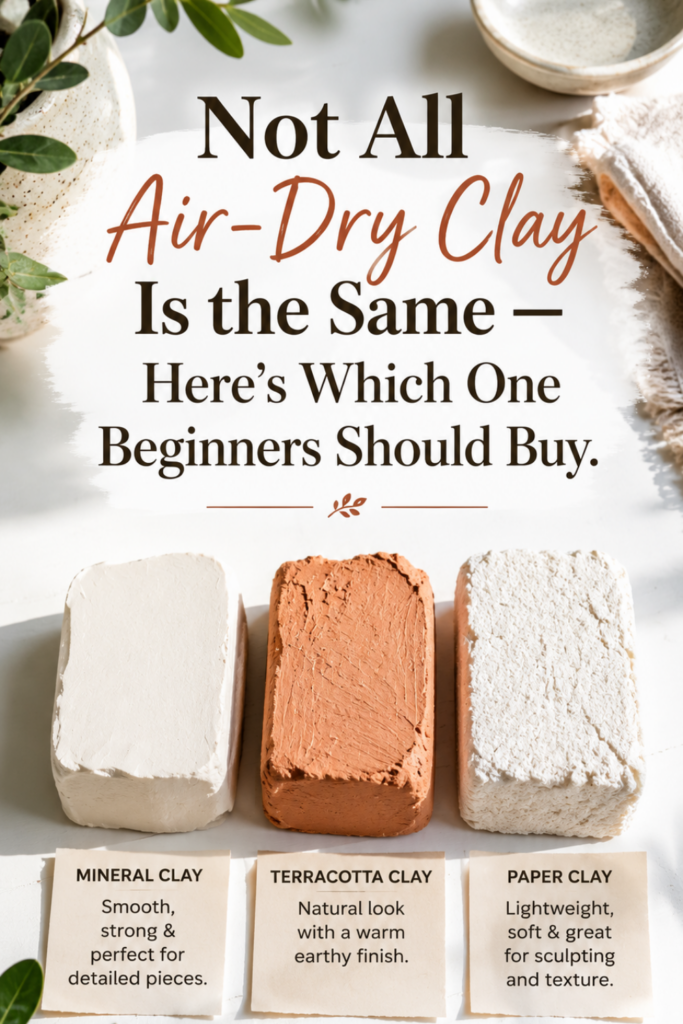
It comes in a few varieties. Most beginners start with a standard white or terracotta mineral-based clay, which feels a bit like classic pottery clay and is wonderful for dishes, sculptures, and home decor. There is also a lighter, foam-like paper clay that dries harder and lighter, ideal for ornaments and jewelry. Both are beginner-friendly, and you honestly cannot go wrong starting with either. You can even make your own air dry clay at home with a simple cold porcelain recipe once you want to try mixing your own.
The trade-off for all that convenience is that air dry clay is not as strong or waterproof as fired ceramics. But for decorative pieces, trinket dishes, ornaments, and gifts, it is more than durable enough, especially once you seal it properly, which we will get to.
Why Air Dry Clay Is Perfect for Beginners
A few reasons this is the ideal starting point for clay crafts for beginners:
It is inexpensive. A single package of clay costs a few dollars and makes several small projects, so you are not investing much to find out whether you love it.
There is no special equipment. No kiln, no oven, no wheel. Your hands and a few household items are genuinely enough to begin.
Mistakes are fixable. Clay too dry? A little water revives it. Cracked? Smooth it with a damp finger. Hate how it turned out? Ball it up and start over while it is still wet.
It is deeply relaxing. There is something grounding about working clay with your hands. It is the kind of slow, screen-free hobby that makes an evening feel restorative.
Best Air Dry Clay and Supplies for Beginners
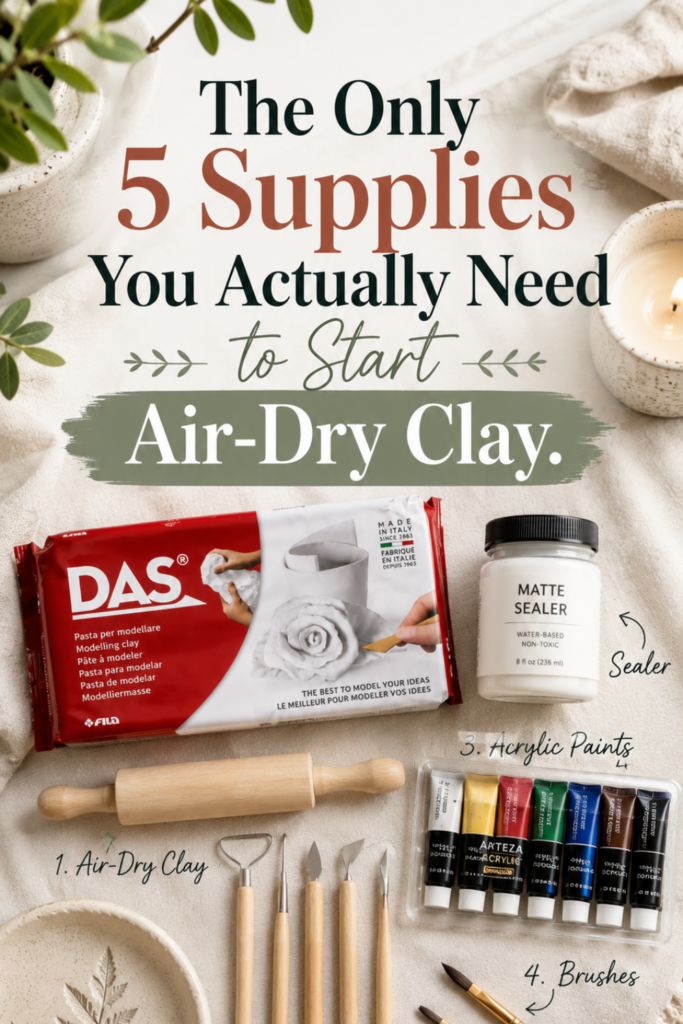
Here is the honest truth: you need far less than the internet will try to sell you. This is the beginner starter kit I actually recommend, and I have pulled everything into one place in my boutique clay shopping checklist so you can see it at a glance. ( And it includes some additional supplies/tools as well.)
The essentials to start:
A package of air dry clay in white or terracotta. For your very first projects, a budget-friendly clay is completely fine and beautiful for ornaments and simple dishes. As you advance to stamped or detailed work, a premium clay holds crisp detail better.
A small rolling pin. A marble or wood one gives you even slabs, though a smooth drinking glass works in a pinch for your first try.
A basic set of clay sculpting tools. These help you shape, smooth, and add detail. A single inexpensive set covers nearly everything a beginner needs.
Acrylic paint and brushes. For adding color once your piece is dry. You likely already have some.
A sealer. This is the one step beginners skip and later regret. More on that below.
Nice-to-have as you grow: cookie cutters for clean shapes, letter and texture stamps, and real leaves for pressing botanical imprints. None of these are required for your first piece, so do not let shopping become the thing that stops you from starting.
How to Use Air Dry Clay: Your First Piece Step by Step
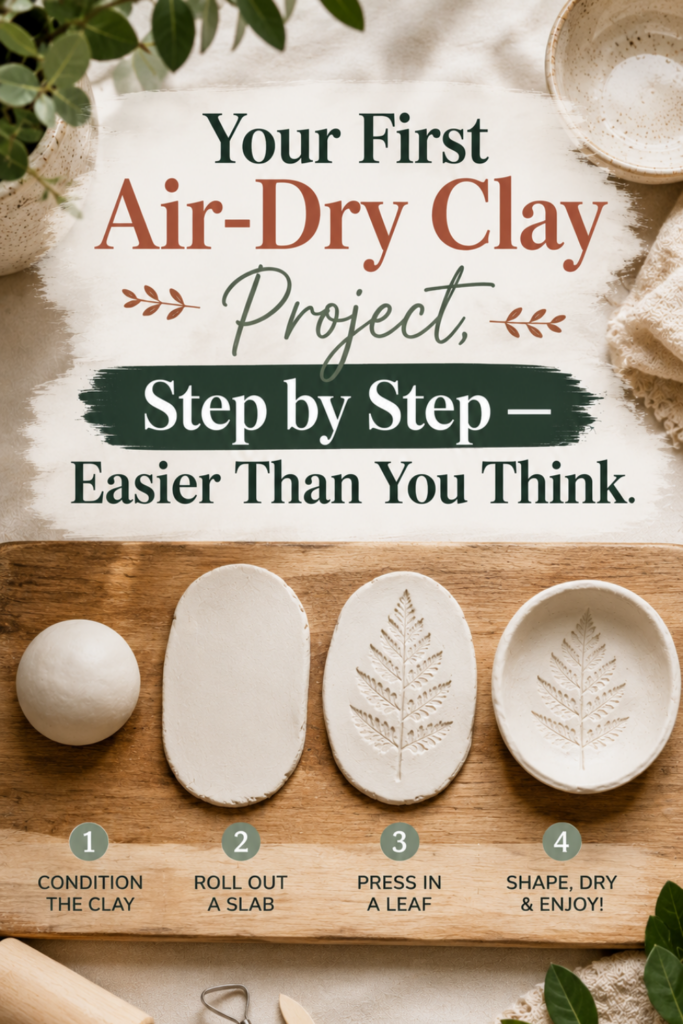
Ready to actually make something? Here is how to use air dry clay from start to finish. A simple leaf-pressed trinket dish is the perfect first project, so we will use that as our example.
Condition the clay. Knead it in your hands for a minute or two until it is smooth and crack-free. This warms it up and makes it easier to work.
Roll it out. On a surface lightly dusted with cornstarch so it will not stick, roll your clay to an even quarter-inch thickness.
Shape it. Press a real leaf firmly into the clay for texture, peel it away, then trim around the shape with a knife or cut a circle with a cookie cutter. Drape it gently over a small bowl so the edges curve up as it dries.
Let it dry completely. This is the part beginners rush. Thin pieces need 24 to 48 hours, thicker ones 72 or more. Flip the piece partway through so the bottom dries too.
Sand and paint. Once fully dry, sand any rough edges smooth, wipe away the dust, and paint however you like.
Seal it. Finish with a sealer to protect your work and lock in the color.
That is the entire process, and it is the same basic rhythm for almost every air dry clay project you will ever make: condition, shape, dry, paint, seal.
Easy Air Dry Clay Ideas and Projects for Beginners
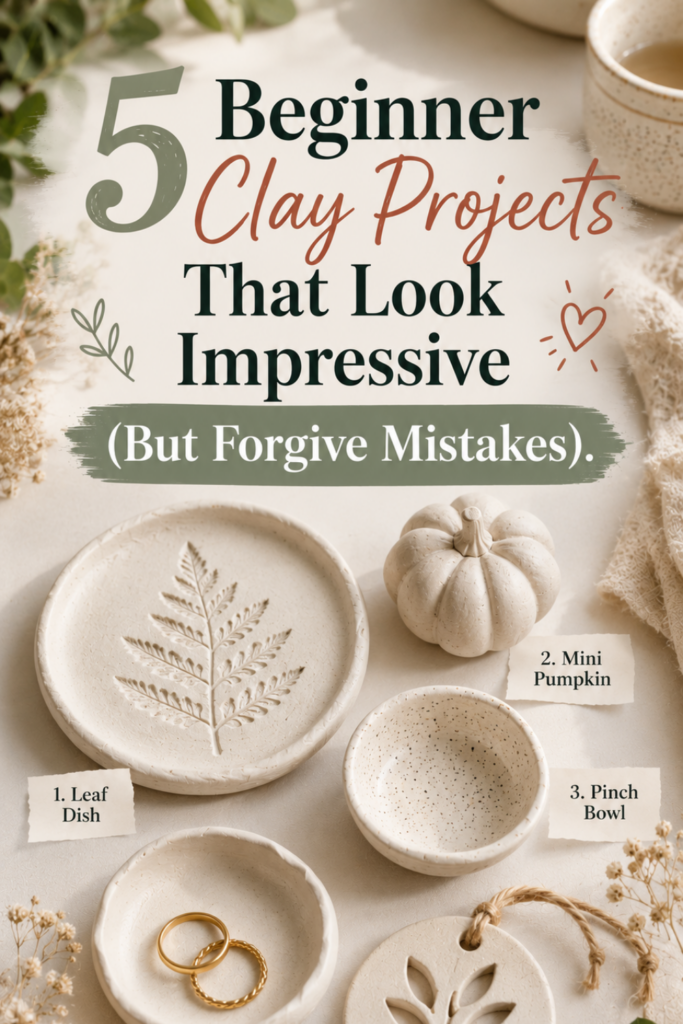
The best way to build confidence is to start with genuinely easy air dry clay ideas for beginners that look impressive but forgive imperfection. A few beginner-friendly air dry clay projects to try first:
Leaf-pressed trinket dishes, using real leaves for instant texture and a professional look.
Mini pumpkins and toadstools, simple rounded shapes that are nearly impossible to get wrong and endlessly charming.
Pinch bowls, made by pressing your thumb into a ball of clay and shaping outward, the oldest pottery technique in the world and still the most beginner-friendly.
Ornaments and gift tags, rolled flat and cut with cookie cutters, perfect for practicing before the holidays.
Ring and jewelry dishes, small, quick, and genuinely useful, which makes them satisfying first wins.
Start with two or three of these rather than an ambitious sculpture. Small, finishable projects build the confidence that carries you to bigger ones. Once you have a few under your belt, seasonal makes are a natural next step — my 25 fall air dry clay projects and these air dry clay Christmas ornaments are full of beginner-friendly ideas that make beautiful handmade gifts.
Beginner Air Dry Clay Tips That Save You Frustration
These are the air dry clay tips I wish someone had handed me on day one:
Keep clay you are not using covered. Air dry clay begins drying the moment it is exposed, so keep a damp paper towel over any clay you are not actively working with.
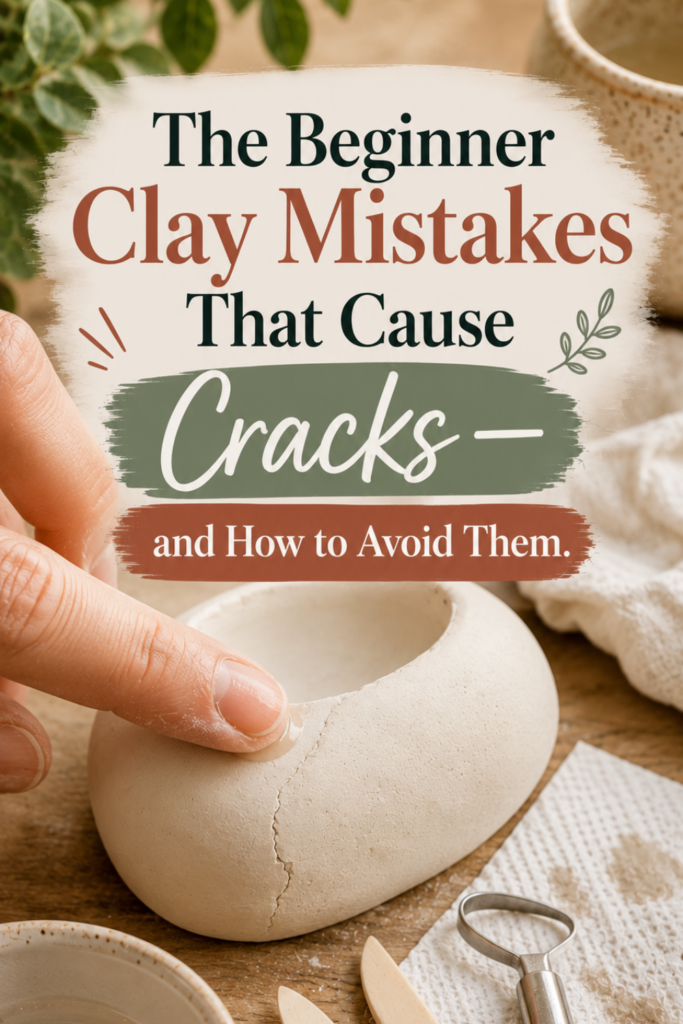
Smooth as you go with a little water. A damp fingertip erases cracks, seams, and fingerprints beautifully, but use water sparingly, since too much makes clay mushy.
Do not roll too thin. Very thin pieces crack as they dry. A quarter inch is a safe, sturdy minimum for most beginner projects.
Dry slowly and evenly. Resist the urge to speed-dry near a heater or in direct sun, which causes cracking. Patience genuinely is the whole secret.
Expect a little shrinkage. Air dry clay shrinks slightly as it dries, which is normal and nothing to worry about for decorative pieces.
How to Seal Air Dry Clay So It Lasts
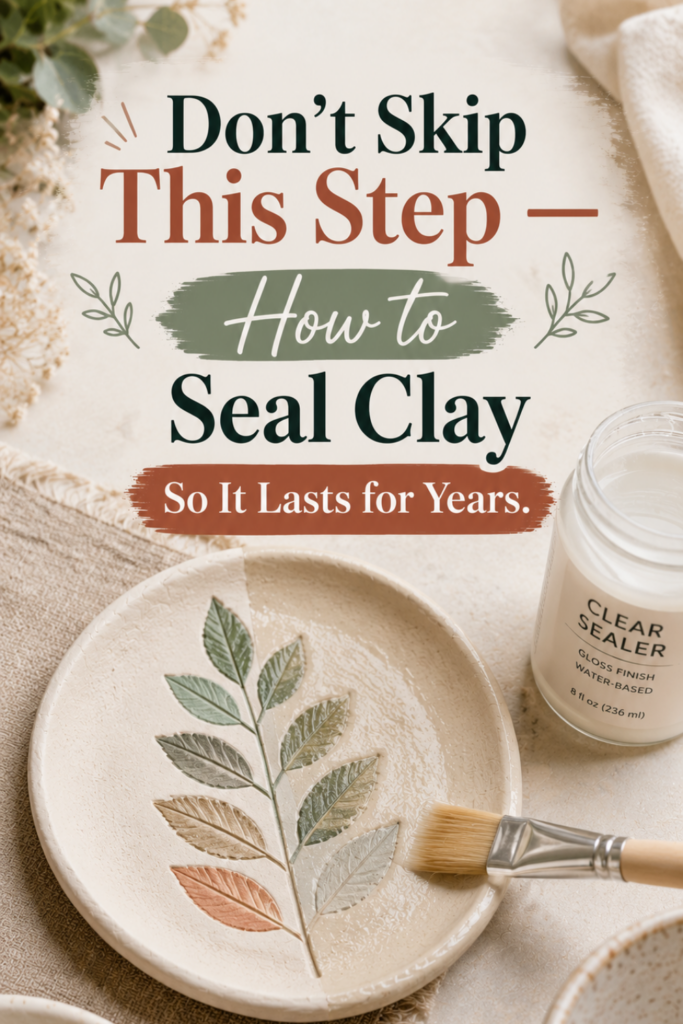
Sealing is the single most important finishing step, and the one beginners most often skip. Because air dry clay is porous, an unsealed piece can chip, absorb stains, and break down over time, especially in humid rooms. Sealing locks the surface, protects your paint, and gives your piece that polished, professional look.
Your options range from a simple brush-on Mod Podge or water-based varnish for decorative pieces, to spray sealer for delicate textured work, to epoxy resin for a glass-like, waterproof finish on jewelry dishes and trays. Each has its place depending on the project. I have broken down all five methods, which to use when, and the one drying rule you cannot break in my complete guide on how to seal air dry clay, so give that a read before you finish your first piece.
One important note regardless of how you seal: air dry clay is never food safe and should not hold liquids directly, even sealed. Keep it to dry goods, jewelry, and decor.
Frequently Asked Questions About Air Dry Clay for Beginners
Do you need to bake air dry clay?
No. That is the whole appeal. Air dry clay hardens on its own in the open air over 24 to 72 hours, with no oven or kiln required.
How long does air dry clay take to dry?
Thin pieces dry in 24 to 48 hours, and thicker pieces can take 72 hours or more. The piece should be uniformly light in color and feel hard and room temperature all the way through, including the base.
Is air dry clay waterproof?
Not on its own. You can make it highly water resistant with varnish, and waterproof on coated surfaces with epoxy resin, but it is never safe for holding water long term or for food contact.
What is the best air dry clay for beginners?
A standard white or terracotta mineral-based clay is perfect for most beginners. A budget clay is completely fine for your first ornaments and simple dishes, while a premium clay holds finer detail as you advance.
Can you paint air dry clay?
Yes. Once your piece is fully dry, acrylic paint works beautifully. Always let paint dry fully before sealing, since the sealer locks in whatever is underneath.
Ready to Make Your First Piece?
Air dry clay for beginners really does come down to this: grab a package of clay, pick one small project, and let yourself make something imperfect. The wobbly first pieces are always the ones you end up loving most, and every maker you admire started exactly where you are right now.
Grab my free boutique clay shopping checklist so you have everything you need in one place, then come back and tell me in the comments what you are making first.
Jennifer Dawn
Skip the Craft-Aisle Guesswork
The exact air-dry clay, tools, sealers, and finishing supplies I actually keep in my studio — sent straight to your inbox.
You're in!
Your Boutique Clay Shopping & Supply Checklist is on its way — check your inbox in the next few minutes.
If you don't see it, peek in your Promotions tab or spam folder and drag it over to your main inbox so my next email lands where you'll actually see it.