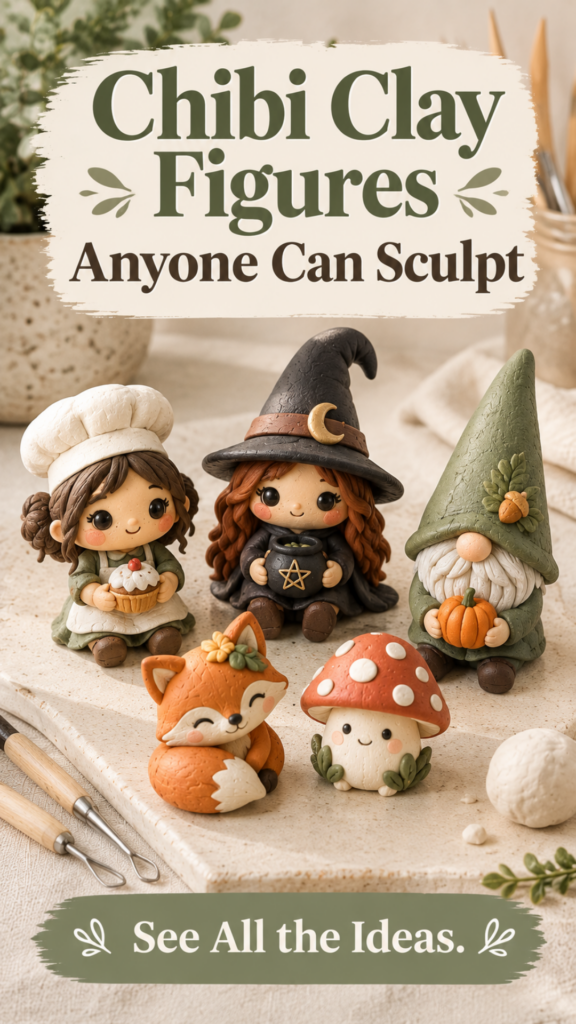
If your Pinterest feed has suddenly filled up with tiny clay cats, chibi characters, and pocket-sized creatures, you’re not imagining it. Mini clay figures are having a real moment right now, with pin saves up over 2,500% in the last month alone. And it makes sense — there’s something deeply satisfying about shaping a whole little character out of a lump of clay, especially when the whole project fits in the palm of your hand and takes less than an hour.
This post contains affiliate links. As an Amazon Associate I earn from qualifying purchases at no extra cost to you.
The best part is that you don’t need to be an experienced sculptor to join in. If you’ve made anything from clay before — even a simple air dry clay ornament — you already have the foundational skills. Below you’ll find everything you need to get started, plus more than 20 clay figure ideas to try this weekend.
What You Need to Get Started
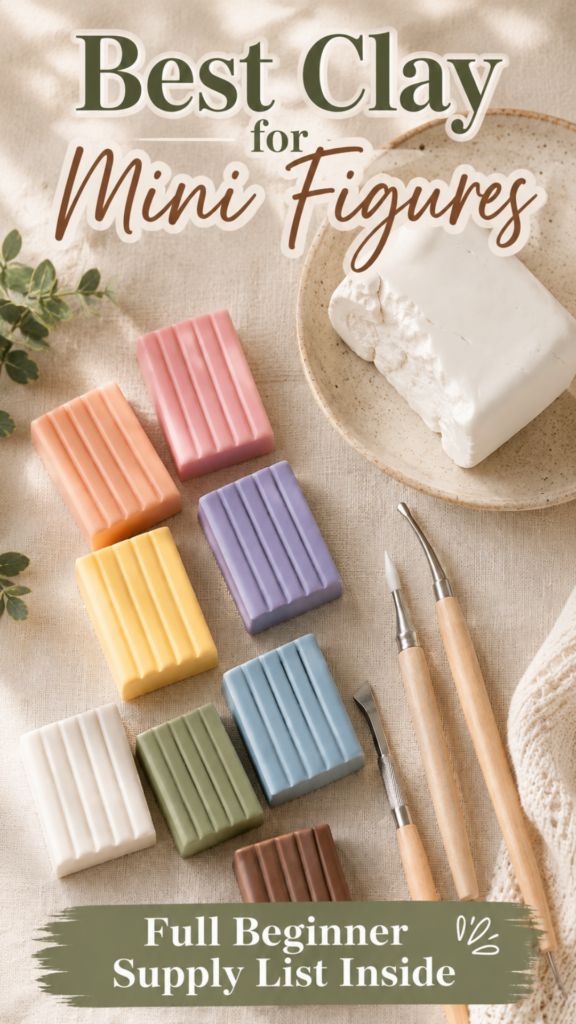
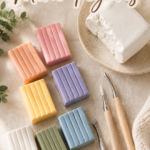
For detailed mini figures, polymer clay (like Sculpey or Fimo) is usually the better choice over air dry clay. It holds fine detail well, doesn’t crack as easily while you’re working small, and bakes hard right in your home oven so your finished figures are durable enough to handle, display, or even turn into keychains and charms. I’ve put together a full shopping list here: Clay Supplies Idea List
If you’d rather skip the oven altogether, air dry clay is still a workable option for simpler, less detailed figures. I’ve got a full recipe for a durable air-dry option here: DIY Cold Porcelain Clay Recipe — just know that very fine details (like tiny facial features) hold up better in polymer clay.
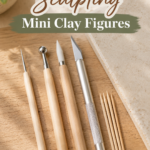
Tools That Make Sculpting Mini Figures Easier
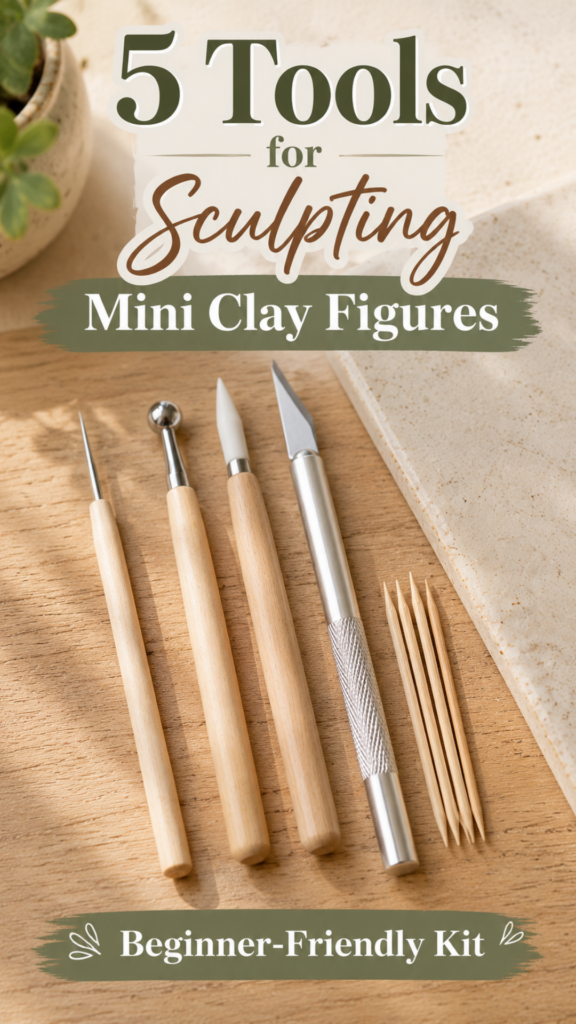
You don’t need a full sculpting kit to start, but a few inexpensive tools make a big difference on small-scale work:
- A needle tool, for fine detail lines and texture (a sewing needle stuck in a cork works too)
- A small ball-tip stylus, for smoothing seams and shaping eye sockets or dimples
- A blade or craft knife, for clean cuts and sharp edges
- Toothpicks, for tiny detail work if you’re not ready to invest in tools yet
- A ceramic tile or parchment-lined baking sheet, so figures go straight from your work surface into the oven
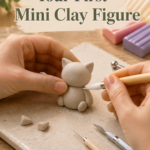
How to Sculpt Your First Mini Clay Figure
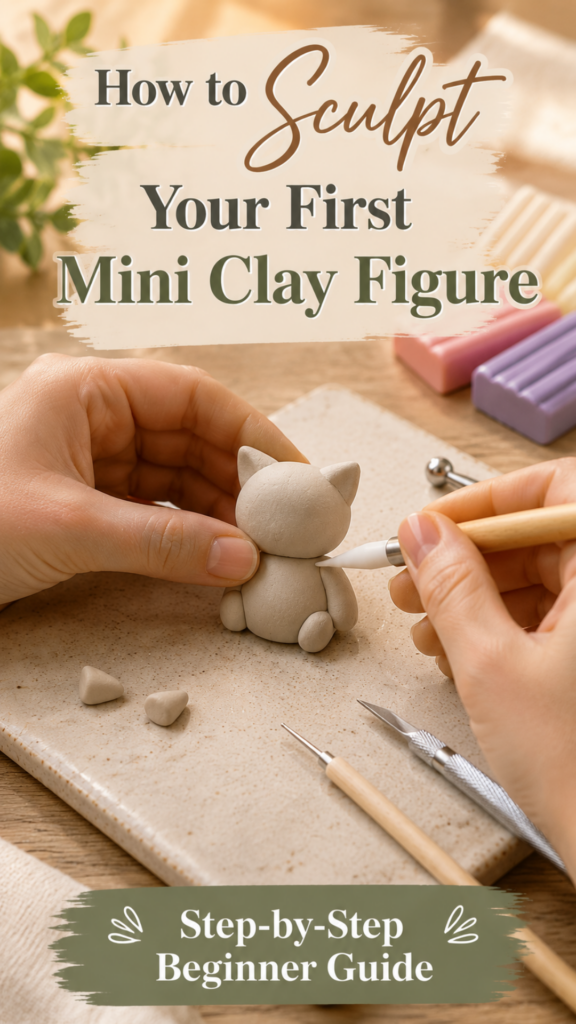
If you’ve never sculpted a figure before, start here — this basic method works for almost any simple animal or character:
- Condition your clay by kneading it in your hands until it’s soft and pliable, with no cracks.
- Shape the body first. Most beginner figures start as a simple ball or teardrop.
- Add the head, either as a separate ball pressed and blended onto the body, or pinched out from the same piece.
- Build out small features — ears, a tail, limbs — using tiny rolled balls and coils, and blend the seams with your fingertip or a ball stylus so they don’t show.
- Add detail last: eyes, texture, tiny accessories. This is where a needle tool earns its keep.
- Bake according to your clay’s package instructions (usually around 275°F for 15 minutes per quarter inch of thickness) and let it cool completely before handling.
If clay is entirely new to you, it’s worth starting with my beginner’s guide to air dry clay first to get comfortable with basic clay handling before moving into more detailed figure work.
20+ Clay Figure Ideas to Try This Weekend
Cute Animal Figures
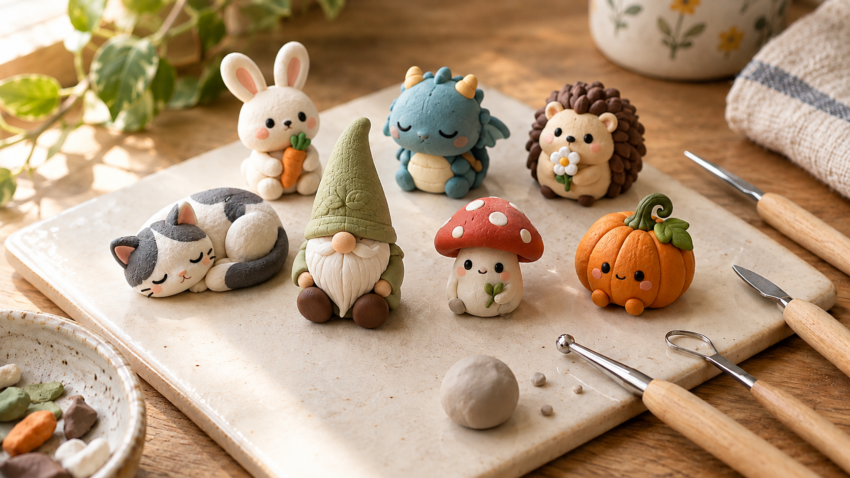
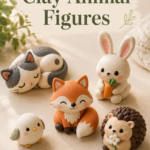
- A sleepy cat curled in a ball
- A round-bellied fox with a fluffy tail
- A tiny bunny with oversized ears
- A hedgehog with textured quill detailing
- A chubby corgi, sitting
Mini People & Chibi Characters
- A chibi-style self-portrait figure
- A tiny baker character holding a miniature pastry
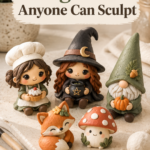
- A witchy little figure with a pointed hat (great if you want to cross over into your fall content)
- A gnome or garden sprite with a tall hat and round nose
- A sleepy figure tucked into a tiny blanket
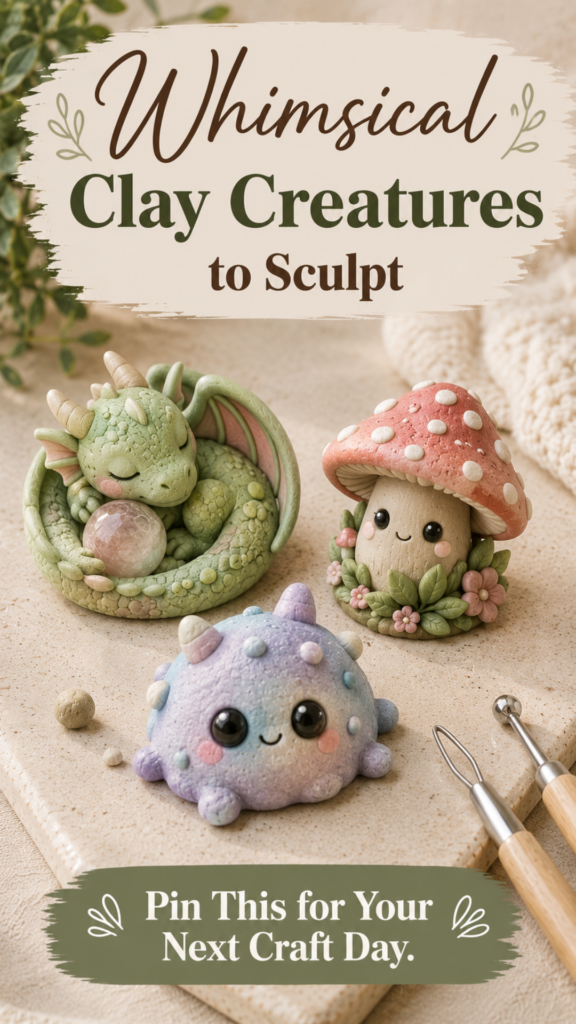
Fantasy & Whimsical Creatures
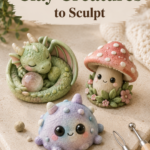
- A tiny dragon curled around a “treasure” (a bead or gem)
- A mushroom creature with a face peeking out
- A pastel-colored blob monster with big eyes
- A tiny unicorn or winged creature
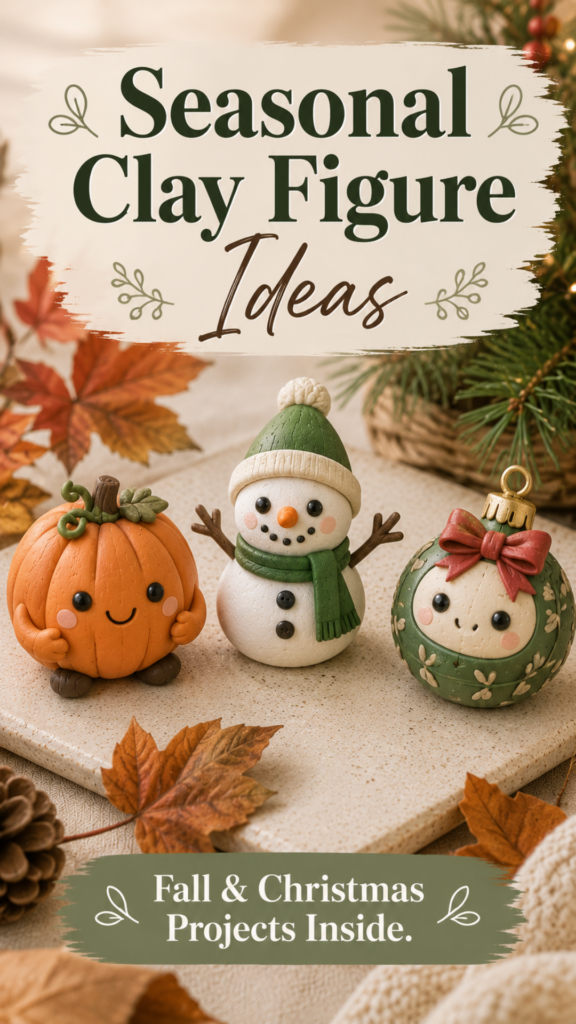
Holiday & Seasonal Figures
If you want to plan ahead, seasonal figures are some of the strongest performers on Pinterest:
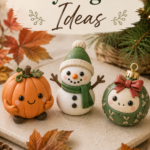
- A miniature pumpkin character for fall — these pair beautifully with the projects in my 25 Fall Air Dry Clay Projects round-up
- A tiny snowman or gingerbread figure for winter
- A small Christmas ornament figure — see my full ornament round-up here: 20 Air Dry Clay Christmas Ornaments
- A heart-shaped character for Valentine’s Day
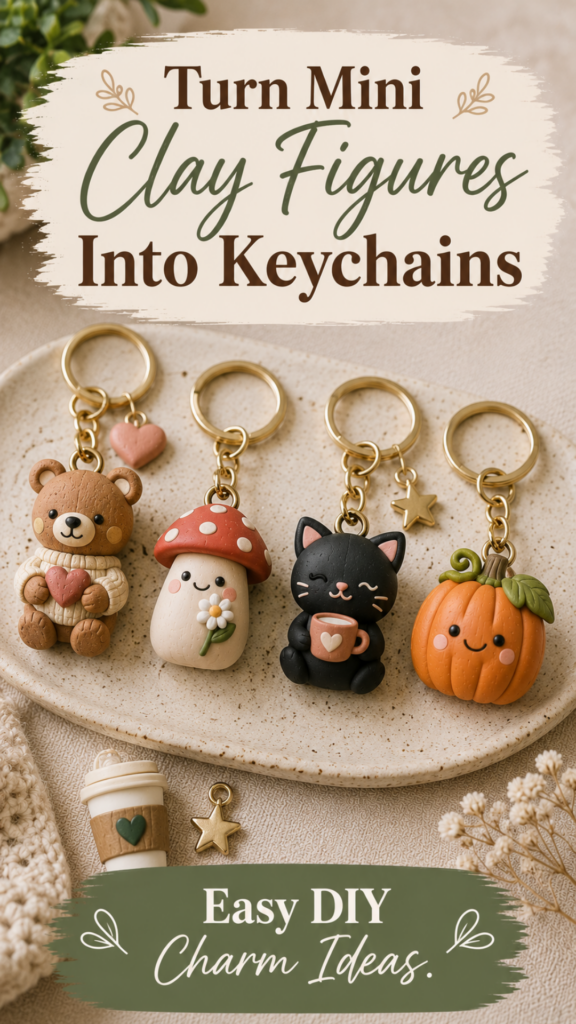
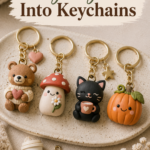
Keychain & Charm-Sized Figures
- A tiny animal face, flattened slightly and fitted with a jump ring before baking
- An initial or name charm with a small sculpted accent
- A miniature food charm (a slice of cake, a donut, a coffee cup)
- A tiny star or moon character charm
Tips for Beginner Clay Figure Sculptors
A few things that make a real difference on small-scale work:
- Work in small batches of conditioned clay so it doesn’t dry out or get overworked while you’re focused on detail.
- Smooth every seam as you go. It’s much harder to fix after baking.
- If you’re using polymer clay, watch for air bubbles — press pieces together firmly and roll out trapped air before adding detail.
- Don’t rush the baking step. Underbaked figures stay soft and brittle even after cooling.
- Keep your first few figures simple. Detail gets easier once you’re comfortable with basic shaping.
Building Passive Income Between Market Seasons
Here’s the truth every seasoned handmade seller eventually learns: physical markets are seasonal, exhausting, and capped by how many hours you can stand behind a table. The vendors who thrive year-round build a second income stream that earns while they sleep — digital products, printables, oracle decks, ( Learn how to create and print your own oracle decks in Whispers of Wisdom. I made over $100k creating oracle decks and oracle deck images) courses, and content that keeps paying long after the market tent comes down.
If you’re a multi-passionate maker who wants to add a passive income stream to your handmade business — the kind that keeps earning through the January to April market drought — grab my free guide: 20 Digital Product Ideas for Multi-Passionate Creators Who Want Passive Income. Every idea is beginner-friendly, aligned with a maker’s existing skill set, and built to sell without you needing to be present.
And if you’re specifically drawn to the ritual and spiritual lane of your booth (the oracle bags, the intention candles, the ritual oils), you already have half the skill set to create and sell your own oracle deck — a product that can earn $10,000 to $100,000+ per launch. My course Whispers of Wisdom walks you through the entire creation, printing, and marketing process. It’s the exact system I used to earn six figures from custom oracle decks alone.
Whatever you choose — your fall booth is going to be beautiful. Make things people actually want to buy, price them like the artist you are, and display them like they belong in a magazine. The right shoppers will find you.
See you at the market.
Jennifer Dawn
Frequently Asked Questions
What’s the best clay for mini figures?
Polymer clay (Sculpey, Fimo, and similar oven-bake brands) is generally best for detailed mini figures because it holds fine detail and bakes hard for durability. Air dry clay works for simpler shapes if you’d rather skip baking.
Do mini clay figures need to be baked?
If you’re using polymer clay, yes — baking is what makes it hard and durable. Air dry clay pieces cure at room temperature over a day or two instead.
How long does it take to make a mini clay figure?
Most simple figures take 20-40 minutes to sculpt, plus baking or drying time. More detailed characters can take an hour or more.
Can complete beginners really make these?
Yes. Start with a simple shape like the sleepy cat or round fox above, and build detail as you get more comfortable handling clay.
Turn Your Hobby Into Something More
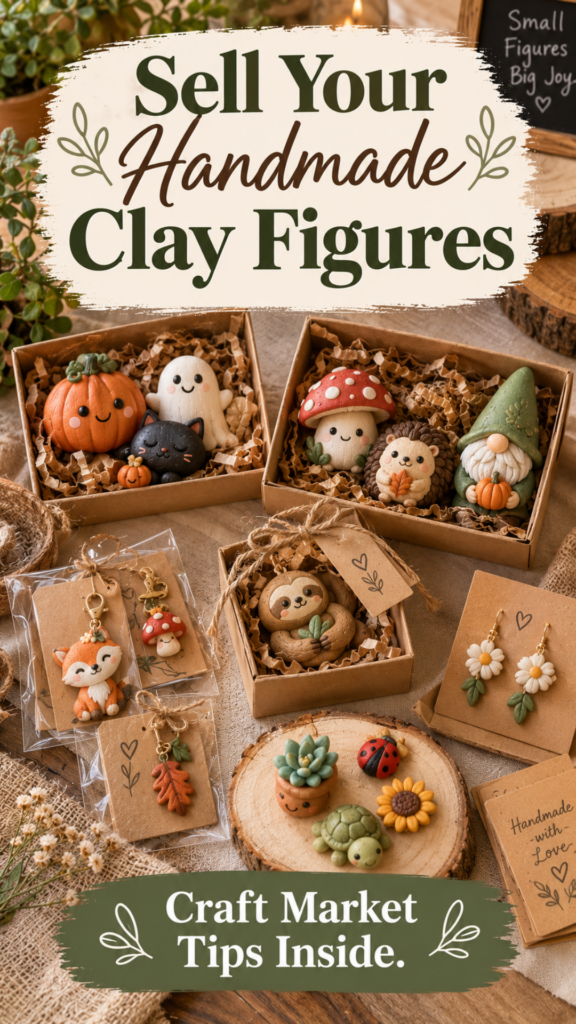
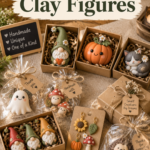
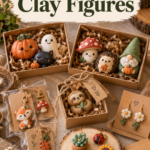
Once you’ve got a few figures under your belt, this is a craft that scales nicely into extra income — mini clay figures sell well at craft markets, in Etsy shops, and as keychains or charms. If that’s something you’re curious about, I break down exactly what sells (and what doesn’t) at seasonal markets in 27 Handmade Fall Crafts to Make and Sell at Autumn Markets.
And if you want the exact clay supplies list I use for figures like these, grab my free boutique clay shopping checklist below, and follow along on Pinterest for new clay ideas every week.
Skip the Craft-Aisle Guesswork
The exact air-dry clay, tools, sealers, and finishing supplies I actually keep in my studio — sent straight to your inbox.
You're in!
Your Boutique Clay Shopping & Supply Checklist is on its way — check your inbox in the next few minutes.
If you don't see it, peek in your Promotions tab or spam folder and drag it over to your main inbox so my next email lands where you'll actually see it.