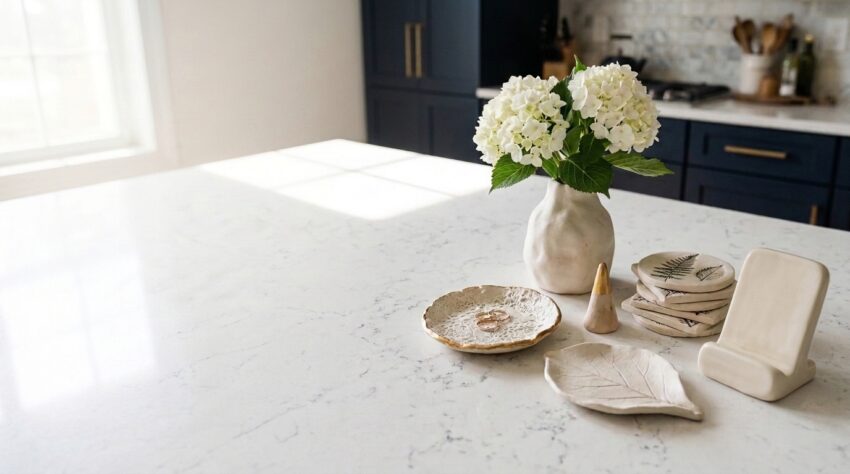
Useful air dry clay projects are the best kind of craft: you make them in an afternoon, and then you use them every single day. A trinket dish by the sink, a phone stand on the kitchen counter, a ring cone on your nightstand. Air dry clay needs no kiln, no oven and no special tools, it costs just a few dollars a pack, and it turns into pieces that look like they came from a pottery boutique. If you can roll out cookie dough, you can make every project in this post.
Quick heads-up: some links in this post are affiliate links. If you buy something through them, I earn a small commission at no extra cost to you, which I will almost certainly spend on more clay. As an Amazon Associate I earn from qualifying purchases.
Below you’ll find 15 functional air dry clay projects grouped by where you’ll use them: organizing your home, the kitchen and bath, your desk, and cozy everyday decor. Each one comes with full step-by-step instructions. Start with the basic method, which applies to every project, then pick one and follow along. If you’ve never worked with clay before, my air dry clay for beginners guide is a great place to start too.
Clay pieces that last in 3 simple moves
- Roll it even. A consistent 6 mm thickness is what stops cracks and warping.
- Dry it slowly. Let pieces dry for 24 to 72 hours away from heat, flipping them halfway.
- Seal it well. Two or three coats of sealer turn a craft into something you can use every day.
What You Need for Air Dry Clay Projects
You only need a few basic supplies to make all 15 projects. Start with a good white air dry clay, a rolling pin and a smooth work surface, then add paint and sealer once you know which projects you want to make. If you’re choosing between brands, my tested comparison of the best air dry clay breaks down which one works best for each type of project. Prefer to make your own? Here’s my homemade air dry clay recipe.
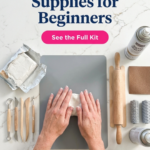
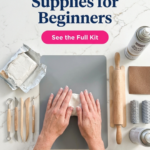
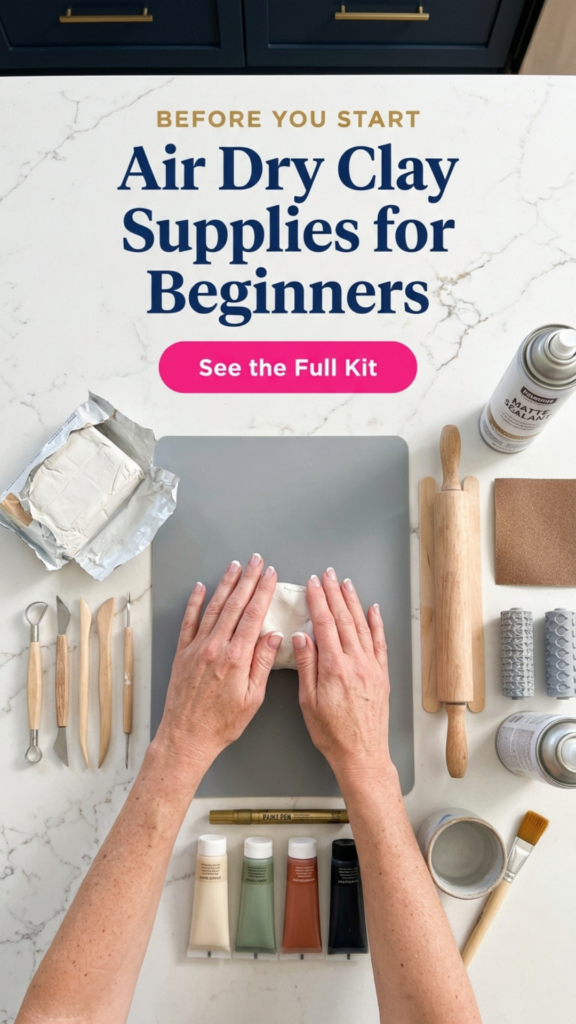
Supplies for every project
- White air dry clay such as DAS, Crayola or a premium white clay
- A rolling pin plus two paint stirrers as thickness guides
- A silicone craft mat so clay never sticks
- Clay tools for cutting, smoothing and detail
- Texture rollers for instant patterns
- Acrylic paint in neutrals and your favorite colors
- A gold paint pen for luxe edges and details
- Matte sealant spray to protect finished pieces
- Fine sandpaper (220 to 400 grit) for smooth edges
- A small cup of water and a soft paintbrush for smoothing
The Basic Method for Every Air Dry Clay Project
Every project in this post starts with the same simple method. Learn it once and you’ll get smooth, crack-free pieces every time. The most important things to remember are to keep your clay covered while you work, roll it to an even thickness and let it dry slowly.
How to work with air dry clay
- Condition the clay. Pinch off what you need and knead it in your hands for a minute until it’s soft and smooth. Wrap the rest tightly in plastic so it doesn’t dry out.
- Roll it evenly. Place two paint stirrers on either side of the clay and roll over them. They keep the slab an even 6 mm thick, which prevents cracks and warping.
- Cut and shape. Cut your shape with a craft knife, a cookie cutter or a template, then shape it as the project describes.
- Smooth the edges. Dip a finger or soft brush in water and run it along every edge and seam. Use just a little water, since too much makes clay sticky and weak.
- Dry it slowly. Let it dry at room temperature, away from heaters and direct sun, for 24 to 72 hours depending on thickness. Flip flat pieces halfway through so they dry evenly.
- Sand, paint and seal. Once it’s completely dry and pale all over, sand rough edges, paint it and seal it with two or three coats of sealer.
If a small crack appears while drying, mix a little clay with water into a paste (called slip), press it into the crack with your finger, smooth it and let it dry again. It disappears once painted.
Useful Air Dry Clay Projects for Organizing Your Home
These five projects give every little thing in your home a beautiful place to live, from the rings by your sink to the cables on your nightstand. They’re also the easiest place to start if you’re a beginner.
1. Minimalist Trinket Dish
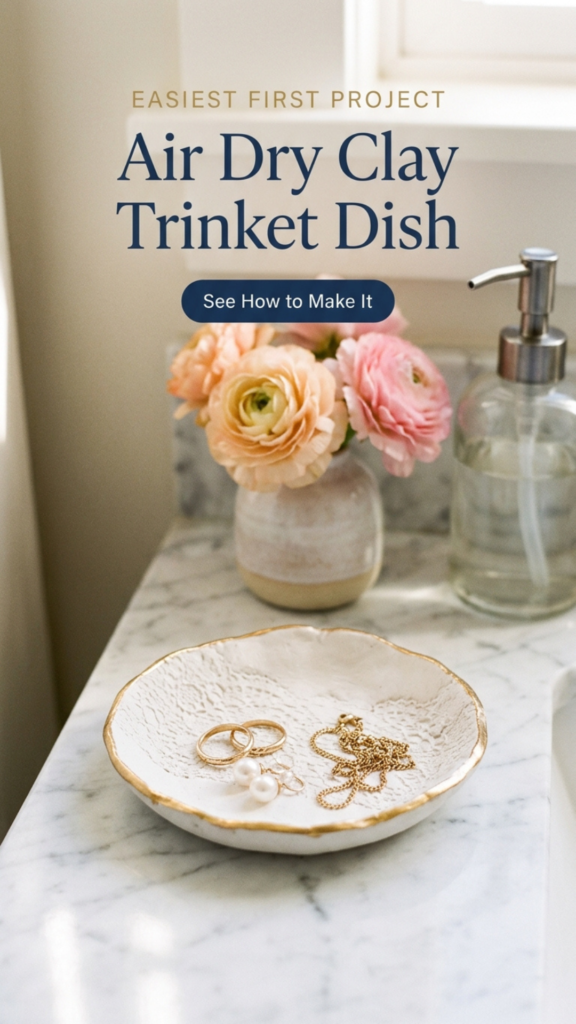
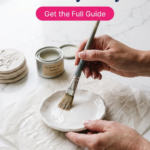
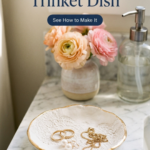
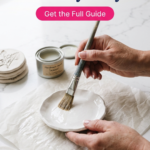
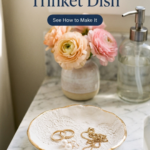
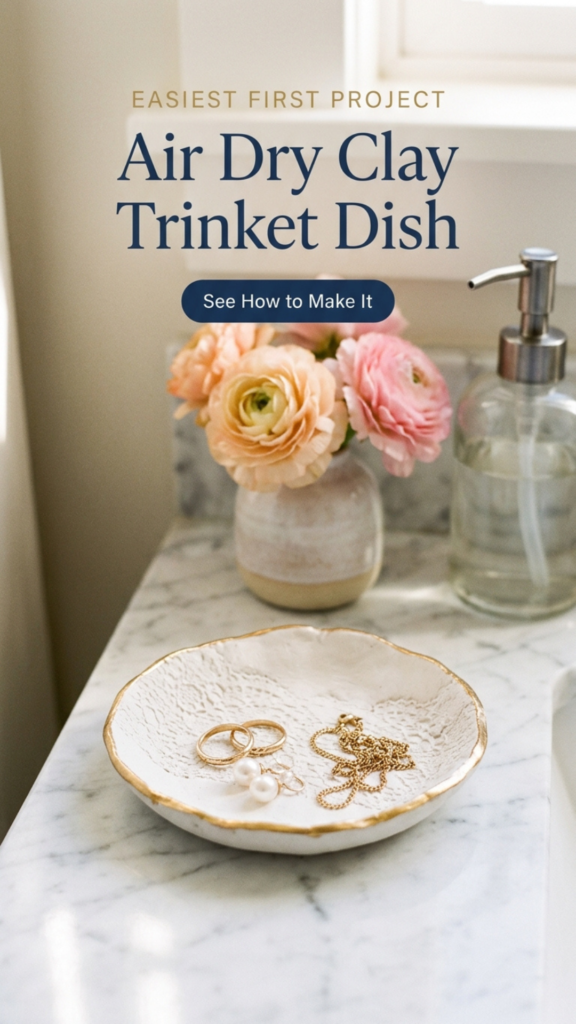
You’ll need about a handful of clay, a 10 cm round cutter or a small bowl to trace, a small bowl to shape the dish over, plastic wrap, a piece of lace (optional) and a gold paint pen. Roll your clay to an even 6 mm thick. For texture, lay the lace on top and roll over it once with firm pressure, then peel it away. Cut out a 10 cm circle with the cutter or by tracing around a bowl with a craft knife. Line a small bowl with plastic wrap and gently press the clay circle into it so the edges curve up into a shallow dish. Smooth the rim with a damp finger. Let it dry in the bowl for 24 hours, then lift it out by the plastic wrap and let the underside dry for another 24 hours. Once it’s completely dry, sand the rim lightly with fine sandpaper, wipe away the dust and run the gold paint pen around the edge. Seal with two coats of sealer so it wipes clean. Make a few in different sizes for rings, earrings, keys and crystals.
2. Ring Cone Jewelry Holder
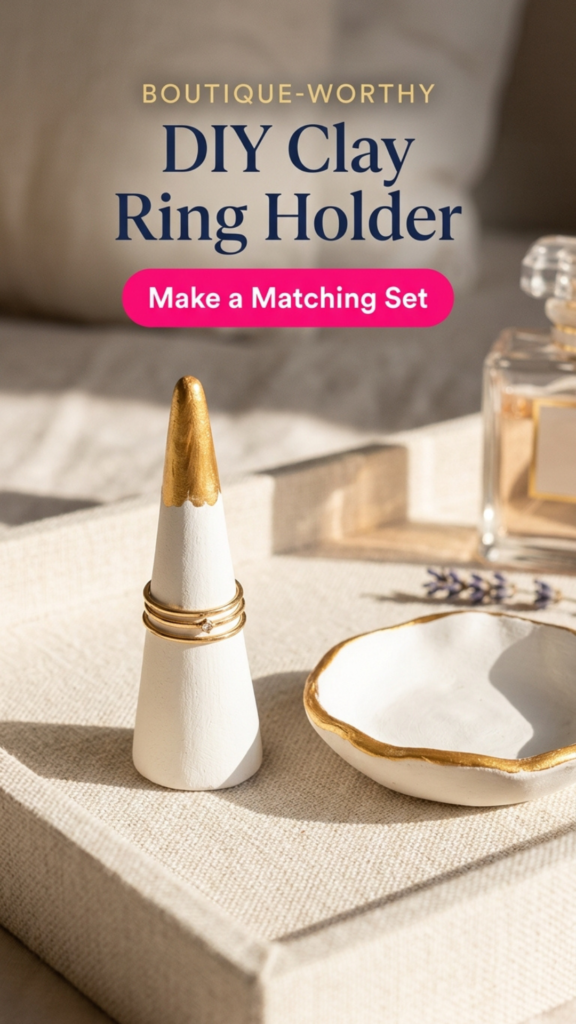
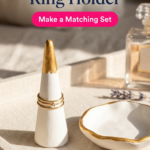
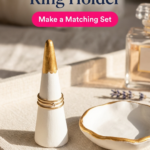
You’ll need a ball of clay about the size of a golf ball, a craft knife and gold paint. Roll the clay into a smooth ball between your palms, then roll one end back and forth on your work surface to stretch it into a cone about 8 cm tall. Keep the base wide, around 4 cm, so it stands steadily. Tap the bottom gently on the table to flatten it. Smooth the whole cone with a damp finger until there are no fingerprints or creases. Stand it upright on a piece of parchment and let it dry for 48 hours, since thicker pieces take longer to dry all the way through. Sand it smooth, then paint the top third gold, or dip the tip in gold paint and let the line stay a little organic. Seal it with two coats. For a matching set, make the trinket dish above in the same color so your rings and earrings have a home together.
3. Peg Wall Hooks for Keys and Bags
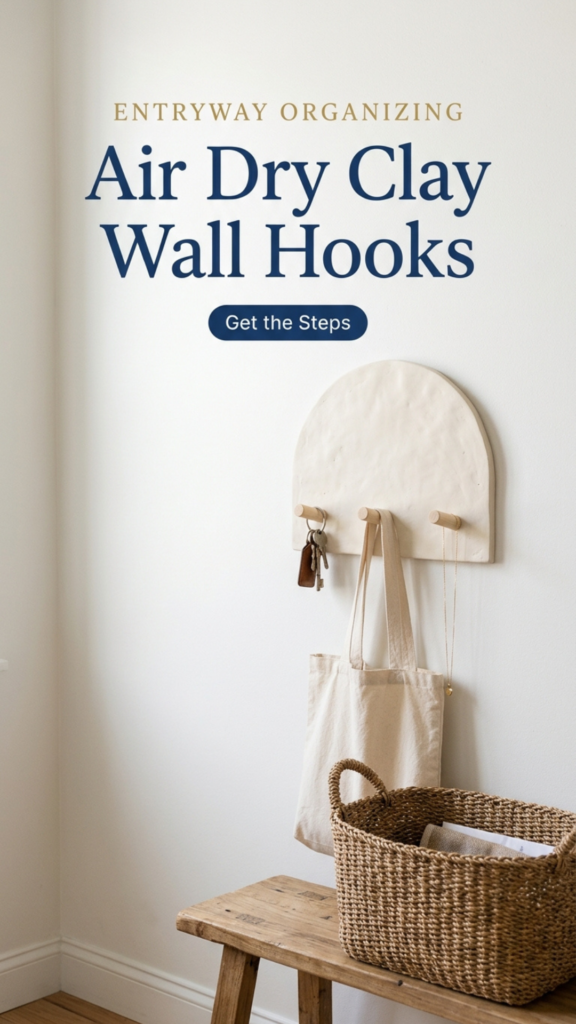
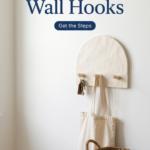
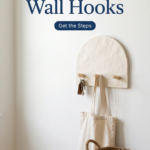
You’ll need clay, a craft knife, a drinking straw, three short wooden dowel pegs or Shaker pegs (about 1 cm wide), strong craft glue such as E6000 and two small screws for hanging. Roll the clay to 1 cm thick, which is thicker than usual so it’s strong enough to hold weight. Cut an arch or rounded rectangle about 25 cm wide and 10 cm tall. Push the end of a dowel into the clay three times, evenly spaced across the center, to make holes the exact size of your pegs. Use the straw to punch two hanging holes near the top corners. Smooth all the edges with a damp finger. Dry it flat for 24 hours, flip it and let it dry another 48 hours. Sand, paint and seal it. Once the sealer is dry, add a dab of glue into each peg hole, push the pegs in and let the glue cure for 24 hours. Screw it to the wall through the hanging holes. Use it for light items like keys, necklaces, a scarf or a small tote.
4. Cable Organizer for Your Nightstand
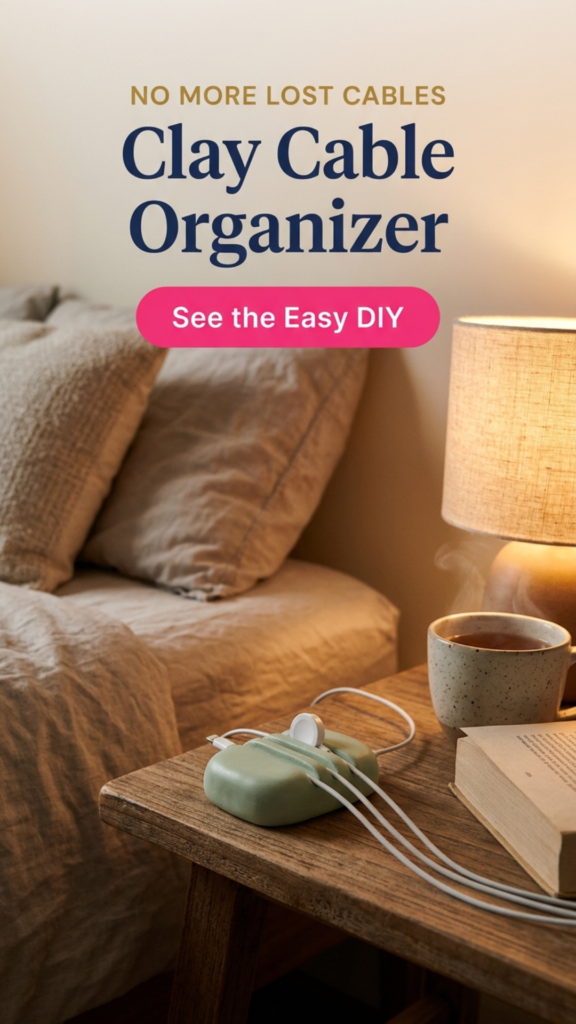
You’ll need a ball of clay about the size of a tangerine, a pencil and paint. Shape the clay into a smooth, rounded brick about 10 cm long, 5 cm wide and 4 cm tall. Its weight is what keeps your cables in place on the nightstand. Press a pencil into the top of the block lengthwise and roll it back and forth slightly to make three or four grooves across it, each about 1.5 cm deep and spaced evenly. Test that a charging cable fits snugly in each groove, then widen any that are too tight. Smooth the whole block with a damp finger. Because it’s thick, let it dry for at least 72 hours, turning it onto a different side each day so it dries evenly all the way through. Sand it smooth, paint it a soft neutral or color that matches your room, and seal it. Lay your phone, watch and tablet cables in the grooves so they never slide off the back of the table again.
5. Stamped Name Tags and Labels

You’ll need clay, small cookie cutters or a craft knife, alphabet stamps, a drinking straw and twine or ribbon. Roll the clay to 5 mm thick. Cut tags in circles, rectangles or scalloped shapes about 5 to 7 cm wide. Before the clay starts to dry, press the alphabet stamps in firmly and evenly to spell names or labels like Flour, Sugar or Tea. Wipe the stamps between letters so they stay crisp. Punch a hole near the top with the straw. Smooth the edges with a damp finger, then let the tags dry flat for 24 hours, flipping them halfway. Once dry, leave them natural white, or paint them and then wipe the surface with a damp cloth so the paint stays only in the stamped letters. Seal with two coats. Tie them onto pantry jars, storage baskets, kids’ bins or gifts. They look custom and cost just pennies each.
Functional Air Dry Clay Projects for the Kitchen and Bath
These three projects come into contact with water and spills, so sealing is everything. Use a waterproof sealer and give each one at least three coats. They’re not food-safe or dishwasher-safe, so wipe them clean by hand.
6. Leaf Spoon Rest
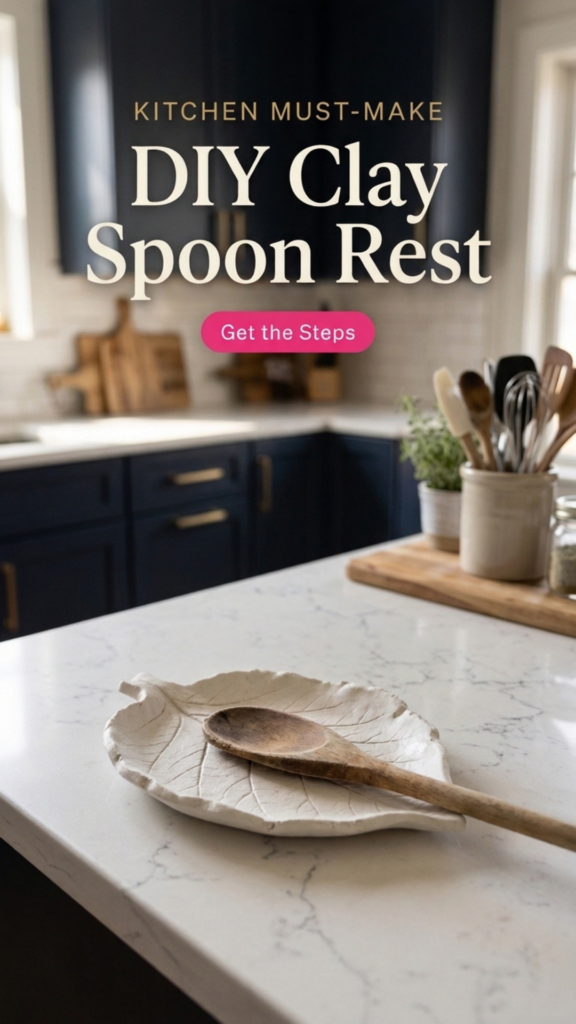
You’ll need clay, a large real leaf or a paper leaf template about 20 cm long, a craft knife, a wooden spoon and waterproof sealer. Roll the clay to 6 mm thick. If you’re using a real leaf, lay it vein side down on the clay and roll over it once to press in the veins, then peel it away. Cut around the leaf shape with the craft knife. Press the back of the wooden spoon gently into the wider end of the leaf to make a shallow well where the spoon will rest. Lift the edges of the leaf up about 1 cm all the way around and support them with small rolls of foil underneath so they hold their shape while drying. Smooth the edges with a damp finger. Dry for 24 hours, remove the foil and dry another 24 hours. Sand, paint if you like, and seal with at least three coats of food safe waterproof sealer, letting each coat dry fully. Wipe it clean with a damp cloth after cooking rather than washing it in the sink.
7. Textured Coasters

You’ll need clay, a 10 cm round cutter or a cup to trace, a texture roller or dried flowers, a flat board and heavy books, cork backing sheets and waterproof sealer. Roll the clay to an even 6 mm thick using your paint stirrer guides. Press in texture with the roller, or lay dried flowers or ferns on top and roll over them once before peeling them off. Cut four circles. Smooth the edges with a damp finger. Coasters are prone to curling, so here’s the trick: dry them flat for 12 hours, then cover them with parchment, lay a flat board on top and weigh it down with a few books. Let them dry under the weight for another 48 hours. Sand the edges, paint the rims gold and seal the tops and sides with three coats of waterproof sealer. Finally, cut cork circles slightly smaller than the coasters and glue them to the backs to protect your furniture. Wipe up drips rather than letting them sit.
8. Draining Soap Dish
You’ll need clay, a craft knife, a drinking straw, a pencil and waterproof sealer. Roll the clay to 6 mm thick and cut an oval about 12 cm long and 9 cm wide. Use the side of the pencil to press four or five parallel ridges across the center so your soap sits up off the surface and air can flow underneath. Punch five or six drainage holes between the ridges with the straw. Gently pinch the edges up about 1 cm all the way around to form a low rim, and smooth everything with a damp finger. Dry it for 24 hours, flip it and dry another 24 to 48 hours. Sand the edges and holes smooth, then seal every surface, including inside each drainage hole, with at least three coats of waterproof sealer. Place it on a small saucer or folded cloth to catch drips, and let it dry out between uses. It’s perfect for showing off handmade soaps or guest soaps.
Air Dry Clay Ideas for Your Desk
These three desk projects make your workspace calmer and more organized, and they’re especially pretty in matching colors. Make one at a time, or make all three as a set for your home office or craft room.
9. Phone Stand
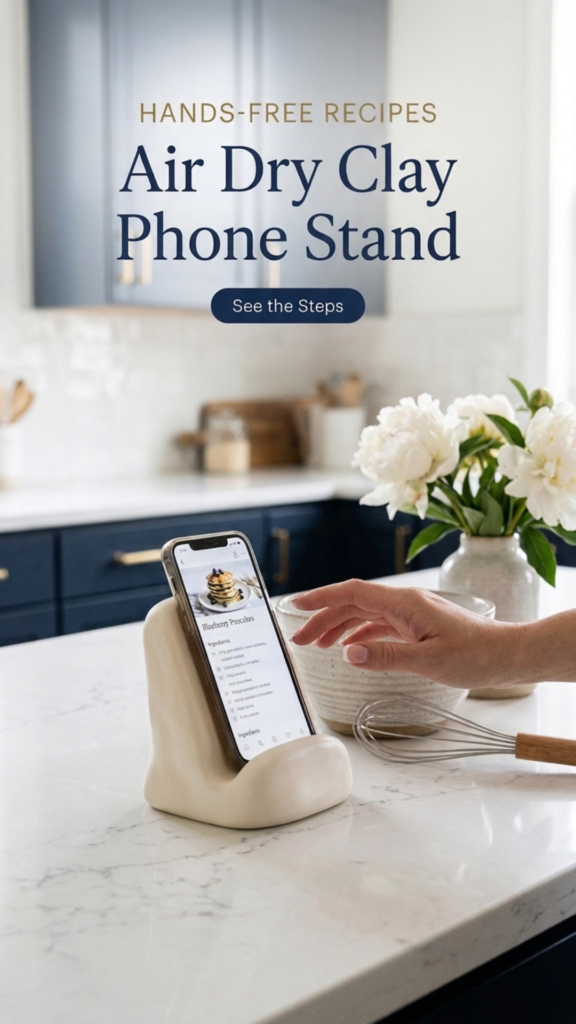
You’ll need a large ball of clay, a craft knife and a crumpled ball of aluminum foil. Roll the clay into a thick slab about 1 cm thick, then cut a rectangle about 10 cm wide and 16 cm long. Lay the rectangle on your work surface and place the foil ball under the top half so the slab rests at a slant, like a reading stand. Fold the bottom 3 cm of the slab up toward you to form a lip that will hold the phone, and pinch the corners so the lip stays upright. Smooth all the edges and the fold with a damp finger, making sure there are no cracks at the bend. Test the angle with your phone (wrapped in plastic wrap) and adjust the foil if needed. Let it dry on the foil for 48 hours, then carefully remove the foil and let it dry another 24 hours. Sand, paint and seal it. It’s perfect for recipe videos, video calls or watching a show while you work.
10. Pen and Makeup Brush Holder
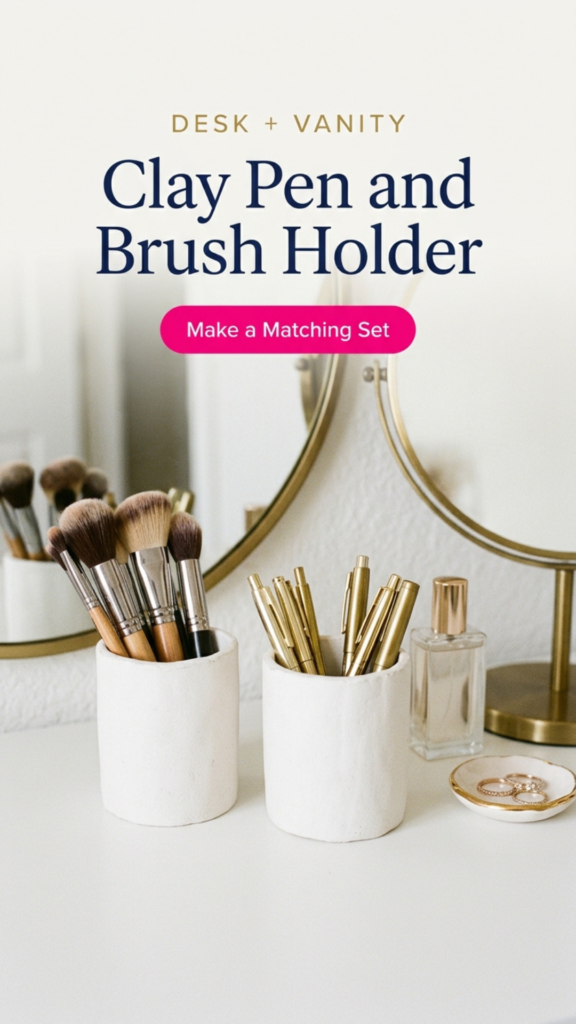
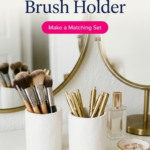
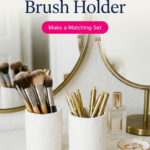
You’ll need clay, a craft knife, a cardboard tube or a small glass jar about 7 cm wide, parchment paper and tape. Wrap the tube or jar in parchment and tape it closed so the clay won’t stick. Roll the clay to 6 mm thick and add texture if you like. Cut a rectangle about 12 cm tall and long enough to wrap around your tube with a little overlap. Wrap the clay around the tube, then cut through both layers where they overlap so the ends meet perfectly. Score both edges with criss-cross lines, brush them with a little water, press them together and smooth the seam until it disappears. For the base, cut a circle the same size as the bottom, score the edges, attach it and smooth the join inside and out. Let it dry on the tube for 24 hours, gently slide the tube out, and let it dry another 48 hours. Sand, paint and seal it inside and out.
11. Textured Catchall Tray
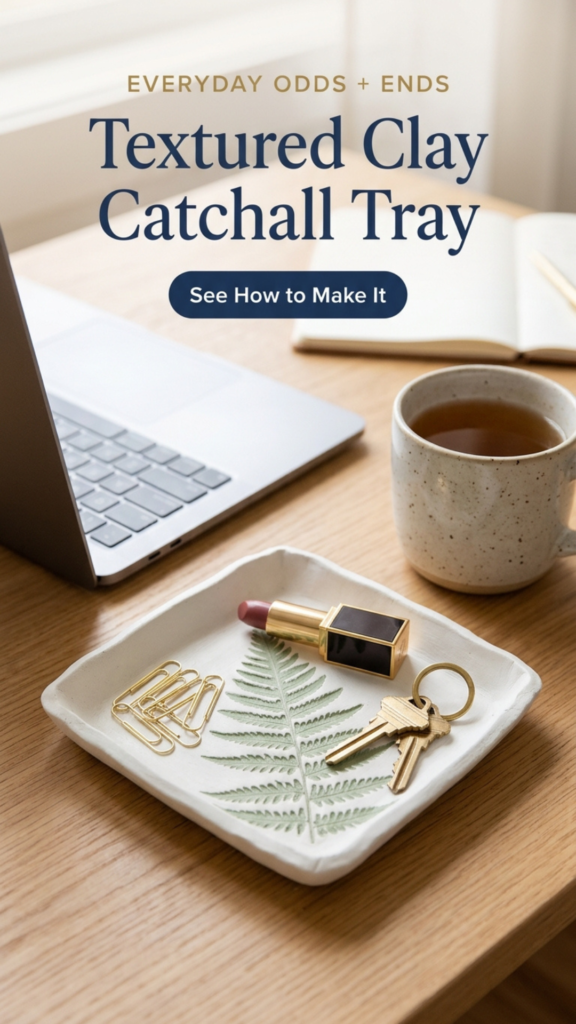
You’ll need clay, a texture roller or pressed plants, a ruler, a craft knife and a shallow square dish to use as a mold. Roll the clay to 6 mm thick. Press in your texture with a texture roller, or lay ferns, lace or fabric on the clay and roll over them once before peeling them away. Use the ruler and craft knife to cut a 15 cm square. Turn your square dish upside down, cover it with plastic wrap and drape the clay over it so the edges curve down gently, or simply lift each edge and tuck a small roll of foil underneath for a softer curve. Smooth the corners with a damp finger. Let it dry on the mold for 24 hours, remove it and let it dry another 24 hours. Sand the edges, then brush watered-down paint over the texture and wipe the surface with a damp cloth so the color stays in the grooves. Seal with two coats. Use it for keys, paper clips, lip balm or everyday odds and ends.
Easy Air Dry Clay Projects for Cozy Everyday Decor
These four projects bring a handmade glow to every room, and they make beautiful gifts too. They’re quick, forgiving and perfect for an afternoon of slow, cozy crafting.
12. Tea Light Candle Holders

You’ll need clay, an LED tea light or a small glass votive insert, and paint. Roll a ball of clay about 6 cm wide between your palms. Gently flatten the bottom by tapping it on the table. Press the LED tea light into the top of the ball until it’s about 1 cm deep, then wiggle it slightly to make the opening a little bigger than the candle, since clay shrinks a bit as it dries. Remove the tea light and smooth the inside and rim with a damp finger. For a set, make three holders in small, medium and large sizes, or shape some into stars or crescent moons. Let them dry for 48 to 72 hours, turning them over for the last day so the bottoms dry fully. Sand, paint and seal them. Air dry clay and sealer aren’t heat-safe, so use battery LED tea lights, or set a real tea light inside a glass or metal votive insert and never leave it unattended.
13. Moon Incense Holder

You’ll need clay, a crescent moon template or a round cutter, an incense stick, a gold paint pen and sealer. Roll the clay to 8 mm thick, slightly thicker than usual so the incense stick has something to grip. Cut a crescent moon about 15 cm long, either from a printed template or by cutting two overlapping circles. Gently pinch up the outer edge about 5 mm all the way around so it catches falling ash. Push an incense stick into the thickest part of the moon at a slight angle, about 1 cm deep, then wiggle it a little and remove it, so the hole is just big enough to hold a stick. Press a few small stars into the surface with a star-shaped tool or the end of a paintbrush. Dry it for 48 hours, flipping it halfway. Sand it, add gold details to the stars and edge, and seal it. Always burn incense on a heat-safe surface, and never leave it burning unattended.
14. Mushroom and Fruit Fridge Magnets
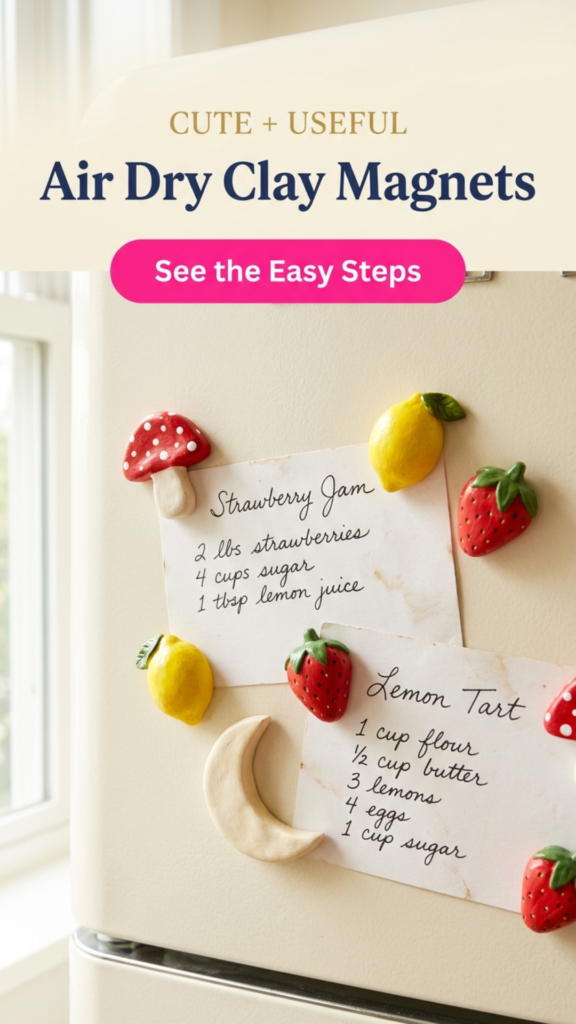
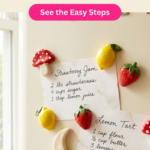
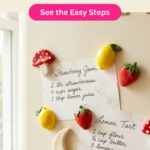
You’ll need clay, acrylic paint, small round neodymium magnets, strong craft glue such as E6000 and sealer. Shape small pieces of clay into simple designs about 3 to 5 cm across: a mushroom (a dome cap on a short stem), a lemon (an oval with pointed ends), a strawberry (a rounded triangle) or a crescent moon. Keep each one about 8 mm thick and press the back flat against your work surface so the magnet will sit flush. Add details like seed dots on the strawberry with a toothpick. Let them dry for 24 to 48 hours, then paint them: red caps with white dots, yellow lemons with a green leaf, red strawberries with tiny yellow seeds. Seal them with two coats. Once the sealer is dry, glue a magnet to the center of each back and let it cure for 24 hours before using. If you love making these, my sealing guide will help them stay bright for years.
15. Stamped Keepsake Ornaments
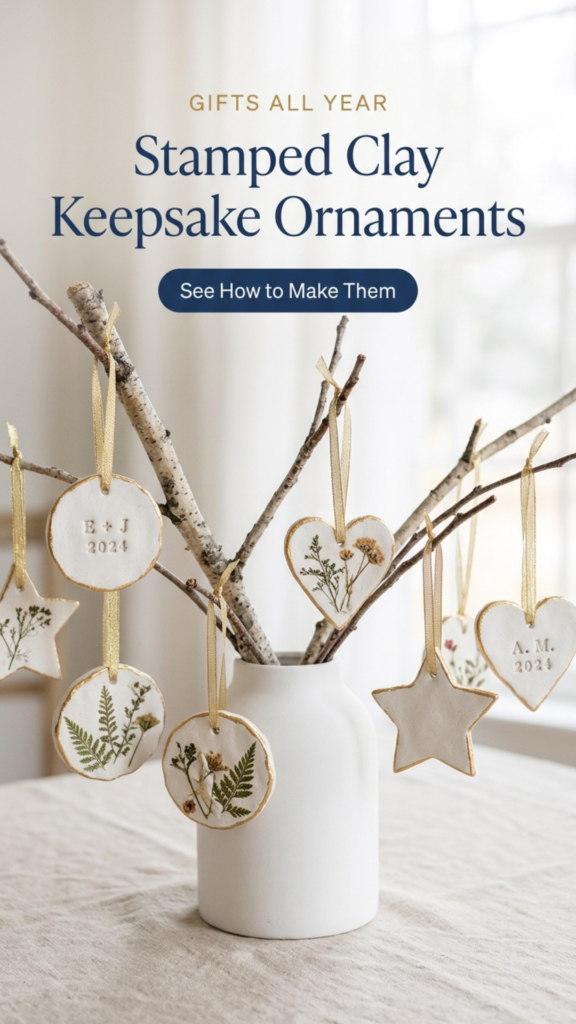
You’ll need clay, cookie cutters, alphabet and number stamps, pressed flowers or herbs (optional), a straw and ribbon. Roll the clay to 5 mm thick. Press in pressed flowers, rosemary or lace by laying them on top and rolling over once, or stamp initials and a date for a wedding, birthday, new baby or new home. Cut out your shapes with cookie cutters, making them about 7 to 9 cm wide. Punch a hanging hole near the top with the straw. Smooth the edges with a damp finger. Dry them flat for 24 hours, flip them and dry another 24 hours. Sand the edges, then leave them natural white or brush a little gold onto the edges. Seal with two coats and tie on ribbon. These make the sweetest gifts all year round, and you’ll find 20 more designs in my air dry clay Christmas ornaments post.
What Air Dry Clay Can’t Do (Read This First)
Air dry clay is wonderfully versatile, but it isn’t the same as kiln-fired pottery. Knowing its limits means your projects will last for years instead of weeks.
Keep your projects safe and lasting
- Not food-safe. Don’t eat or drink from air dry clay, even when it’s sealed.
- Not waterproof on its own. Water softens unsealed clay, so seal anything that might get wet.
- Not heat-safe. Keep it away from flames, ovens and hot pots. Use LED candles.
- Not dishwasher-safe. Wipe pieces clean with a damp cloth instead.
- Not for heavy loads. Hooks and stands are perfect for light everyday items.
- Not for outdoors. Rain and frost will break it down, so keep projects inside.
How to Seal Your Air Dry Clay Projects
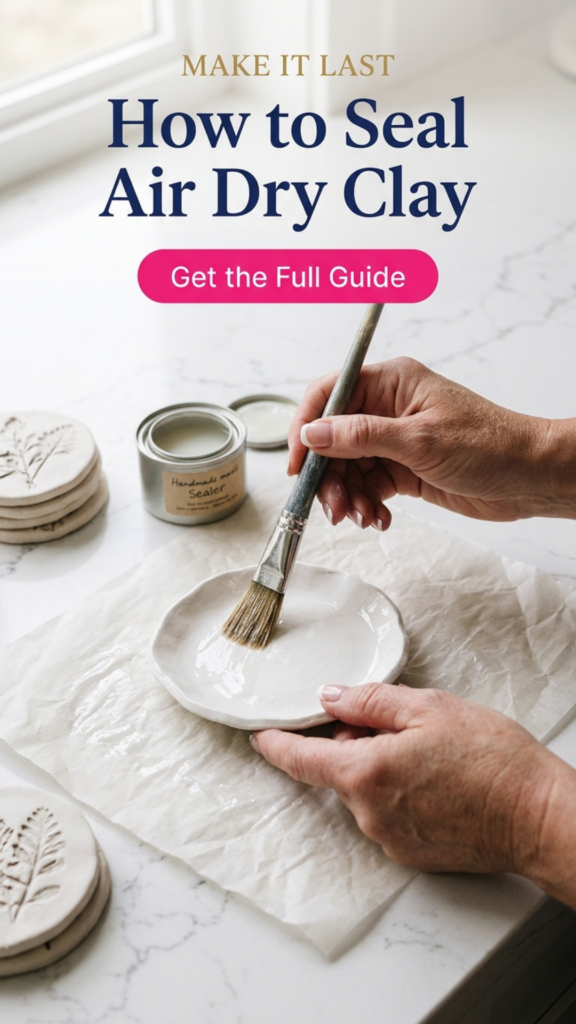
Sealing is what turns a pretty craft into something you can actually use every day. Wait until your piece is completely dry and pale all the way through, which usually takes 48 to 72 hours. Sand it smooth, wipe away the dust and paint it. Then apply a thin coat of sealer, let it dry fully and add a second coat. For anything that will touch water, like coasters, spoon rests or soap dishes, add a third coat and use a waterproof sealer. My full guide to sealing air dry clay compares every method, from matte sprays to resin, so you can choose the right finish for each project.
Turn Your Air Dry Clay Projects into Income
Every project in this post sells well at craft fairs, markets and online, because people love handmade pieces they can use every day. Trinket dishes, ring cones, coasters and keepsake ornaments are the fastest sellers. Start by making a small batch of one or two projects in matching colors, photograph them in natural light, and price them to cover your supplies plus your time. For the best-selling ideas, see my Christmas crafts to make and sell.
20 Digital Product Ideas for Multi-Passionate Creators
Love turning creative skills into income? Grab my free guide and discover ways to keep earning from what you make, long after the craft fair is over.
Air Dry Clay Projects FAQ
Here are the questions I get asked most about making useful air dry clay projects, answered quickly so you can get back to creating.
QHow long does air dry clay take to dry?
Thin pieces (5 to 6 mm) dry in 24 to 48 hours. Thicker pieces like ring cones and cable organizers can take 72 hours or more. It’s fully dry when it’s pale and room temperature all over.
QWhy did my air dry clay crack?
Usually because it dried too fast or unevenly. Keep pieces away from heat and sun, roll to an even thickness and flip flat pieces halfway through drying.
QCan air dry clay get wet?
Only once it’s sealed with a waterproof sealer, and even then it should be wiped dry rather than soaked. Unsealed clay softens in water.
QIs air dry clay food safe?
No. Don’t use it for plates, mugs or anything you eat or drink from, even when sealed. It’s perfect for decor and organizing pieces.
QWhat’s the best air dry clay for beginners?
A smooth white clay like DAS is easiest to roll, shape and paint. See my tested comparison for the full breakdown.
QDo I need a kiln or oven?
No. Air dry clay hardens at room temperature, so every project in this post can be made on your kitchen table.
Final Thoughts
The best useful air dry clay projects are the ones you’ll reach for every day. Start with a trinket dish or a set of name tags this weekend, since they’re the quickest and most forgiving. Once you’re comfortable rolling, shaping and sealing, move on to the coasters, phone stand and pen holder for a matching set. For more inspiration, see my fall air dry clay projects and Christmas air dry clay projects.
Save this for your next craft day. Pin it to your clay board so all 15 projects are in one place when you’re ready to create.
Jennifer Dawn