
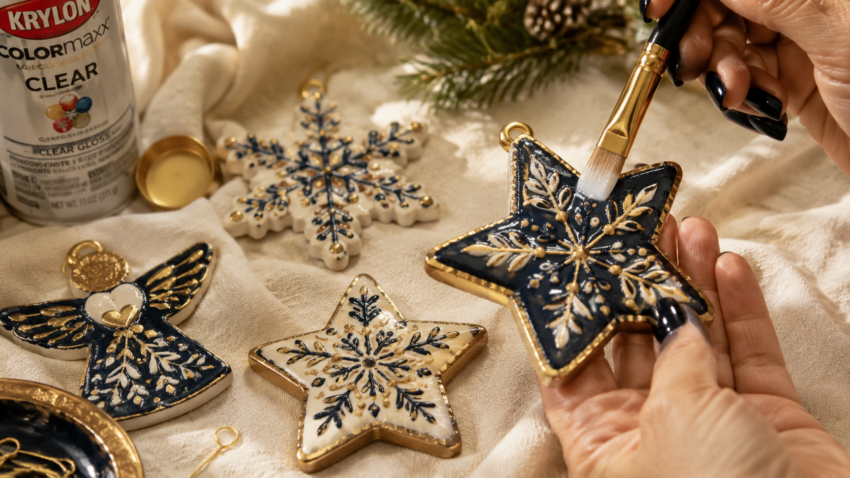
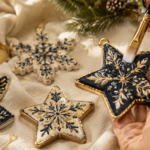
Handmade clay ornaments are one of the most personal decorations you can hang on a Christmas tree — a kid’s thumbprint pressed into salt dough, a hand-cut snowflake in air dry clay, a painted polymer clay star with a name and date on the back. The problem is that most of these ornaments don’t survive past their first season. The paint chips, the color fades, the edges crumble, and by next December the ornament that was supposed to become a family keepsake is sitting in the trash. If you’ve made your way through my 27 easy air dry clay ideas for beginners or my creative clay crafts roundup already, this is the part nobody tells you about — the boring-sounding finishing steps that decide whether your ornament becomes a keepsake or compost.
Disclosure: This post contains affiliate links, and I may earn a small commission if you buy through them, at no extra cost to you. As an Amazon Associate I earn from qualifying purchases.
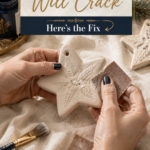
The good news is that this is almost always fixable. Clay ornaments that crack, peel, or fall apart usually failed for one of three reasons: the clay wasn’t fully dry before it was painted, the wrong paint was used, or the ornament was never properly sealed. Get those three steps right, and a simple homemade clay ornament can realistically last for decades — some crafters still have salt dough ornaments from 40 years ago in great condition. This guide walks through exactly how to paint and seal Christmas clay ornaments — whether you’re working with air dry clay, salt dough, or polymer clay — so they hold their color and shape for years of holidays to come.
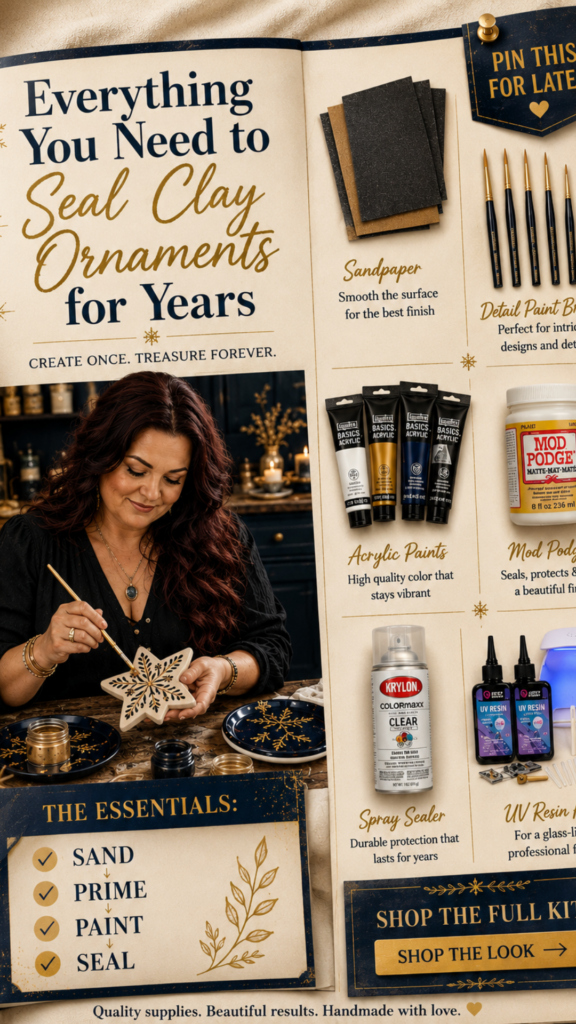
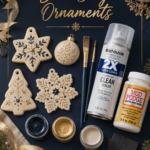
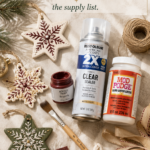
What You’ll Need
- Air dry clay, salt dough, or polymer clay ornaments (fully dried or baked)
- Fine-grit sandpaper (220 grit or higher)
- Soft-bristle paintbrushes in a few sizes
- Acrylic craft paint (and a white gesso or acrylic primer, optional but recommended)
- A clear sealer: Mod Podge, polyurethane, or an acrylic spray sealer
- A dust-free, well-ventilated workspace
- Ribbon, twine, or jump rings for hanging
Step 1: Make Sure the Clay Is Completely Dry (or Fully Baked)
Before any paint or sealant goes on, the clay itself needs to be finished curing. This is the step most people rush, and it’s the number one reason ornaments crack or peel later.
- Air dry clay needs 24–72 hours per quarter-inch of thickness to dry all the way through, not just on the surface. Rotate pieces every few hours in a cool, dry spot with good airflow, and keep them out of direct sunlight, which dries the outside faster than the inside and causes surface cracking. (If you’re starting from scratch, my homemade air dry clay recipe and my tested-and-compared air dry clay roundup cover exactly which clay to reach for.)
- Salt dough ornaments should be oven-baked, not just air-dried, for the best longevity. Bake at a low temperature (around 250°F/121°C) for 2–3 hours depending on thickness, then let them cool completely before touching them.
- Polymer clay must be baked according to the package instructions (typically 265–275°F) and cooled fully before handling. (If you want to see what polymer clay can really do once you’re hooked, my mini polymer clay food ideas post is a fun rabbit hole.)
If a piece still feels cool or slightly soft to the touch in the center, give it more time. Painting over clay that isn’t fully cured traps moisture inside, which is what causes ornaments to warp, crack, or grow mold months later.
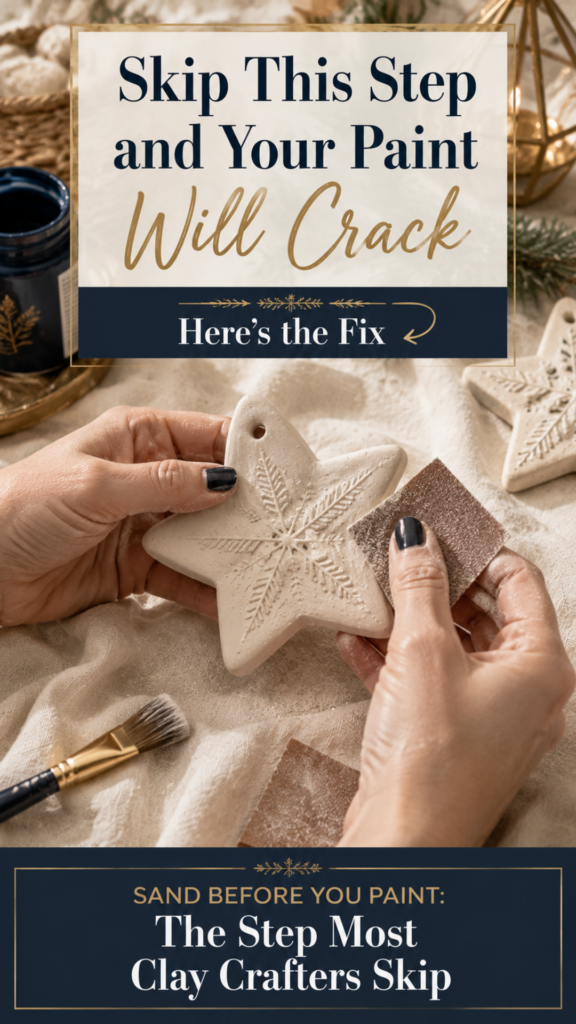
Step 2: Sand the Surface Before You Paint
Once the ornament is completely dry or baked, lightly sand it with fine-grit sandpaper (220 grit works well). This does two things: it smooths out rough or crumbly edges, and it gives the paint something to grip onto so it doesn’t flake off later. Wipe away all the dust with a slightly damp cloth and let the ornament dry fully again before moving on — any leftover dust will show up under the paint.
Step 3: Choose the Right Paint for Clay Ornaments
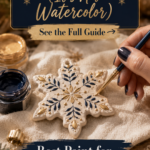
Acrylic paint is the best all-around choice for painting clay Christmas ornaments. It’s flexible enough to move slightly with the clay without cracking, dries quickly, comes in every color imaginable, and holds up well once sealed. Craft acrylics, artist-grade acrylics, and acrylic paint pens all work.
A few tips for painting:
- Prime first for the most even color, especially on darker or more porous clay. A thin coat of white gesso or acrylic primer keeps colors from looking dull or blotchy.
- Use thin coats. Two or three light layers of paint dry more evenly and adhere better than one thick, gloppy coat, which is more likely to crack or peel.
- Let each layer dry fully before adding the next color or detail — usually 20–30 minutes, though full acrylic cure takes about a week, so avoid heavy handling right after painting.
- Watercolor and tempera paint are not recommended for ornaments meant to last. They’re prettier for a quick classroom craft, but they don’t bond well to clay and will bleed or wash out even under a sealant.

Step 4: Seal the Ornament — the Step That Actually Makes It Last
This is the step that determines whether your ornament survives one Christmas or twenty. A good sealer locks in the paint, blocks moisture and humidity, and prevents the surface from chalking, fading, or flaking as the ornament is packed away and unpacked year after year.
Here are the three most common sealers for clay ornaments, ranked by durability:
1. Polyurethane or acrylic spray sealer (most durable)
A water-based polyurethane or an acrylic spray sealer (matte, satin, or gloss) gives the most durable, water-resistant finish and won’t yellow over time the way some glue-based sealers can. This is the best choice if you want ornaments to genuinely last for years in storage.
2. Mod Podge (good, budget-friendly option)
Mod Podge is an easy, inexpensive sealer that works well for decorative ornaments that won’t get much handling. Apply two to three thin coats with a soft brush, letting each layer dry completely, and choose a matte, satin, or gloss finish depending on the look you want. It offers modest protection against dust and light handling but less water resistance than a spray sealer.
3. PVA (white school) glue (budget option, least durable)
Plain PVA glue diluted slightly with water can work in a pinch and is the most economical option, but it can yellow over time and offers minimal protection against moisture. It’s fine for a quick kids’ craft, but skip it if you want the ornament to last for years.
4. Resin kit (glossiest and most heavy-duty, but the most involved)
A two-part epoxy resin kit gives clay ornaments the thickest, glassiest, most heavy-duty shell of any sealer on this list. Mix the two parts in the exact ratio the kit calls for, then brush or pour a thin, even layer over the fully cured, dust-free ornament. Epoxy resin needs 12 to 36 hours to cure depending on temperature, so this isn’t a last-minute Christmas Eve project — plan a full day or two ahead. If you’re short on time, a UV resin (the kind that cures in 5–10 minutes under a UV lamp or direct sunlight) is a faster alternative, though the coat is usually thinner than epoxy. A few things to know before reaching for resin: work in a well-ventilated space and wear gloves, since resin fumes and repeated skin contact can cause sensitivities; self-leveling resin pools, so it’s best suited to flatter ornament shapes and needs to be rotated while curing on anything dimensional to avoid drips; and all resin, epoxy or UV, yellows very slightly over many years with heat or sun exposure, though this usually isn’t noticeable on ornaments that spend 11 months a year boxed up. It’s also the priciest and most time-consuming option here, so most crafters reserve it for a few standout “statement” ornaments rather than a whole batch.

How to apply any sealer:
- Make sure the ornament is completely dust-free and the paint is fully dry.
- Apply in thin, even layers with a quality flat or foam brush (or light, even spray passes if using a spray sealer; resin gets poured or brushed and self-levels).
- Let each coat dry or cure completely before adding the next — rushing this step causes cloudiness, tackiness, or (with resin) tacky spots that never fully harden.
- Apply two to three thin coats for the best protection with Mod Podge, PVA, or spray sealer. Resin is typically applied as a single, slightly thicker coat since it self-levels. Don’t forget the back and edges of the ornament, not just the front.
- Keep in mind that even the best sealer won’t make clay ornaments fully waterproof — they’re meant to be decorative, not left outdoors or exposed to rain and snow.
Lorem ipsum dolor sit amet, consectetur adipiscing elit. Ut elit tellus, luctus nec ullamcorper mattis, pulvinar dapibus leo.
Step 5: Add the Hanger and Let It Cure
Attach a ribbon, twine loop, or jump ring for hanging before or after sealing, depending on your design (many crafters press a small hole into the clay before it dries so a ribbon can be threaded through later). Once sealed, let the ornament cure in a dust-free area for at least 24 hours before hanging it or packing it away — the sealer needs time to fully harden, and handling it too soon can leave fingerprints or dull spots in the finish.
How to Store Clay Ornaments So They Last Even Longer
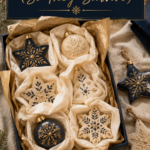
Proper storage matters just as much as painting and sealing. Wrap each ornament individually in soft tissue paper or bubble wrap, store them in a sturdy box with dividers so they don’t knock against each other, and keep the box in a climate-controlled space rather than a hot attic or damp basement — extreme temperature swings and humidity are what cause old sealant to yellow, crack, or lift over time.
Frequently Asked Questions
What is the best sealant for air dry clay ornaments?
For the longest-lasting results, a water-based polyurethane or acrylic spray sealer is the best sealant for air dry clay ornaments, since it’s more water- and humidity-resistant than Mod Podge or plain glue and won’t yellow with age.
Can you use acrylic paint on clay ornaments?
Yes — acrylic paint is the best paint for clay Christmas ornaments. It’s flexible, dries quickly, and holds color well once sealed with two to three coats of a clear sealer.
How do you keep clay ornaments from cracking?
Make sure the clay is completely dry (or fully baked) before painting, keep the clay at a consistent thickness of at least 1/4 inch, avoid drying it in direct sunlight or a hot oven too quickly, and handle it gently until it’s fully cured.
How long do homemade clay ornaments actually last?
With clay that’s fully cured before painting, acrylic paint, and two to three coats of a quality sealer, homemade clay ornaments can realistically last for decades with proper storage between seasons.
Do you need to seal both air dry clay and salt dough ornaments?
Yes. Both air dry clay and baked salt dough are porous and will absorb moisture and lose their color over time without a sealer, so sealing is essential for any clay ornament you want to keep for more than one Christmas.
Whether you’re working with air dry clay, salt dough, or polymer clay, the formula is the same: dry or bake it fully, sand it smooth, paint it with acrylic, and seal it with two to three thin coats of a quality sealer. Follow those four steps and this year’s clay ornaments can become next decade’s family keepsakes. And if this one hooked you, my air dry clay croissant magnets tutorial is a fun next project for the leftover clay.
— Jennifer Dawn






I want to decoupage napkins on some. Do you think the process is the same as decoupaging on other surfaces?
Yes it is. Make sure your clay piece is dry first.