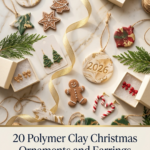


There’s something about polymer clay Christmas projects that makes the season feel handmade again. One block of clay, an hour at the kitchen table, and a quick bake turn into ornaments your family will hang for years, plus earrings you’ll actually wear to every holiday party. Below are 12 polymer clay ornaments and 8 pairs of DIY Christmas earrings. Each one comes with exactly what you need, how long it takes, and the steps to make it, so you can stop pinning and start making.
Full disclosure before we get our hands sticky: some links in this post are affiliate links. If you buy through them, I may earn a small commission at no extra cost to you, and I promise it all goes straight back into my clay habit, which gets frankly out of control every December. As an Amazon Associate I earn from qualifying purchases.
Polymer clay Christmas ornaments
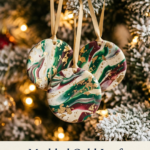
- Marbled Gold-Leaf Ornaments
- Faux Gingerbread Cookie Ornaments
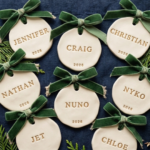
- Personalized Name Ornaments
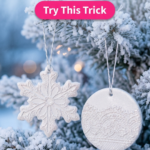
- Lace-Stamped Snowflake Ornaments
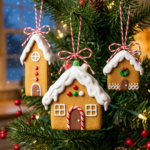
- Mini Gingerbread House Ornaments
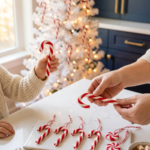
- Candy Cane Twist Ornaments
- Hot Cocoa Mug Ornaments
- Pressed Evergreen Ornaments
- Snowman Ornaments
- Terrazzo Star Ornaments
- Paw Print Pet Ornaments
- Mini Wreath Ornaments
Polymer clay Christmas earrings
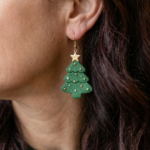
13. Christmas Tree Dangle Earrings
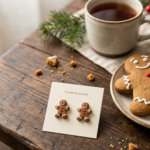
14. Gingerbread Man Studs
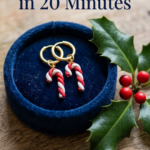
15. Candy Cane Charm Hoops
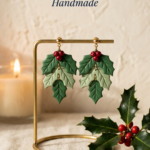
16. Holly Berry Drop Earrings
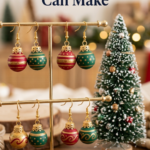
17. Ornament Bauble Earrings
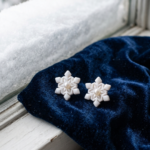
18. Pearl Snowflake Studs
19. Red Plaid Arch Earrings
20. Velvet-Red Bow Earrings
Then: baking and finishing tips, selling them, and FAQs.
What You Need for Polymer Clay Christmas Projects
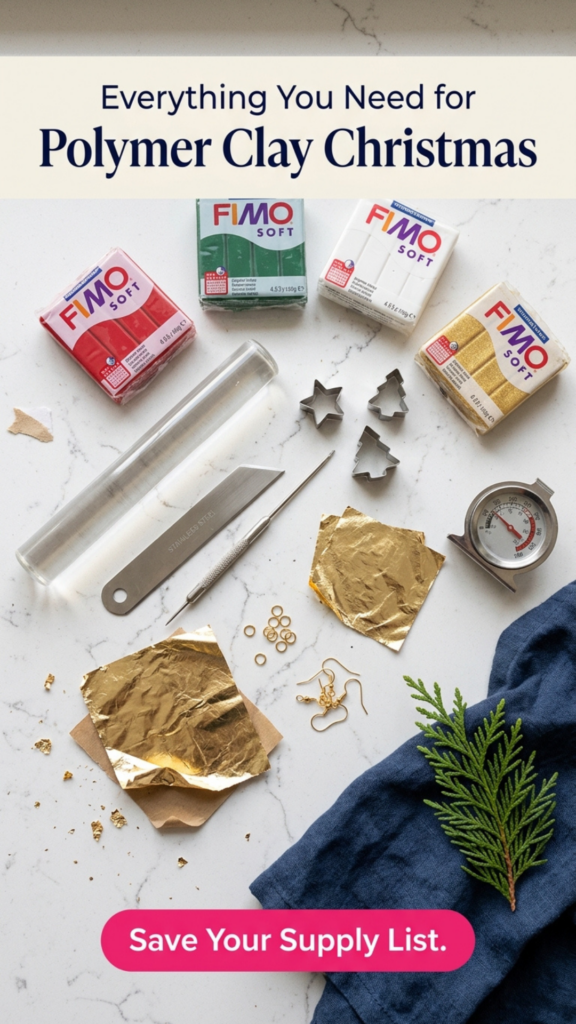
You don’t need a studio, just a few basics you’ll use for every project in this list:
- Polymer clay: I reach for Fimo Soft because it’s easy to condition and holds crisp detail. Fimo Effect adds glitter and translucent shades. A 12-color Christmas set covers almost every project here.
- Acrylic roller and a clay blade: Use them for smooth, even slabs and clean cuts.
- Mini cutters: Stars, trees, circles, and gingerbread shapes. Keep them separate from your kitchen cutters.
- Needle tool or toothpick: For hanger holes, texture, and details.
- Gold leaf, mica powder, and liquid clay: These add shine, shimmer, and “icing.”
- Findings for earrings: Nickel-free earring hooks, gold hoops, jump rings, and two pairs of flat-nose pliers.
- Oven thermometer, parchment, and a baking tile: Home ovens run hot, and burnt clay is the number one beginner heartbreak.
- Gloss glaze: Use a water-based polymer clay glaze, not nail polish, which can turn sticky over time.
Most of these are on my Polymer Clay Supplies list on Amazon (add your Idea List link). If you’re brand new to clay, start with my Air Dry Clay for Beginners guide too. The handling basics carry over.
Polymer Clay Christmas Ornaments
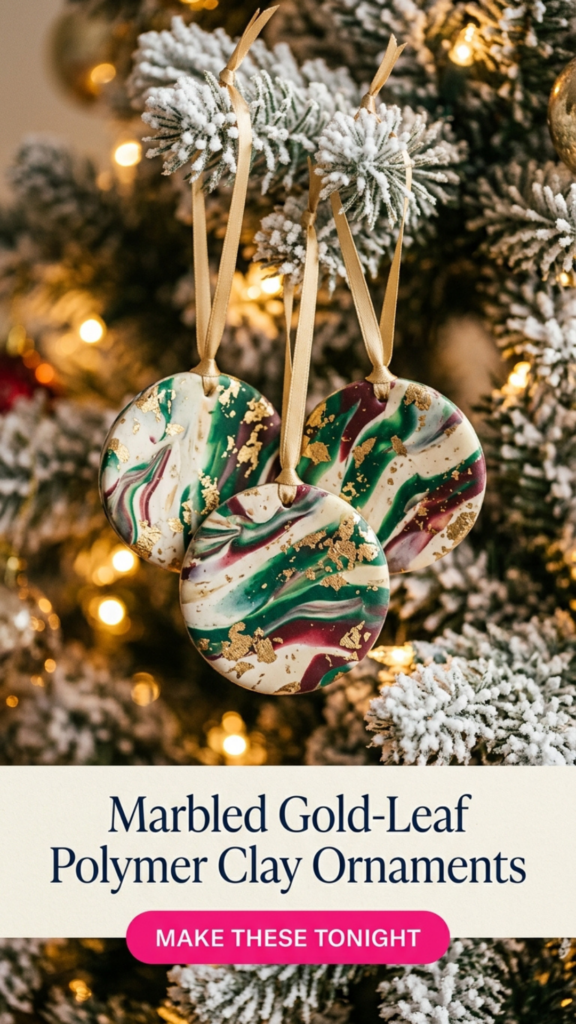
These look like they came from a high-end boutique, and they’re the easiest project on the list. Every one comes out different, which makes them perfect for gifting a set.
Time: 45 minutes plus baking | Skill: Beginner | Cost: About $8 for six
You’ll need: White clay plus one or two accent colors, gold leaf, a round cutter (about 2.5 inches), a straw, and gold ribbon.
How to make it:
- Roll thin snakes of each color, twist them together, fold, and twist again until you see swirls. Stop before the colors blend into mud.
- Roll the marbled clay into a 1/4-inch slab and press small flakes of gold leaf onto the surface.
- Roll lightly once more to set the leaf, then cut circles and punch a hanger hole with the straw.
- Bake per your clay’s package (Fimo is 230°F/110°C for 30 minutes). Cool completely, glaze, and add ribbon.
Pro tip: Gold leaf sticks best to fresh, unbaked clay, so add it before baking. A dab of glaze on top keeps it from flaking.
Faux Gingerbread Cookie Ornaments

They fool everyone, and they’ll last for decades instead of going stale by New Year’s.
Time: 1 hour plus baking | Skill: Beginner | Cost: About $6 for eight
You’ll need: Brown clay (mix in a pinch of ochre for real gingerbread tones), white liquid clay, red clay, a gingerbread cutter set, a toothbrush, and baker’s twine.
How to make it:
- Roll brown clay 1/4 inch thick and cut your shapes. Make the hanger hole now.
- Dab the surface with a clean toothbrush for a realistic baked-cookie texture.
- Pipe “icing” lines with white liquid clay from a fine-tip bottle, then press in tiny red clay buttons.
- Bake, cool, and leave unglazed for a true matte cookie look.
Pro tip: Brush a little brown chalk pastel or mica powder around the edges before baking for a golden “oven-baked” rim.
3. Personalized Name Ornaments
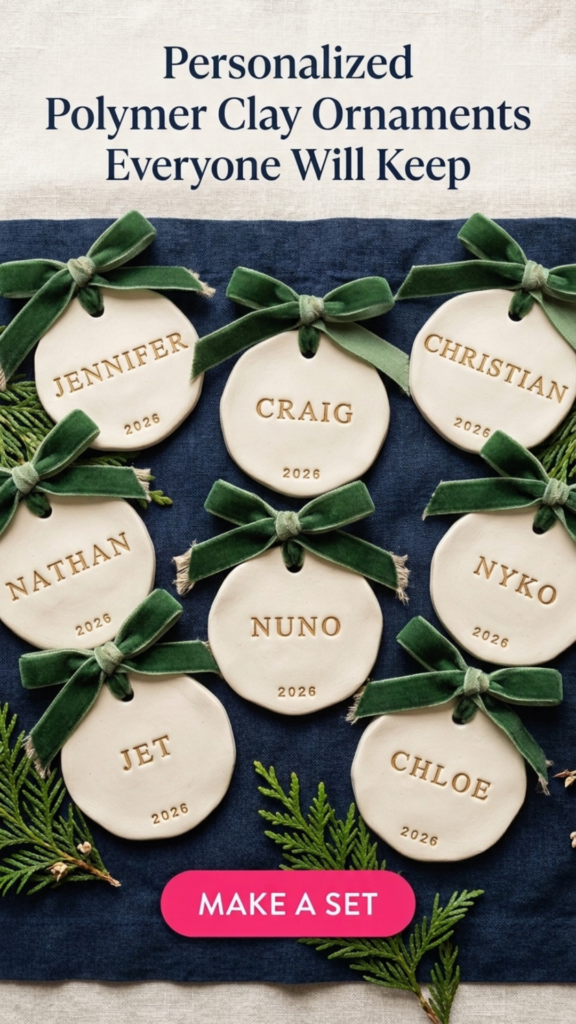
This is the one people keep forever. Make one for every person at the table or every guest at a holiday dinner.
Time: 1 hour for a set of eight | Skill: Beginner | Cost: About $10
You’ll need: White or cream clay, a letter stamp set, a circle cutter, gold mica powder or gold paint pen, and ribbon.
How to make it:
- Roll a 1/4-inch slab and cut circles.
- Press the letters in gently and evenly. Lay a ruler along the bottom as a guide for straight names.
- Brush gold mica powder into the letters, then wipe the surface clean with a fingertip.
- Add the year, punch the hanger hole, bake, cool, and glaze.
Pro tip: Stamp a test name on a scrap first. Letter stamps go in backwards more often than anyone admits.
4. Lace-Stamped Snowflake Ornaments
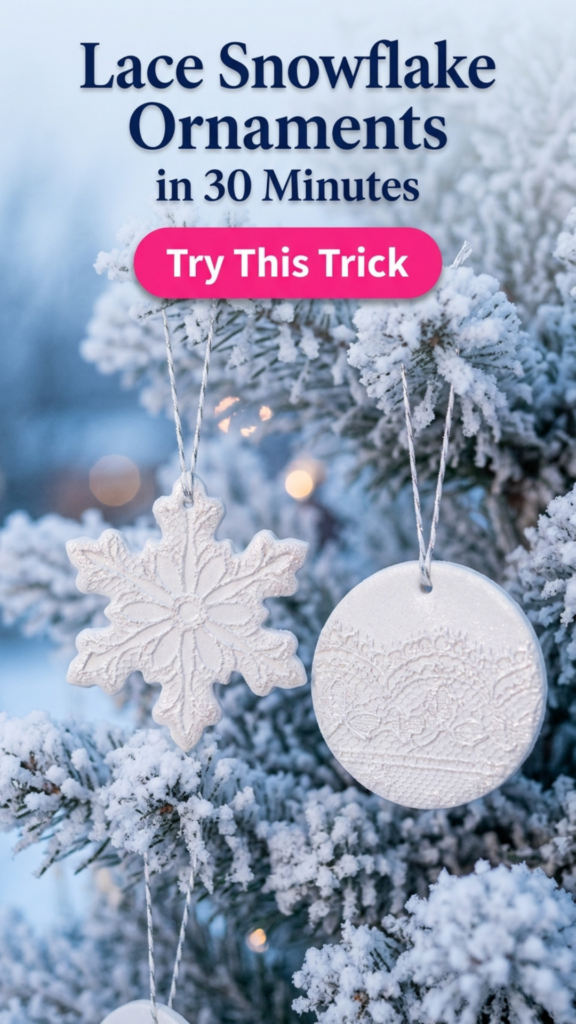
A thrift-store doily does all the work here, and the texture is gorgeous.
Time: 30 minutes plus baking | Skill: Beginner | Cost: About $5
You’ll need: White clay, a lace doily or lace trim, snowflake and circle cutters, pearl mica powder, and silver cord.
How to make it:
- Roll a 1/4-inch slab, lay the lace on top, and roll over it once with firm, even pressure.
- Peel the lace away slowly to reveal the pattern.
- Cut your shapes and brush pearl mica lightly over the raised texture.
- Punch holes, bake, cool, and glaze.
Pro tip: Dust the lace with a little cornstarch first so it lifts cleanly without tearing the clay.
5. Mini Gingerbread House Ornaments
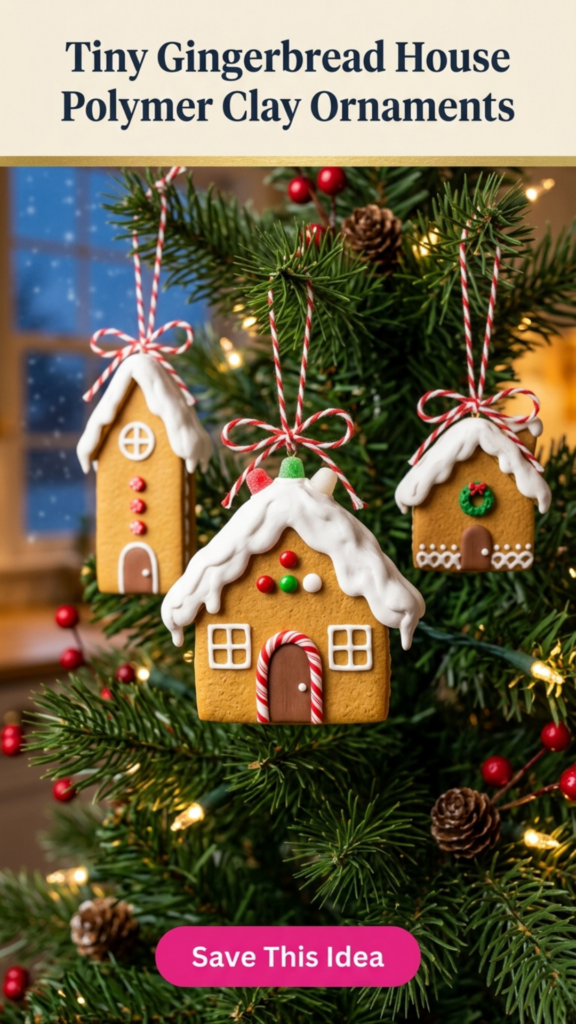
These are flat-backed, so they’re far easier than they look. They make a sweet heirloom gift.
Time: 1.5 hours plus baking | Skill: Intermediate | Cost: About $7 for four
You’ll need: Brown, white, red, and green clay, white liquid clay, a craft knife, a house template (draw it on cardstock), and twine.
How to make it:
- Cut a 1/4-inch house shape from brown clay using your template.
- Add a white clay roof, then texture it with a needle tool so it looks like piled snow.
- Add a door, windows, and tiny candy details, and pipe liquid clay “icing” along the edges.
- Make the hanger hole through the roof peak, bake, and glaze only the candy pieces for shine.
Pro tip: Use a piece of fresh glass or a ceramic tile as your work surface, then bake right on it so details never get bumped on the way to the oven.
6. Candy Cane Twist Ornaments
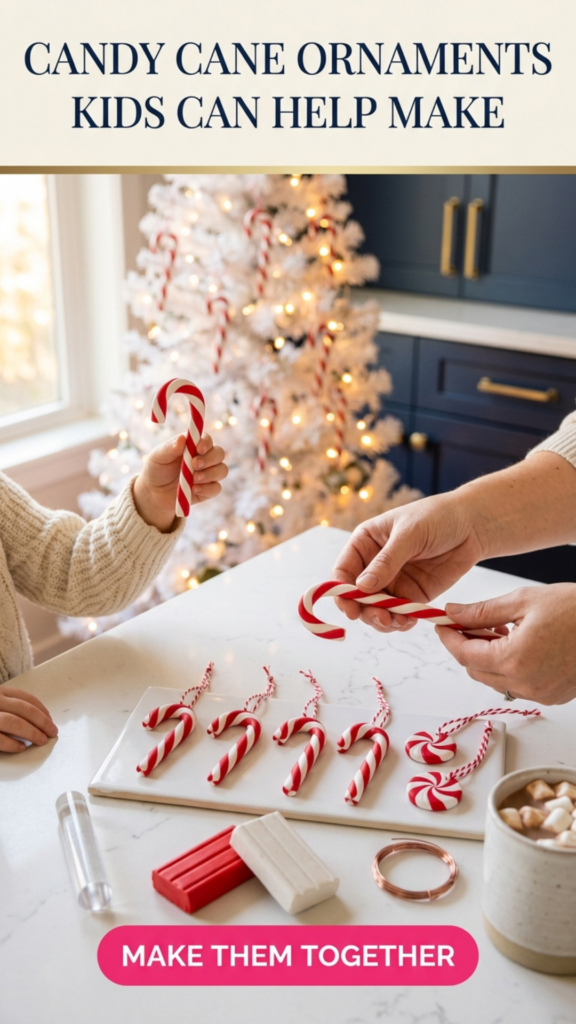
This is the perfect project to do with kids or grandkids. Everyone ends up with a batch to take home.
Time: 30 minutes plus baking | Skill: Beginner | Cost: About $4 for ten
You’ll need: Red and white clay, a wire armature (thin craft wire), and a gloss glaze.
How to make it:
- Roll equal red and white snakes about the thickness of a pencil.
- Lay them side by side, twist, and roll gently to smooth the stripes.
- Thread a short piece of wire through the center for strength, and bend the top into a hook.
- Bake, cool, and glaze for that freshly unwrapped shine.
Pro tip: For peppermint swirls, coil the twisted rope into a flat spiral and press it gently into a disc instead.
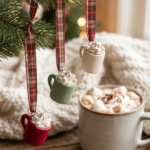
7. Hot Cocoa Mug Ornaments
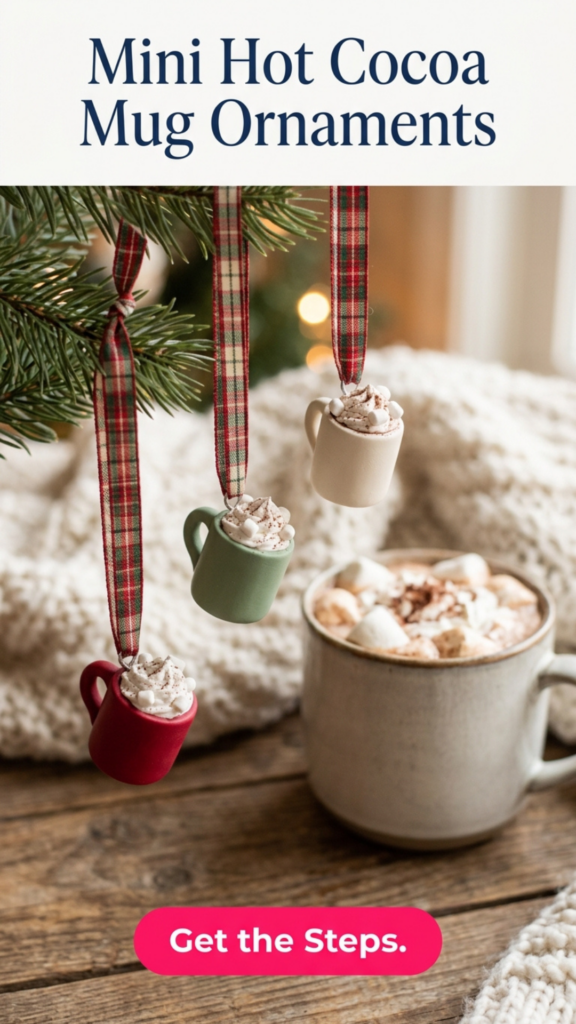
These are cozy, cute, and a great match for a hot cocoa gift basket.
Time: 1 hour plus baking | Skill: Intermediate | Cost: About $6 for four
You’ll need: Colored clay for mugs, brown clay for cocoa, white clay and liquid clay, a bottle cap or small cutter, and ribbon.
How to make it:
- Form a mug body around a pen cap or small dowel, then flatten the base.
- Add a thin brown disc inside for cocoa, and a coil handle on the side.
- Top with tiny white clay cubes for marshmallows or a swirl of liquid clay “whipped cream.”
- Insert an eye pin into the top, bake, cool, and glaze the mug only.
Pro tip: Add a pinch of red mica to the cocoa before baking so it looks like it’s still warm.
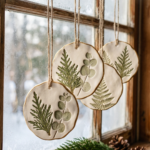
8. Pressed Evergreen Ornaments
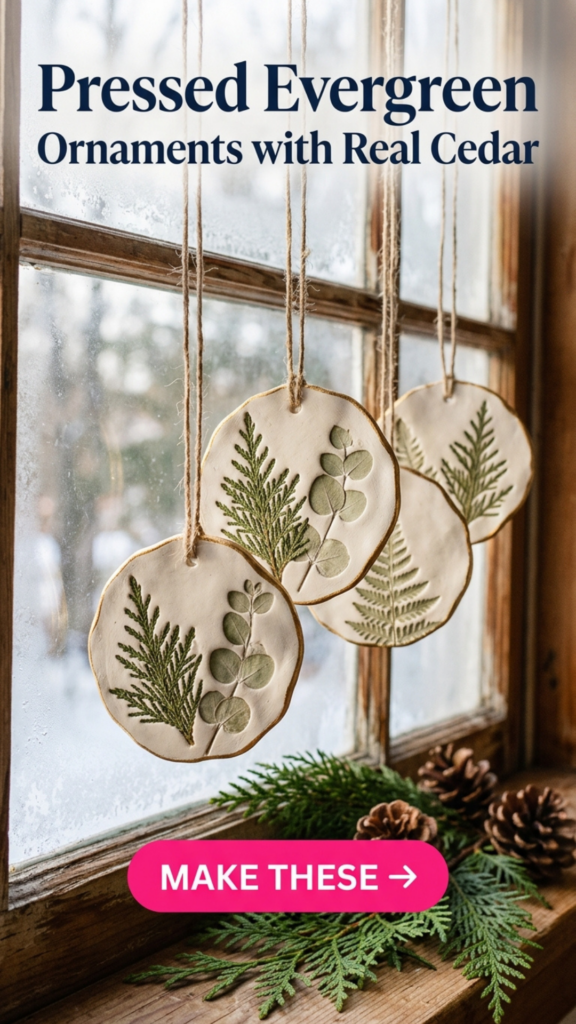
Take a walk, snip a few sprigs, and turn them into the most elegant ornaments on your tree.
Time: 40 minutes plus baking | Skill: Beginner | Cost: About $5
You’ll need: White or cream clay, fresh cedar, fern, or eucalyptus sprigs, a circle or oval cutter, and a gold paint pen.
How to make it:
- Roll a 1/4-inch slab and lay the greenery flat on top.
- Roll over it once, then lift the sprig out by its stem.
- Cut your shape around the impression and punch the hole.
- Bake, cool, and paint a thin gold rim around the edge.
Pro tip: Rinse and pat greenery dry first. Sap and dust leave marks that bake in permanently.
9. Snowman Ornaments
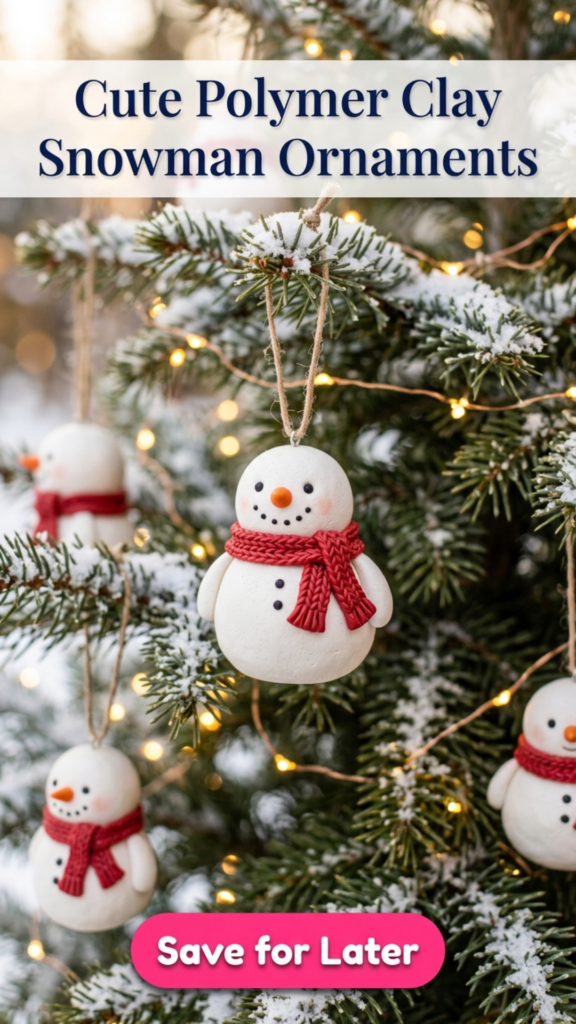
They’re adorable, forgiving, and every one gets its own personality.
Time: 45 minutes plus baking | Skill: Beginner | Cost: About $5 for six
You’ll need: White, orange, black, and red clay, a needle tool, and eye pins.
How to make it:
- Roll two white balls, a larger one for the body and a smaller one for the head, and press them together.
- Add a carrot nose, tiny black eyes and buttons, and a dotted smile.
- Wrap a thin red scarf and texture it with the needle tool so it looks knit.
- Insert an eye pin into the head, bake, and leave matte for a snowy finish.
Pro tip: Wipe your hands with baby wipes between colors. White clay picks up every speck of red.
10. Terrazzo Star Ornaments
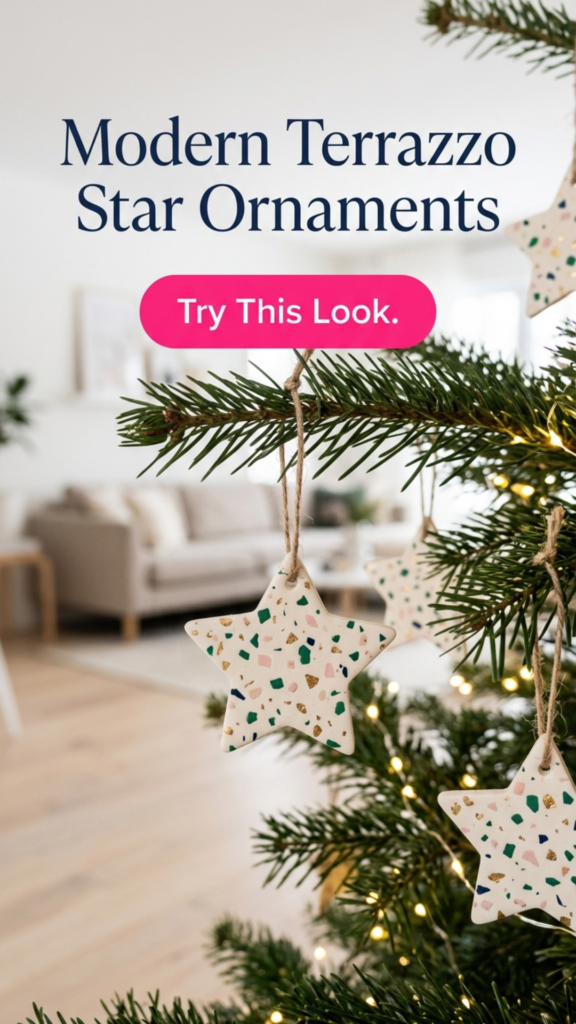
This is the modern take on handmade ornaments, and it’s a great way to use up clay scraps.
Time: 45 minutes plus baking | Skill: Beginner | Cost: Uses up scraps
You’ll need: A cream base clay, scraps in three or four colors, a blade, a star cutter, and fine sandpaper.
How to make it:
- Bake a few thin sheets of scrap colors for 10 minutes, cool, and chop them into tiny chips.
- Press the chips into an unbaked cream slab and roll smooth.
- Cut stars and punch hanger holes.
- Bake, cool, wet-sand lightly, and glaze for a polished stone look.
Pro tip: Pre-baking the chips keeps their edges crisp, which is what makes terrazzo look real.
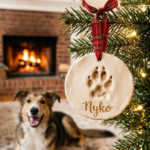
11. Paw Print Pet Ornaments
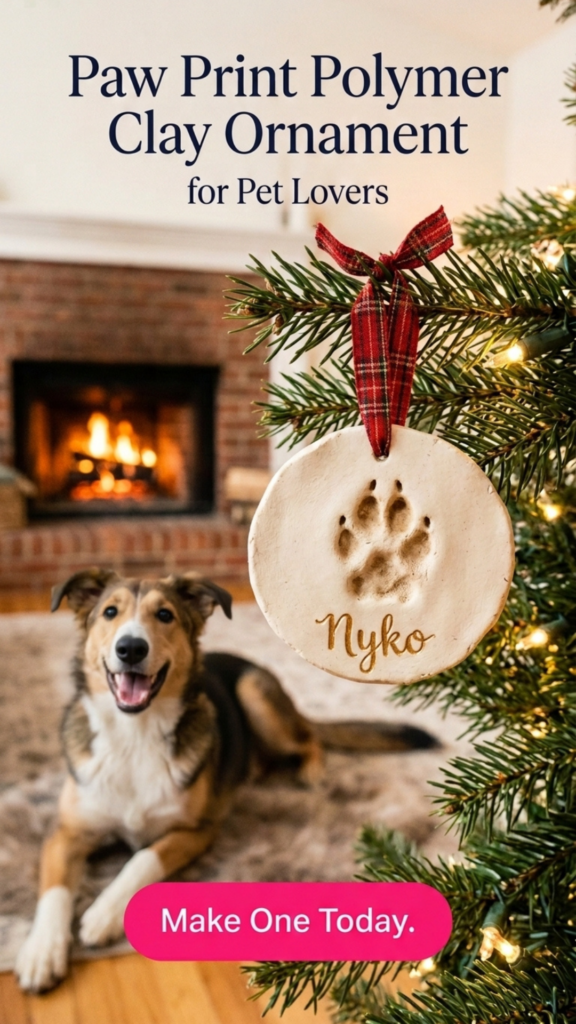
This is a keepsake every pet lover will tear up over. It’s also the most-requested ornament at holiday markets.
Time: 30 minutes plus baking | Skill: Beginner | Cost: About $3 each
You’ll need: White clay, a large circle cutter, a gold paint pen, a pet treat, and ribbon.
How to make it:
- Roll a 1/2-inch-thick slab so the paw print has depth.
- Gently press your pet’s paw into the center (a treat in the other hand helps).
- Cut around the print with a circle cutter and punch the hole.
- Bake, cool, and add the name and year in gold paint pen. Glaze over it to protect the lettering.
Pro tip: Lay plastic wrap over the clay before pressing. It keeps fur out of the clay and gives a softer, rounded print.
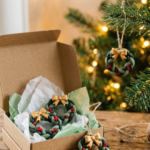
12. Mini Wreath Ornaments
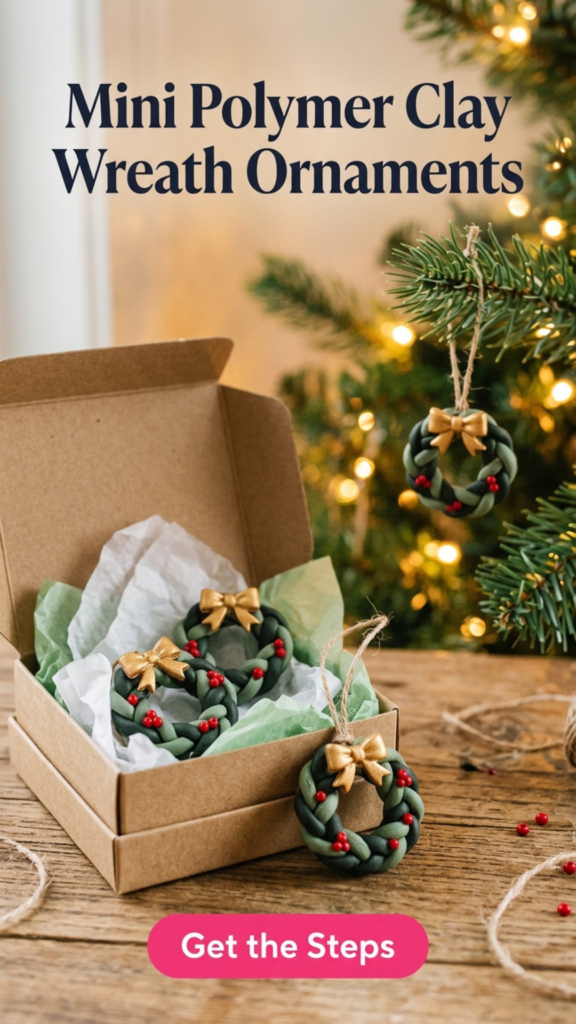
They look intricate, but it’s just a braid.
Time: 40 minutes plus baking | Skill: Beginner | Cost: About $5 for six
You’ll need: Two shades of green clay, red clay, gold mica powder, and ribbon.
How to make it:
- Roll two thin snakes in different greens and twist or braid them together.
- Form the braid into a circle and blend the ends together at the back.
- Add tiny red berries and a small clay bow brushed with gold mica.
- Bake on a flat tile, cool, and tie a ribbon loop through the center.
Pro tip: Texture the braid with an old toothbrush before baking so it reads as evergreen needles instead of smooth rope.
Polymer Clay Christmas Earrings
Christmas earrings are the fastest polymer clay gift you can make. A full pair takes under an hour, they weigh almost nothing, and they’re a top seller at holiday markets. Roll earrings a little thinner than ornaments, about 1/8 inch, so they stay light enough to wear all night.
13. Christmas Tree Dangle Earrings
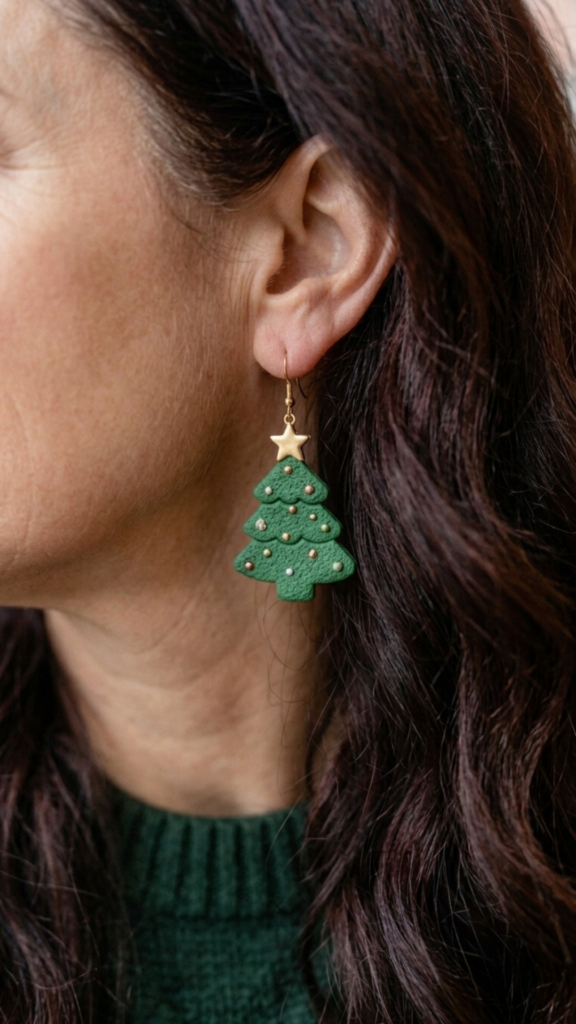
They’re festive without being costume-y, and they go with every holiday outfit.
Time: 45 minutes plus baking | Skill: Beginner | Cost: About $3 a pair
You’ll need: Green clay, a mini tree cutter, gold mica or a gold paint pen, nickel-free hooks, jump rings, and pliers.
How to make it:
- Roll green clay 1/8 inch thick and cut two trees.
- Poke tiny “ornament” dots with a ball tool and a hole at the top with a needle tool.
- Bake, cool, and wet-sand the edges smooth.
- Dot the ornaments with gold, glaze, and attach the hooks with jump rings.
Pro tip: Always make the hole before baking. Drilling baked clay often cracks thin earrings.
14. Gingerbread Man Studs
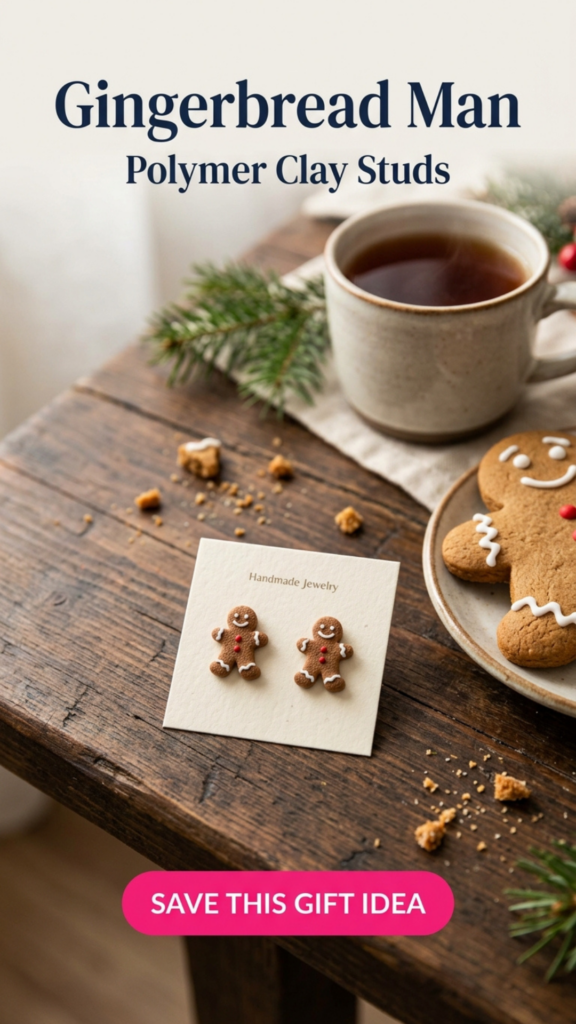
They’re small, sweet, and an easy stocking stuffer.
Time: 30 minutes plus baking | Skill: Beginner | Cost: About $2 a pair
You’ll need: Brown clay, a mini gingerbread cutter (about 1/2 inch), white liquid clay, flat stud posts, and strong jewelry glue (such as E6000).
How to make it:
- Cut tiny gingerbread men from a 1/8-inch slab.
- Add icing details with liquid clay and a needle tool.
- Bake, cool, and lightly sand the backs flat.
- Glue on stud posts and let them cure for 24 hours before wearing.
Pro tip: Press the stud post into the raw clay first to leave a shallow dent. After baking, glue it back into the dent for a much stronger hold.
15. Candy Cane Charm Hoops

This is the easiest pair on the list, and it upgrades any plain hoops you already own.
Time: 20 minutes plus baking | Skill: Beginner | Cost: About $4 a pair
You’ll need: Red and white clay, gold hoops, small jump rings, and pliers.
How to make it:
- Twist thin red and white snakes and cut 3/4-inch lengths.
- Bend the tops into a candy cane hook and poke a tiny hole near the top.
- Bake, cool, and glaze.
- Attach each charm to a hoop with a jump ring.
Pro tip: Make a dozen at once. They’re the perfect add-on sale at a market table.
16. Holly Berry Drop Earrings
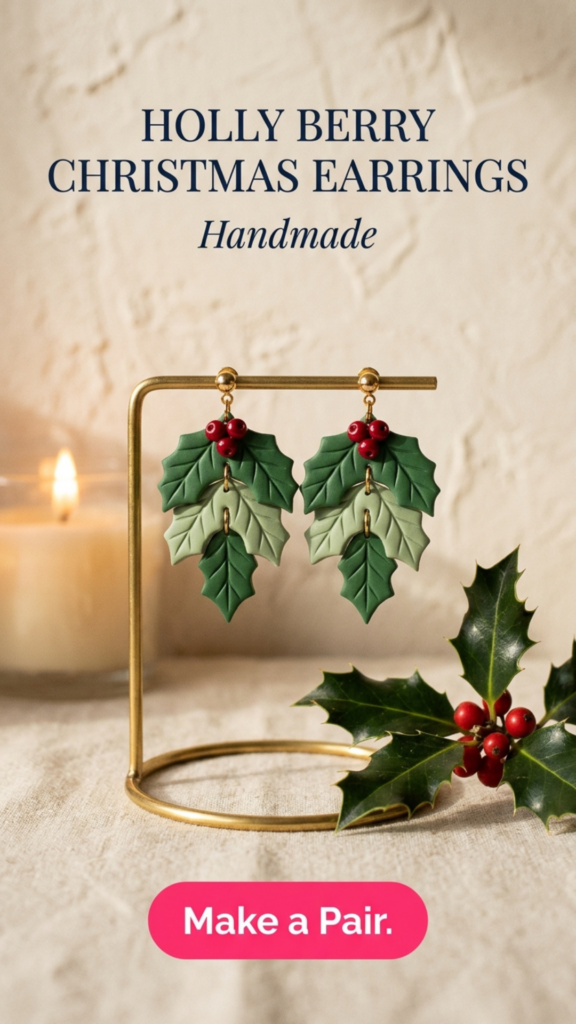
They’re classic, a little bit vintage, and pretty enough for Christmas Eve.
Time: 45 minutes plus baking | Skill: Intermediate | Cost: About $3 a pair
You’ll need: Two greens, red clay, a holly leaf cutter or template, a needle tool, ear studs with loops, and jump rings.
How to make it:
- Cut two holly leaves per earring from a 1/8-inch green slab.
- Score a center vein with your needle tool and overlap the leaves slightly.
- Add three tiny red berries where the leaves meet, and poke a hole at the top.
- Bake, cool, glaze only the berries, and attach to the studs.
Pro tip: Glossy berries against matte leaves is what makes these look expensive.
17. Ornament Bauble Earrings
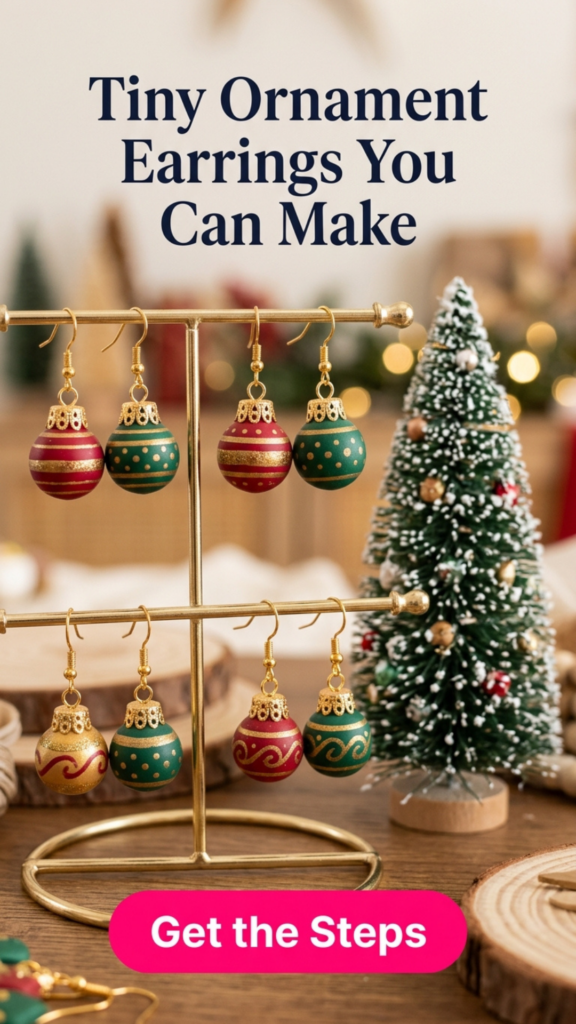
They look like miniature tree ornaments, which never fails to make people smile.
Time: 40 minutes plus baking | Skill: Beginner | Cost: About $3 a pair
You’ll need: Colored clay, a small circle cutter (about 3/4 inch), thin clay strips for stripes, gold bead caps, eye pins, and hooks.
How to make it:
- Cut circles from a 1/8-inch slab and decorate them with thin stripes or dots.
- Roll lightly to set the pattern, then recut for a clean edge.
- Press a gold bead cap and eye pin into the top of each one.
- Bake, cool, glaze, and attach the hooks.
Pro tip: Pull the eye pin out after baking, add a drop of glue, and push it back in. It will never pull loose.
18. Pearl Snowflake Studs
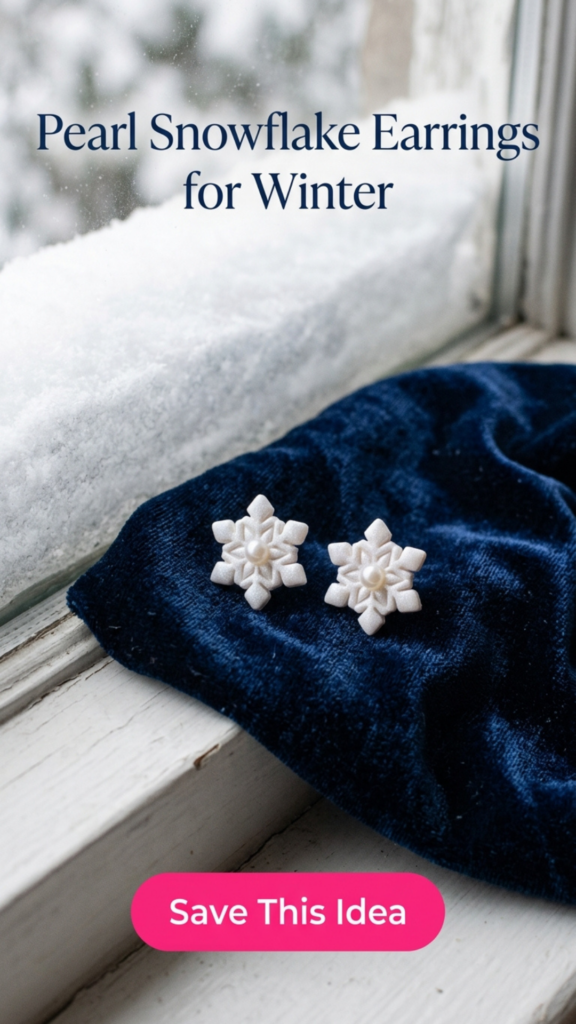
They’re delicate enough to wear well past Christmas, all winter long.
Time: 30 minutes plus baking | Skill: Beginner | Cost: About $3 a pair
You’ll need: White clay, a mini snowflake cutter, pearl mica powder, tiny flat-back pearls, stud posts, and jewelry glue.
How to make it:
- Cut snowflakes from a 1/8-inch slab and press a pearl gently into each center.
- Brush lightly with pearl mica.
- Bake, cool, and sand the backs flat.
- Glue on stud posts and cure for 24 hours.
Pro tip: Glass and plastic pearls can both go in the oven at polymer clay temperatures, so set them before baking for the most secure hold.
19. Red Plaid Arch Earrings

They’re cozy cabin style in earring form. Plaid looks hard, but it’s just layered strips.
Time: 1 hour plus baking | Skill: Intermediate | Cost: About $3 a pair
You’ll need: Red, black, and white clay, a blade, a ruler, an arch cutter, stud tops with loops, and jump rings.
How to make it:
- Lay thin red stripes across a slab at even intervals using your ruler.
- Lay thin black stripes the opposite way, then roll firmly to merge the plaid.
- Cut arches and poke a hole at the top of each.
- Bake, cool, sand the edges, and attach to the stud tops.
Pro tip: Chill the clay for 10 minutes before cutting stripes. Firm clay gives you crisp, straight lines.
20. Velvet-Red Bow Earrings

Bows are everywhere this season, and these take five minutes once you know the fold.
Time: 30 minutes plus baking | Skill: Beginner | Cost: About $3 a pair
You’ll need: Deep red clay, a blade, a ruler, stud tops with loops, and jump rings.
How to make it:
- Cut two 1/4-inch-wide strips from a 1/8-inch slab: one for the loops and one for the tails.
- Fold the loop strip into a bow shape and pinch the center.
- Wrap a tiny strip around the center, add the tails, and poke a hole through the top.
- Bake, cool, and attach to the stud tops. Leave them matte for a velvet look.
Pro tip: Bake on a bed of cornstarch or a folded index card so the loops keep their rounded shape.
Polymer Clay Baking and Finishing Tips
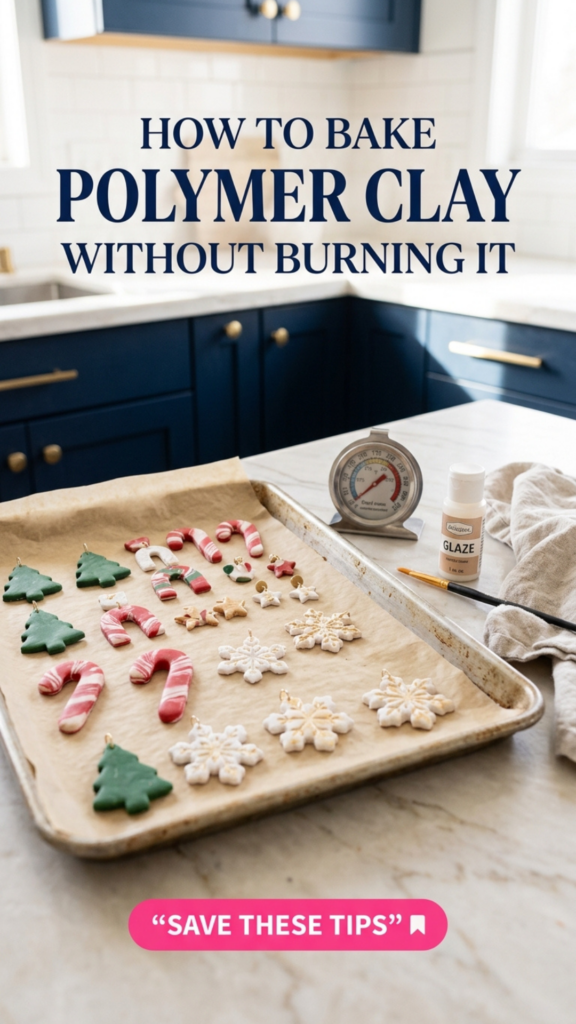
These are the tips that save every beginner batch:
- Trust a thermometer, not the dial. Most home ovens run 10 to 25 degrees off. Too hot scorches clay, and too cool leaves it brittle.
- Tent with foil. A loose foil tent over the tray stops browning on white and light colors.
- Follow the clay brand. Fimo bakes at 230°F (110°C) for 30 minutes. Other brands vary, so check the package.
- Keep it ventilated. Open a window while baking, and never let clay burn.
- Use dedicated tools. Tools that touch clay shouldn’t go back to food prep.
- Let it cool fully. Polymer clay is slightly flexible when hot and hardens as it cools, so don’t test strength straight out of the oven.
- Sand under water. Wet sanding with fine sandpaper gives smooth edges without dust.
- Glaze thin. Two thin coats look better than one thick coat, which can stay tacky.
If you love working with clay but want to skip the oven, my Air Dry Clay Christmas Ornaments post has 20 more ideas, and How to Seal Air Dry Clay shows you how to make them last.
Want to Sell Your Polymer Clay Christmas Ornaments and Earrings?
You can. After years running my own candle and gift shop, I can tell you that personalized ornaments, pet paw prints, and Christmas earrings are the items that fly off a holiday table, because they’re affordable impulse gifts. Price ornaments by the set, and display earrings on cards at eye level so shoppers can hold them up to their ears.
For pricing tips and more bestsellers, read 25 Christmas Crafts to Make and Sell. If you’re making gifts this year too, my 25 Air Dry Clay Gifts People Will Actually Use (add link) pairs perfectly with these.
Polymer Clay Christmas FAQ
Can I bake polymer clay ornaments in my regular oven?
Yes. Use an oven thermometer, bake on parchment or a ceramic tile, tent with foil, and keep clay tools separate from your kitchen tools.
Is polymer clay or air dry clay better for Christmas ornaments?
Polymer clay is stronger, holds finer detail, and won’t soften with humidity once baked. Air dry clay needs no oven and is lighter for big pieces, but it must be sealed. Both have a place on the tree.
How do I make polymer clay ornaments shiny?
Brush on a water-based polymer clay gloss glaze after baking, in thin coats. Skip nail polish, which can turn sticky over time.
Are polymer clay earrings heavy?
Not when they’re rolled about 1/8 inch thick. Most pairs weigh less than a small coin, so they’re comfortable all night.
How long do polymer clay ornaments last?
Properly baked polymer clay lasts for decades. Store ornaments wrapped in tissue so painted details don’t rub.
There you go: 20 polymer clay Christmas ornaments and earrings, enough to fill your tree, your gift list, and maybe a market table too. Pick one project for this weekend, grab a block of clay, and make something your family will hang every December for years.
Happy making,
Jennifer Dawn