

Creating your own homemade lip balm is easier than you might think. With just a few simple ingredients, you can make custom lip balms that nourish your lips naturally. This guide walks you through everything from basic recipes to advanced formulations.
Making lip balm at home lets you control what goes on your skin. You skip harsh chemicals and add beneficial ingredients your lips will love. Plus, homemade lip balm makes wonderful gifts for friends and family.
Affiliate Disclosure: This post contains affiliate links. When you purchase through these links, I may earn a small commission at no additional cost to you. I only recommend products I personally use and trust.
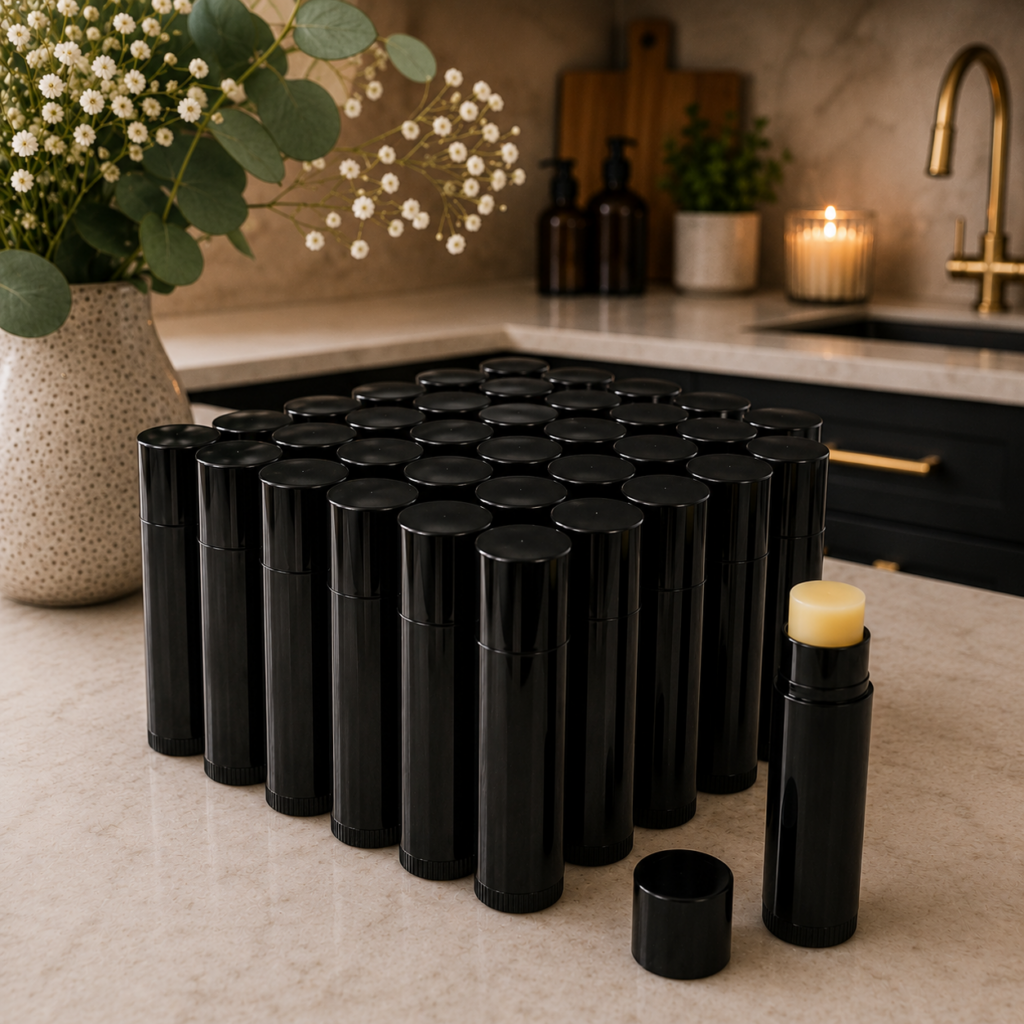
Before diving into recipes, you’ll want to gather quality lip balm tubes for storing your creations. I recommend starting with a pack that gives you room to experiment with different recipes.
Essential Lip Balm Tubes
These empty lip balm tubes are perfect for beginners. The twist-up design makes application easy and the clear bottom lets you see your beautiful creations.
Understanding the Basics of Homemade Lip Balm
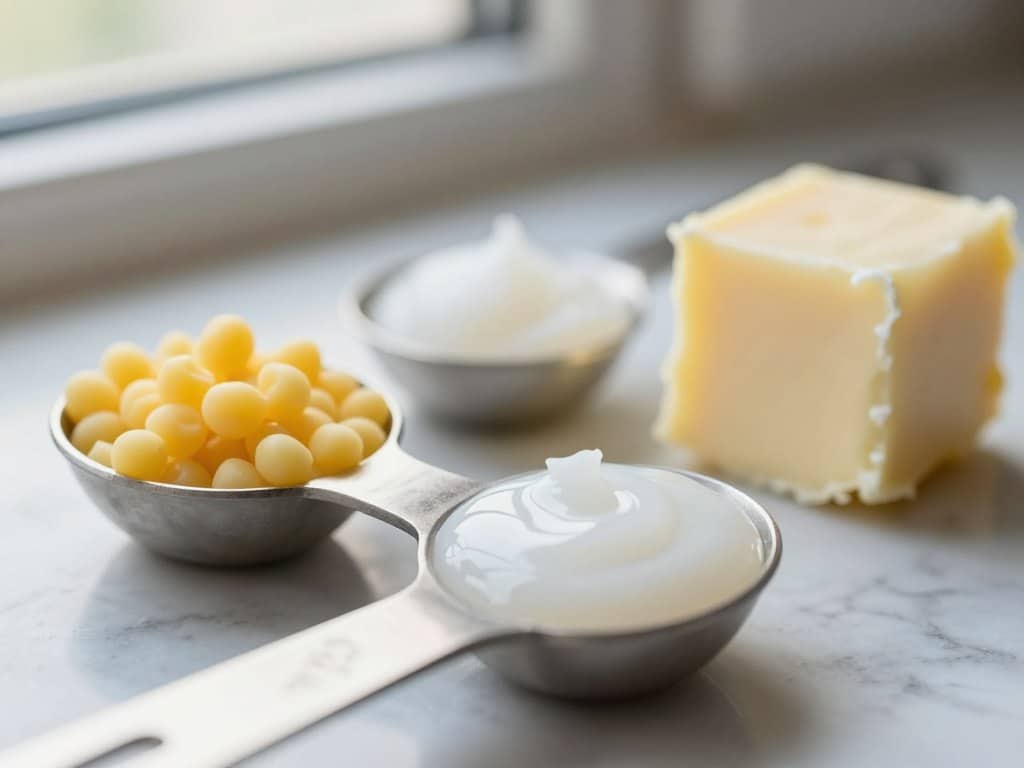
Every lip balm recipe contains three essential components. These ingredients work together to create the perfect texture and moisturizing properties. Understanding this foundation helps you customize recipes to your preferences.
The Three Key Components
The first component is wax, typically beeswax. This ingredient provides structure and helps your lip balm hold its shape. Without wax, your mixture would stay liquid and pour right out of the tubes.
Next comes oil. Coconut oil, almond oil, or similar carriers add moisture and help ingredients blend smoothly. The oil determines how your lip balm feels on application.
Finally, butter adds extra nourishment. Shea butter or cocoa butter makes your lip balm creamy and luxurious. This component provides deep moisturizing benefits.
Why These Ratios Matter
The standard ratio is one part beeswax to two parts oil and one part butter. This creates a firm but smooth texture that glides on easily. Too much wax makes balm hard and difficult to apply.
Too little wax results in a soft mixture that might melt in warm conditions. Finding the right balance takes a bit of practice. Start with basic ratios and adjust based on your climate and preferences.
You can modify recipes slightly once you understand how each ingredient affects the final product. Small adjustments make a big difference in texture and performance.
Essential Supplies and Ingredients for DIY Lip Balm
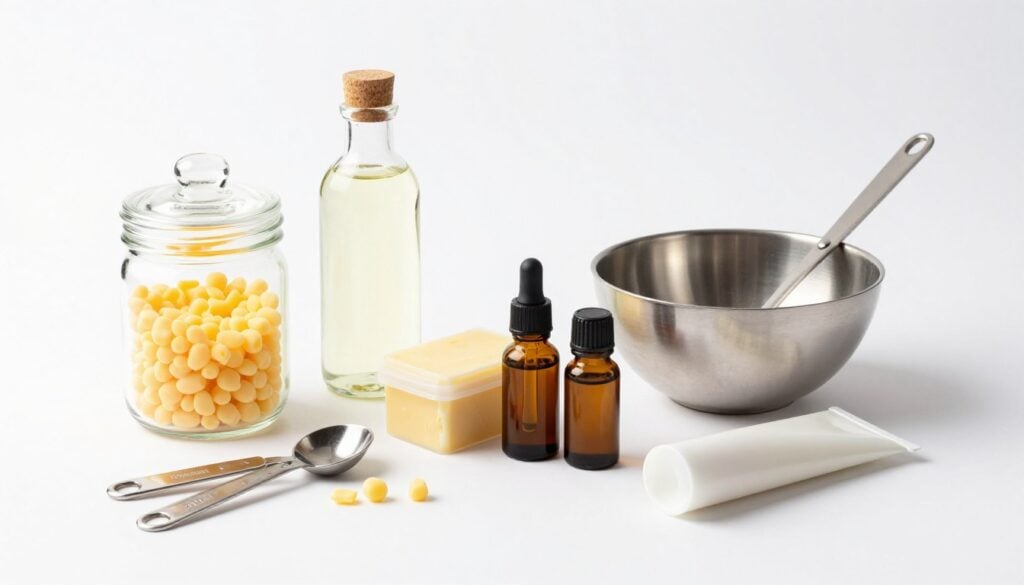
Setting up your lip balm making station requires just a few key supplies. Having everything ready before you start makes the process much easier. Here’s what you need to create professional-quality homemade lip balm.
Must-Have Equipment
Melting Tools
A double boiler is ideal for melting ingredients gently. You can also use a heat-safe bowl over a pot of simmering water. This prevents ingredients from burning.
A small saucepan works if you watch temperature carefully. Keep heat low and stir frequently for best results.
Measuring Items
Accurate measuring spoons ensure consistent results. I use a small kitchen scale for precise measurements. This helps when scaling recipes up or down.
Small measuring cups work well for liquid oils. Having dedicated tools for lip balm making keeps everything organized.
Containers
Lip balm tubes are the most popular option. Small tins work beautifully too. Both options keep your balm fresh and portable.
Choose containers before making balm so you know exactly how much to prepare. This prevents waste.
Core Ingredients You’ll Need
Beginner’s Starter Kit
Getting started is simple with these essential ingredients. This kit provides everything needed for your first batch of homemade lip balm.
- Beeswax pellets: Easier to measure than block wax, melts evenly
- Coconut oil: Moisturizing base that works in most recipes
- Shea butter: Adds creamy texture and deep hydration
- Essential oils: For natural scent and flavor (optional but recommended)
- Vitamin E oil: Acts as natural preservative, extends shelf life
These ingredients create countless recipe variations. You can make dozens of lip balms with a single starter kit. The initial investment pays off quickly compared to buying commercial products.
Get Complete Starter Kit
Choosing Quality Oils
The oil you select dramatically affects your final product. Different oils offer unique benefits for lip care. Here’s a comparison of popular options to help you decide.
| Oil Type | Benefits | Texture | Best For |
| Coconut Oil | Antibacterial, moisturizing, pleasant scent | Light, absorbs quickly | All-purpose, beginners |
| Almond Oil | Rich in vitamins, soothing, hypoallergenic | Medium weight, smooth | Sensitive skin |
| Jojoba Oil | Similar to skin’s natural oils, long-lasting | Silky, non-greasy | Premium formulations |
| Olive Oil | Deeply nourishing, readily available | Heavier, protective | Very dry lips |
I personally use coconut oil for most recipes because it works reliably and smells wonderful. For special formulations, almond oil creates an incredibly smooth texture. Mix oils to combine benefits and create custom blends.
Classic Basic Lip Balm Recipe
This simple recipe is perfect for beginners. It uses just three ingredients and takes about 15 minutes from start to finish. You’ll create a smooth, moisturizing lip balm that rivals store-bought versions.
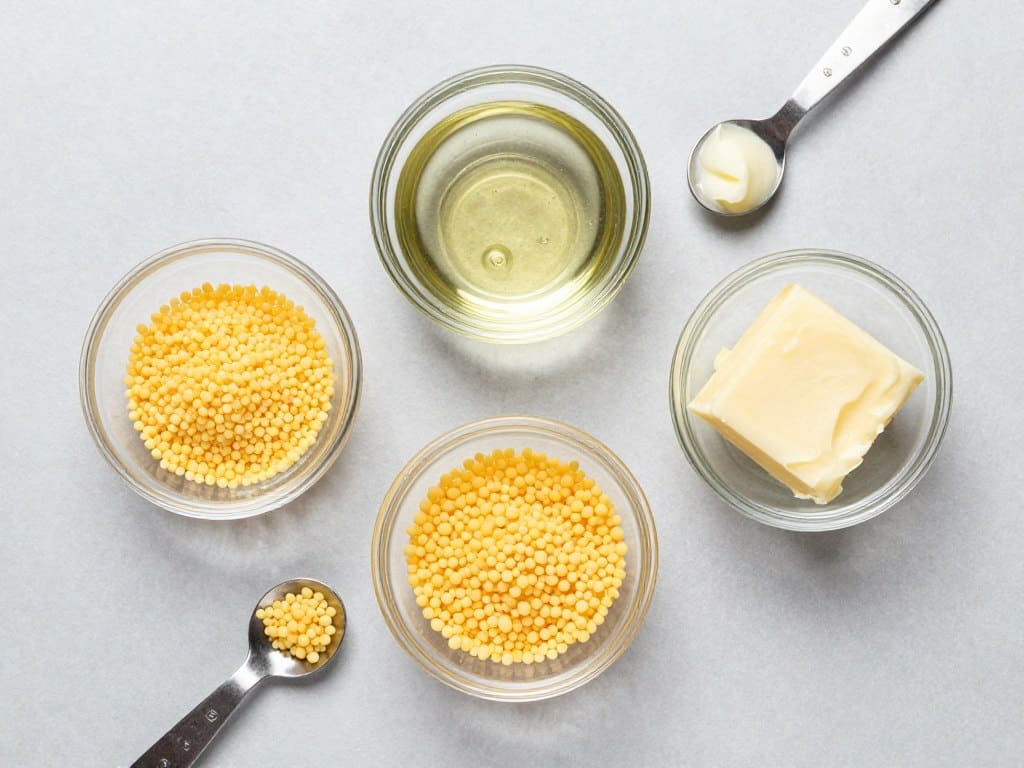
Ingredients for Basic Recipe
- 1 tablespoon beeswax pellets
- 2 tablespoon coconut oil
- 1 tablespoon shea butter
These proportions fill approximately 5-6 standard lip balm tubes. Double or triple the recipe if you want to make larger batches. Just maintain the same ratios for consistent results.
Step-by-Step Instructions
- Set up your double boiler: Fill the bottom pot with about 2 inches of water. Place your heat-safe bowl on top, making sure it doesn’t touch the water below.
- Add beeswax first: Place 1 tablespoon beeswax pellets in the bowl. Heat over medium-low until completely melted, stirring occasionally.
- Add oils and butter: Once beeswax melts, add your coconut oil and shea butter. Stir gently until everything combines into a smooth liquid.
- Remove from heat: Take the bowl off the double boiler. Let the mixture cool for about 30 seconds but don’t let it start solidifying.
- Pour into tubes: Carefully pour the liquid into your prepared lip balm tubes. Work quickly as the mixture starts to set.
- Let cool completely: Allow balm tubes to sit undisturbed for at least 2 hours. The balm will solidify as it cools to room temperature.
Pro Tip: Line up your lip balm tubes on a small tray before melting ingredients. This makes pouring much easier and catches any drips.
The basic recipe creates a neutral balm without added scent or flavor. This works perfectly if you prefer unscented products. You can also add essential oils in the next step for customization.
Refreshing Peppermint Lip Balm
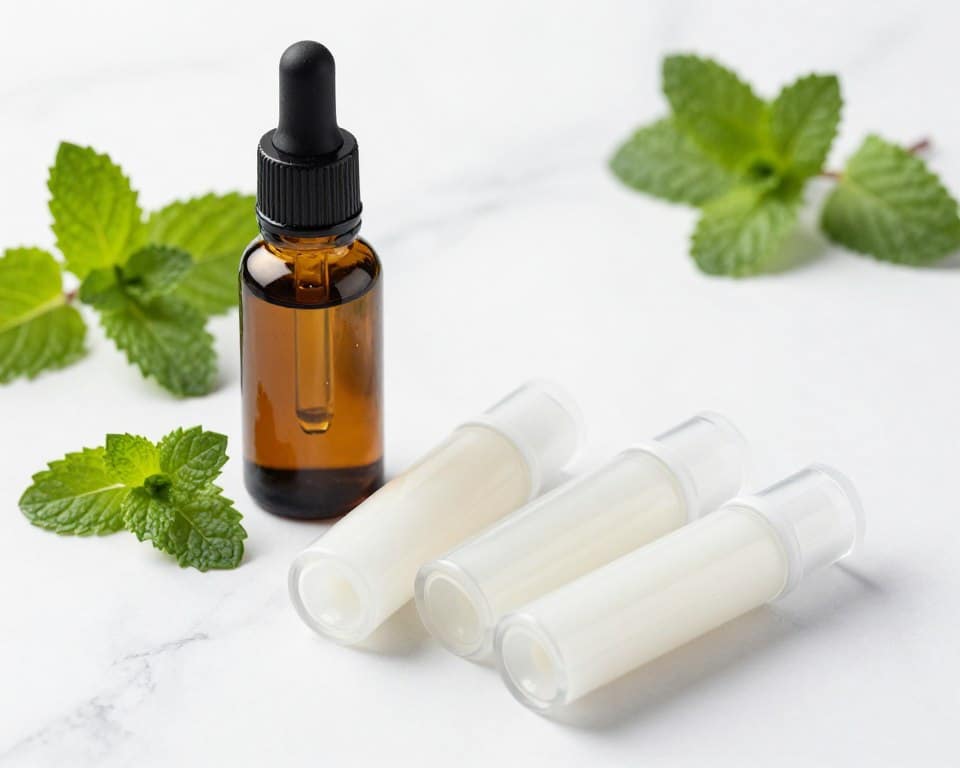
Peppermint oil adds a cooling sensation that feels amazing on lips. This recipe builds on the basic formula with the addition of essential oil. The result is a tingly, refreshing balm perfect for everyday use.
Ingredients
- 1 tablespoon beeswax pellets
- 2 tablespoon coconut oil
- 1 tablespoon shea butter
- 8-10 drops peppermint essential oil
Preparation Method
Follow the same melting process as the basic recipe. The key difference comes after removing from heat. Let your melted mixture cool for about one minute before adding essential oils.
Add 8 drops peppermint essential oil for mild tingle. Increase to 10 drops if you prefer stronger sensation. Mix well to distribute the oil evenly throughout your balm.
Pour immediately after adding essential oils. The mixture will cool quickly once you add the oils. Work efficiently to fill all your balm tubes before it starts setting up.
Important: Peppermint oil is potent. Start with fewer drops and increase if desired. Too much can cause irritation for sensitive skin.
This peppermint lip balm keeps lips moisturized while providing a pleasant cooling effect. It’s especially nice during hot weather or after being outdoors. The refreshing sensation makes it a favorite for many people.
Premium Peppermint Essential Oil
I use this therapeutic-grade peppermint oil in all my recipes. A little goes a long way, and the quality makes a noticeable difference in the final product.
Sweet Honey Cinnamon Lip Balm
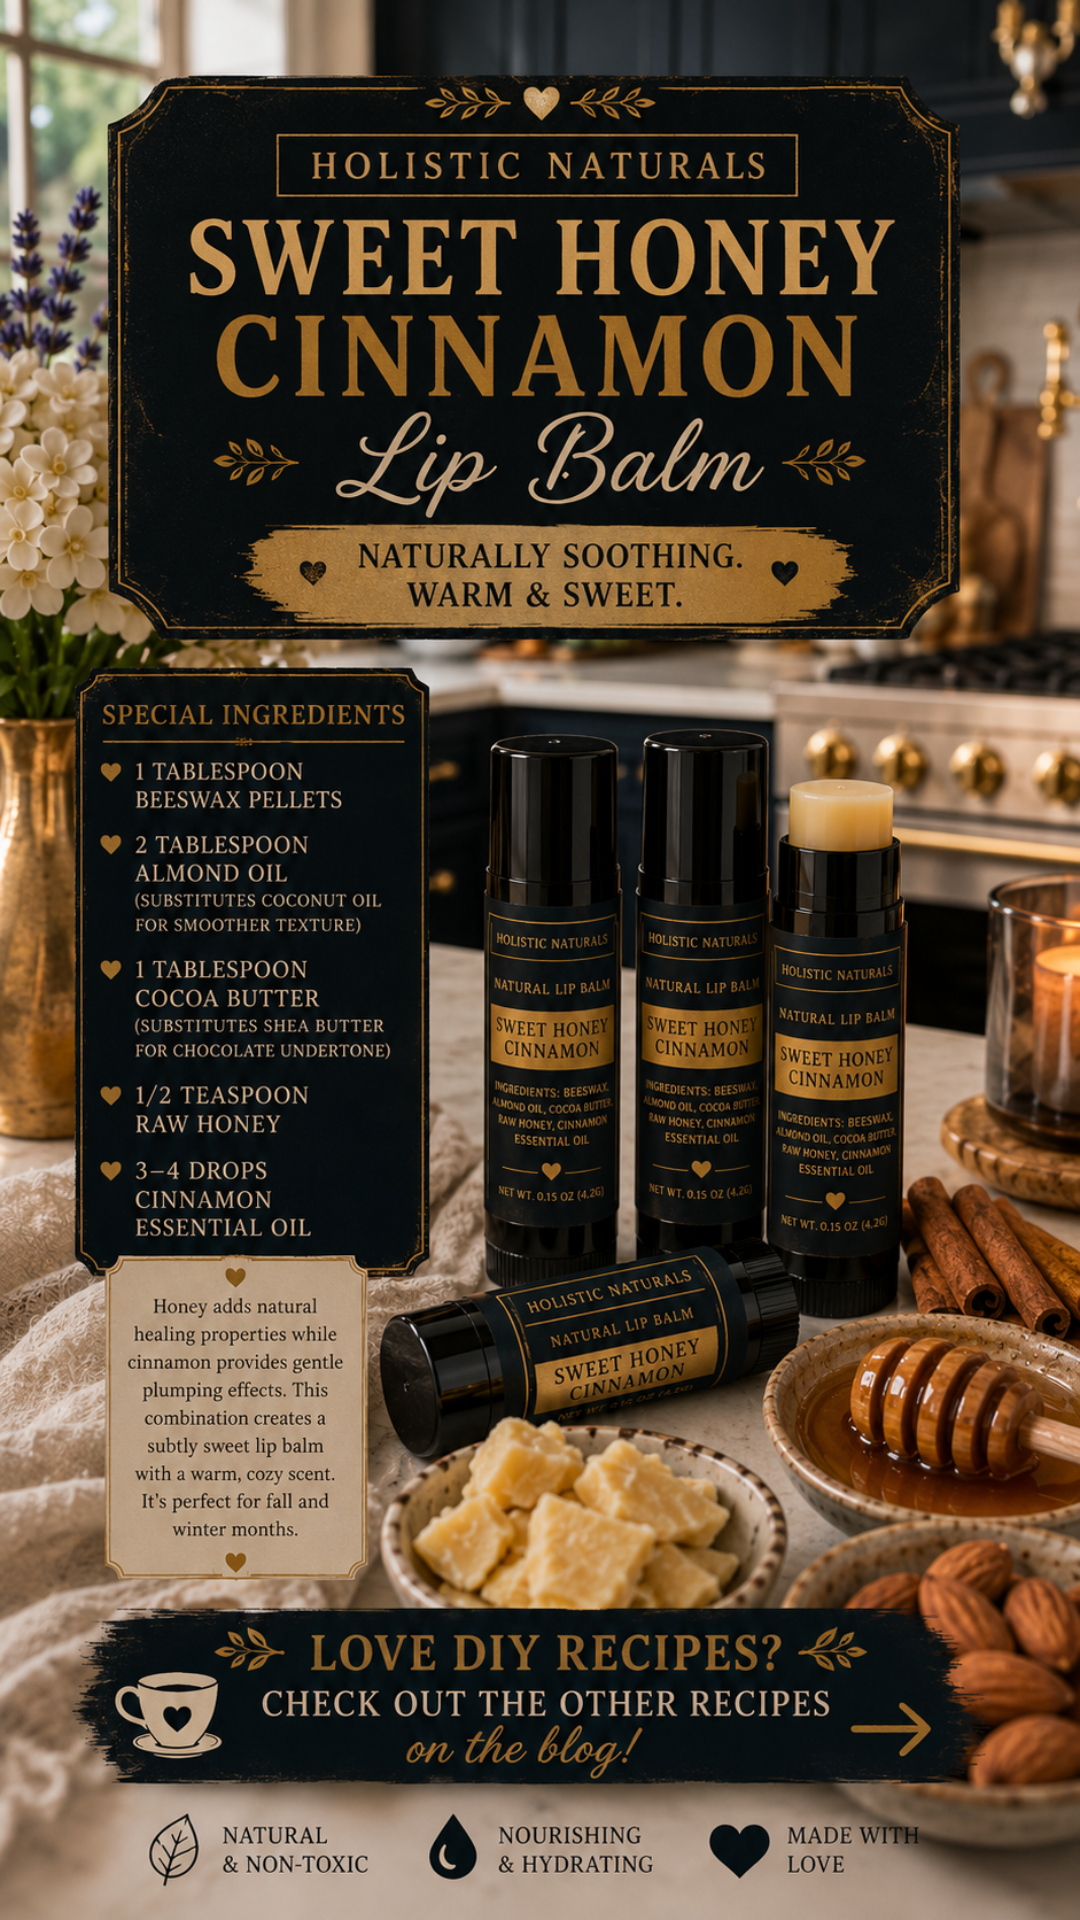
Honey adds natural healing properties while cinnamon provides gentle plumping effects. This combination creates a subtly sweet lip balm with a warm, cozy scent. It’s perfect for fall and winter months.
Special Ingredients
- 1 tablespoon beeswax pellets
- 2 tablespoon almond oil (substitutes coconut oil for smoother texture)
- 1 tablespoon cocoa butter (substitutes shea butter for chocolate undertone)
- 1/2 teaspoon raw honey
- 3-4 drops cinnamon essential oil
Making Honey Cinnamon Balm
Start by melting beeswax in your double boiler as usual. Add almond oil and cocoa butter, stirring until smooth. The cocoa butter adds a subtle chocolate scent that complements the cinnamon beautifully.
Remove from heat and let cool for one minute. Add your honey first, stirring thoroughly to incorporate. Honey can separate if not mixed well, so take your time with this step.
Add 3 drops cinnamon essential oil and mix well. Cinnamon oil is very concentrated. A small amount provides plenty of scent and gentle plumping effect. You can add a fourth drop if desired, but test one tube first.
Pour into balm tubes immediately. The honey makes this mixture set up a bit faster than plain recipes. Have your tubes ready and work quickly for best results. Apply your beautiful custom labels
Honey Note: Use raw, unprocessed honey for maximum benefits. Processed honey loses many of its natural healing properties during manufacturing.
This honey cinnamon lip balm soothes chapped lips while providing a natural plumping effect. The cinnamon increases blood flow slightly, creating fuller-looking lips. It’s a wonderful natural alternative to commercial plumping products.
Calming Vanilla Lavender Lip Balm
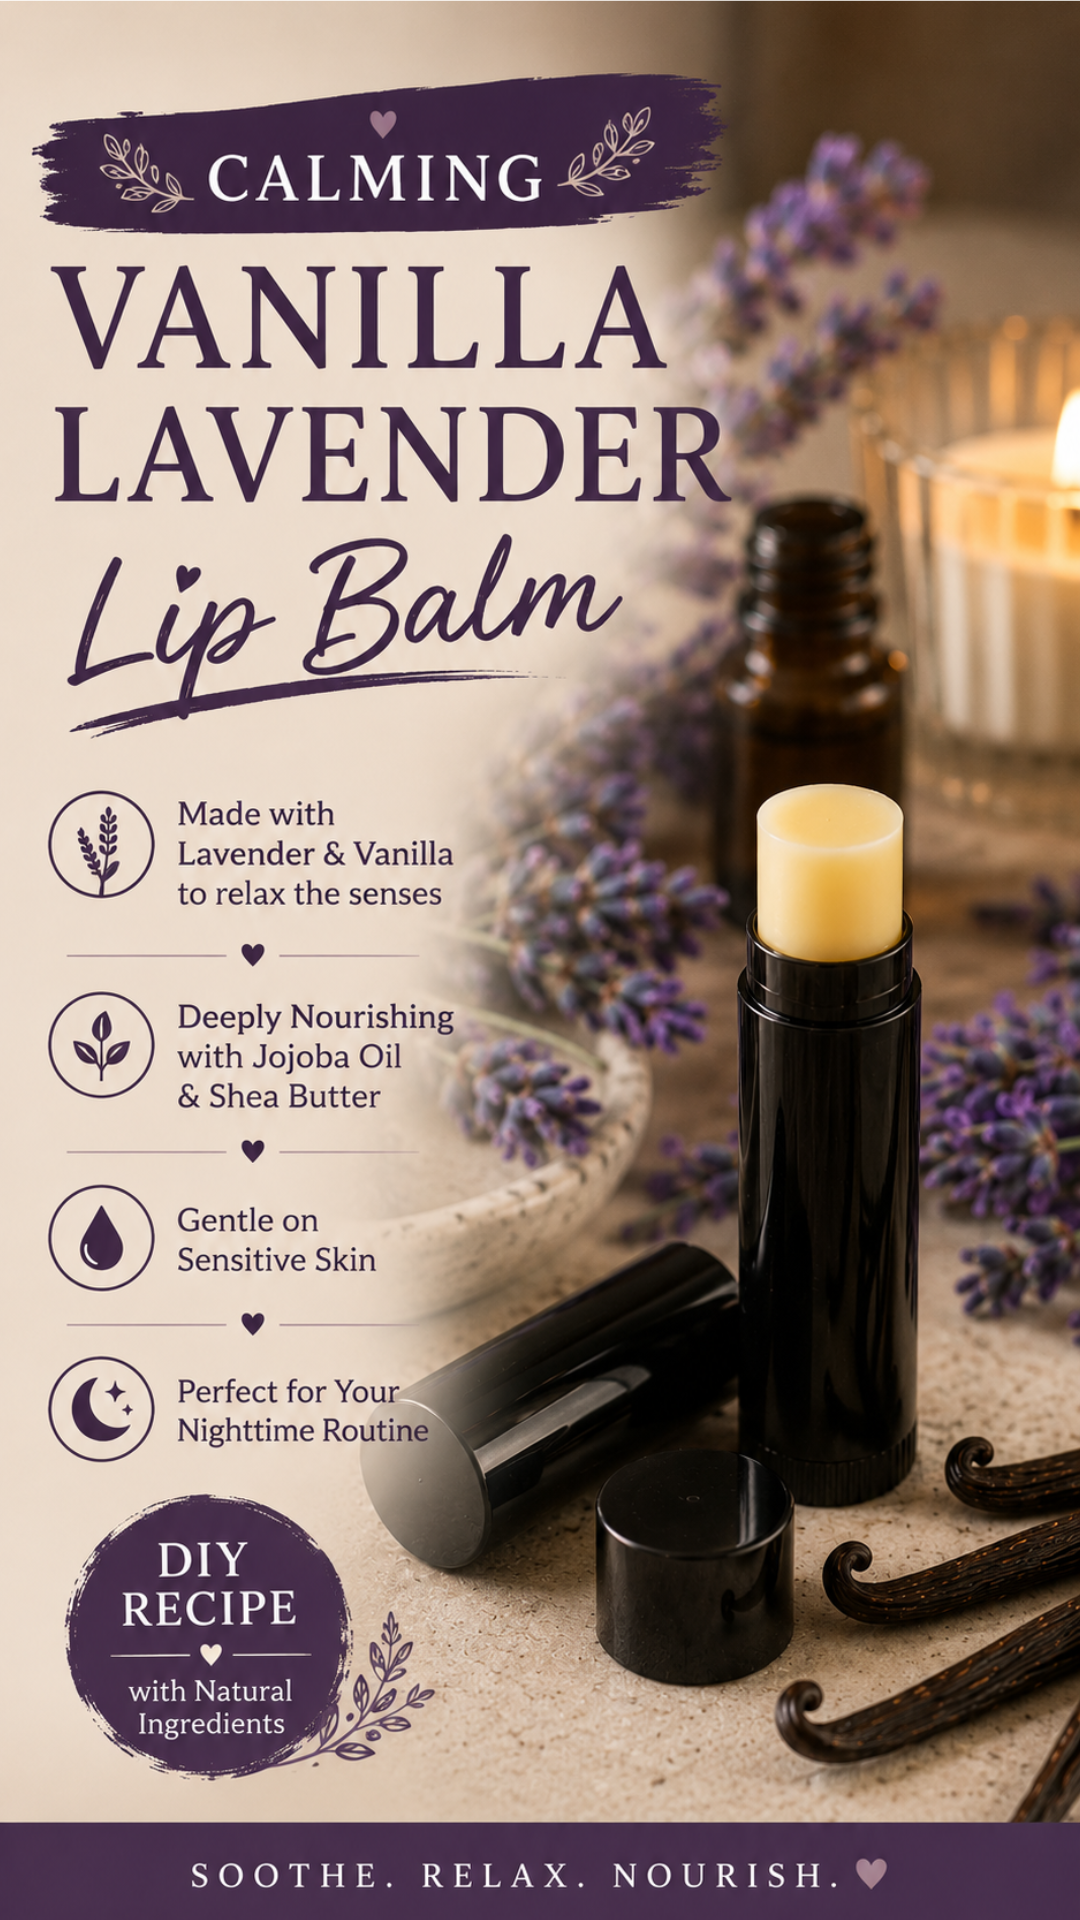
Lavender essential oil offers soothing aromatherapy benefits. Combined with vanilla, it creates a relaxing scent profile. This gentle formula works well for sensitive skin and nighttime use.
Ingredient List
- 1 tablespoon beeswax pellets
- 2 tablespoon jojoba oil
- 1 tablespoon shea butter
- 6 drops lavender essential oil
- 4 drops vanilla essential oil or extract
- Small amount vitamin E oil (about 1/4 teaspoon)
Jojoba oil creates an exceptionally smooth texture in this recipe. It’s similar to your skin’s natural oils, making it absorb beautifully. This oil choice elevates the entire formula.
Preparation Steps
Melt your beeswax using the standard double boiler method. Add jojoba oil and shea butter, stirring until completely combined. The mixture should be clear and golden.
Remove from heat and add vitamin E oil. This natural preservative extends the shelf life of your lip balm. It also adds extra skin-nourishing benefits.
Wait about one minute, then add your essential oils. Add lavender drops first, followed by vanilla. Mix thoroughly to distribute scents evenly through the balm.
Pour into prepared balm tubes. This recipe sets up nicely at room temperature. The final product has a beautiful smooth consistency that glides on effortlessly.
Use this calming balm before bed to enjoy the relaxing aromatherapy benefits. The lavender scent helps promote relaxation. Many people find it becomes part of their nighttime routine.
Energizing Citrus Lip Balm Variations
Citrus essential oils bring bright, uplifting scents to homemade lip balm. These recipes energize and refresh while protecting your lips. They’re perfect for morning use or whenever you need a mood boost.
Lemon Mint Lip Balm
This combination creates a crisp, clean scent. Lemon oil brightens while mint refreshes. Together they make an invigorating lip balm perfect for hot days.
- 1 tablespoon beeswax
- 2 tablespoon coconut oil
- 1 tablespoon shea butter
- 5 drops lemon essential oil
- 5 drops peppermint essential oil
Follow standard melting procedures. Add essential oils after cooling slightly. The lemon and mint balance each other perfectly, creating a refreshing experience.
Orange Vanilla Lip Balm
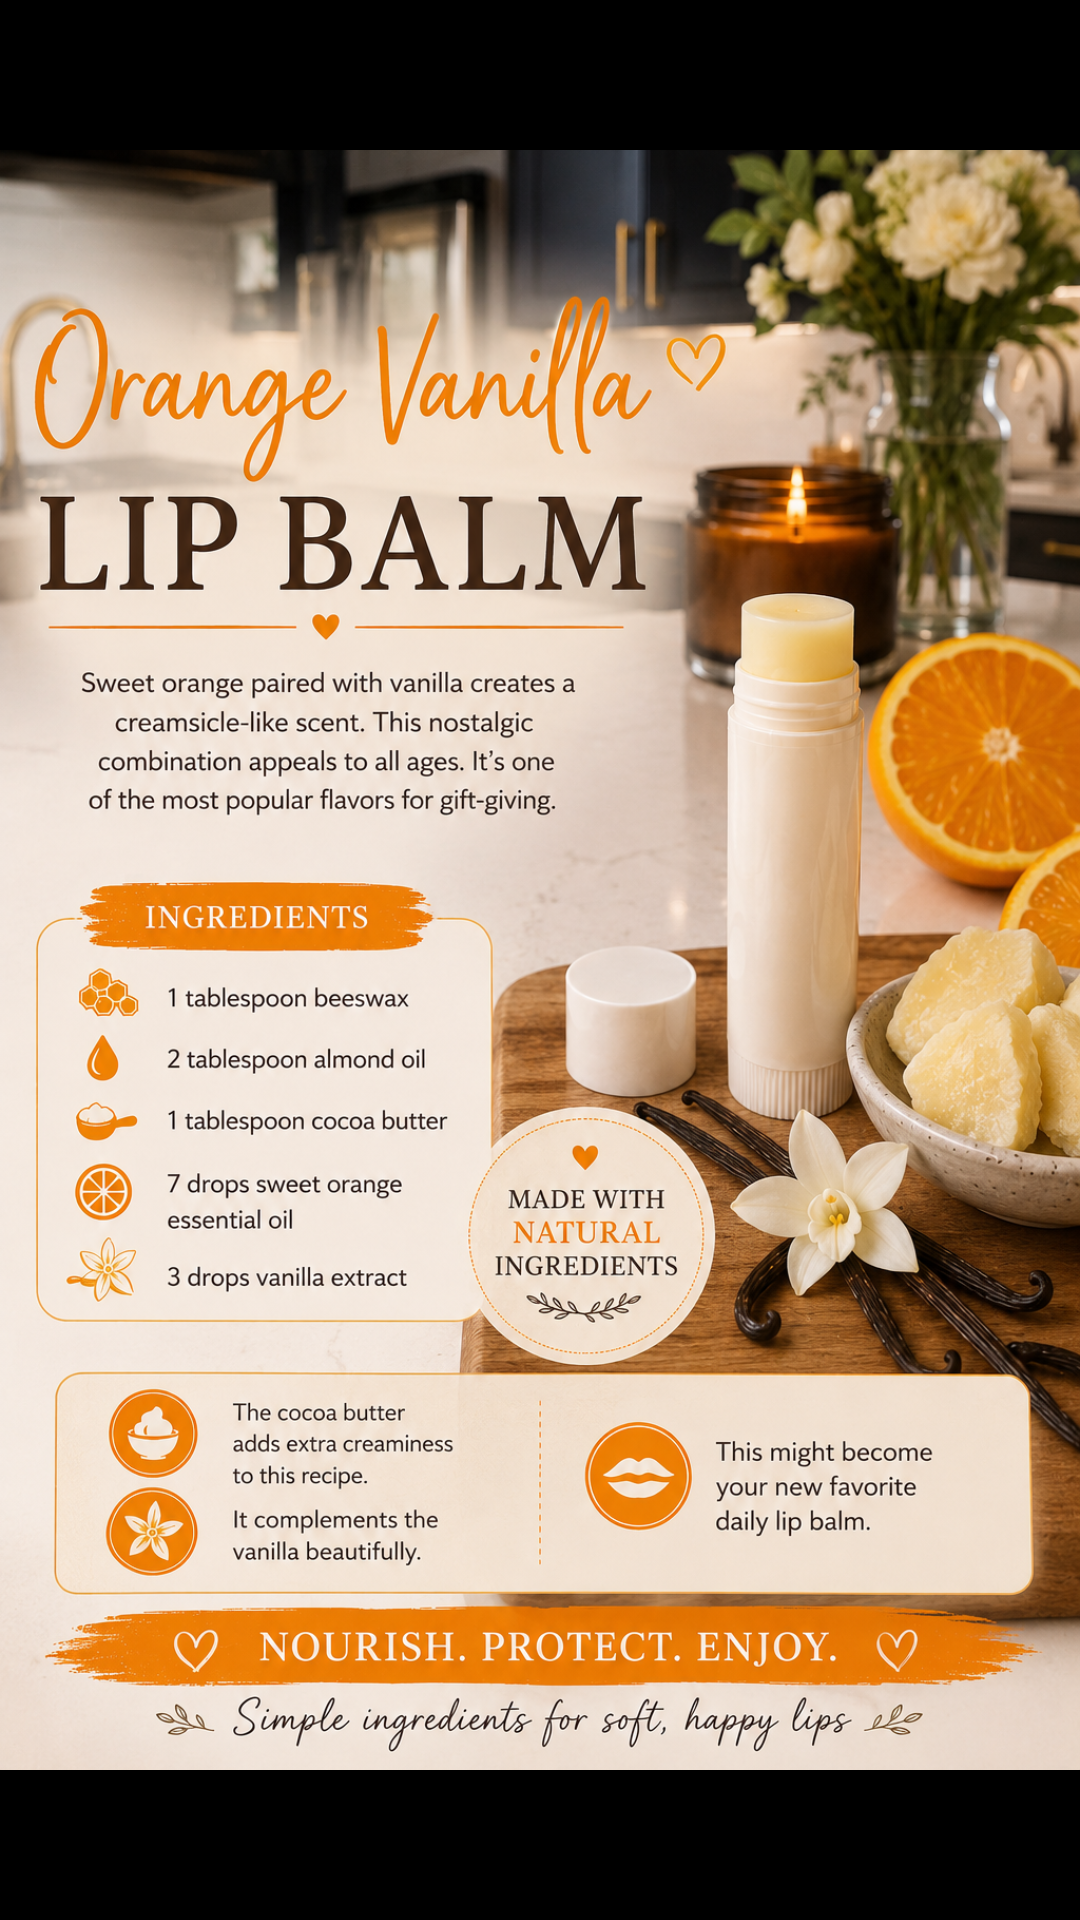
Sweet orange paired with vanilla creates a creamsicle-like scent. This nostalgic combination appeals to all ages. It’s one of the most popular flavors for gift-giving.
- 1 tablespoon beeswax
- 2 tablespoon almond oil
- 1 tablespoon cocoa butter
- 7 drops sweet orange essential oil
- 3 drops vanilla extract
The cocoa butter adds extra creaminess to this recipe. It complements the vanilla beautifully. This might become your new favorite daily lip balm.
Citrus Safety Tip: Citrus oils can increase sun sensitivity. Use citrus lip balms in the evening or add a bit of zinc oxide for sun protection.
Creating Tinted Lip Balm
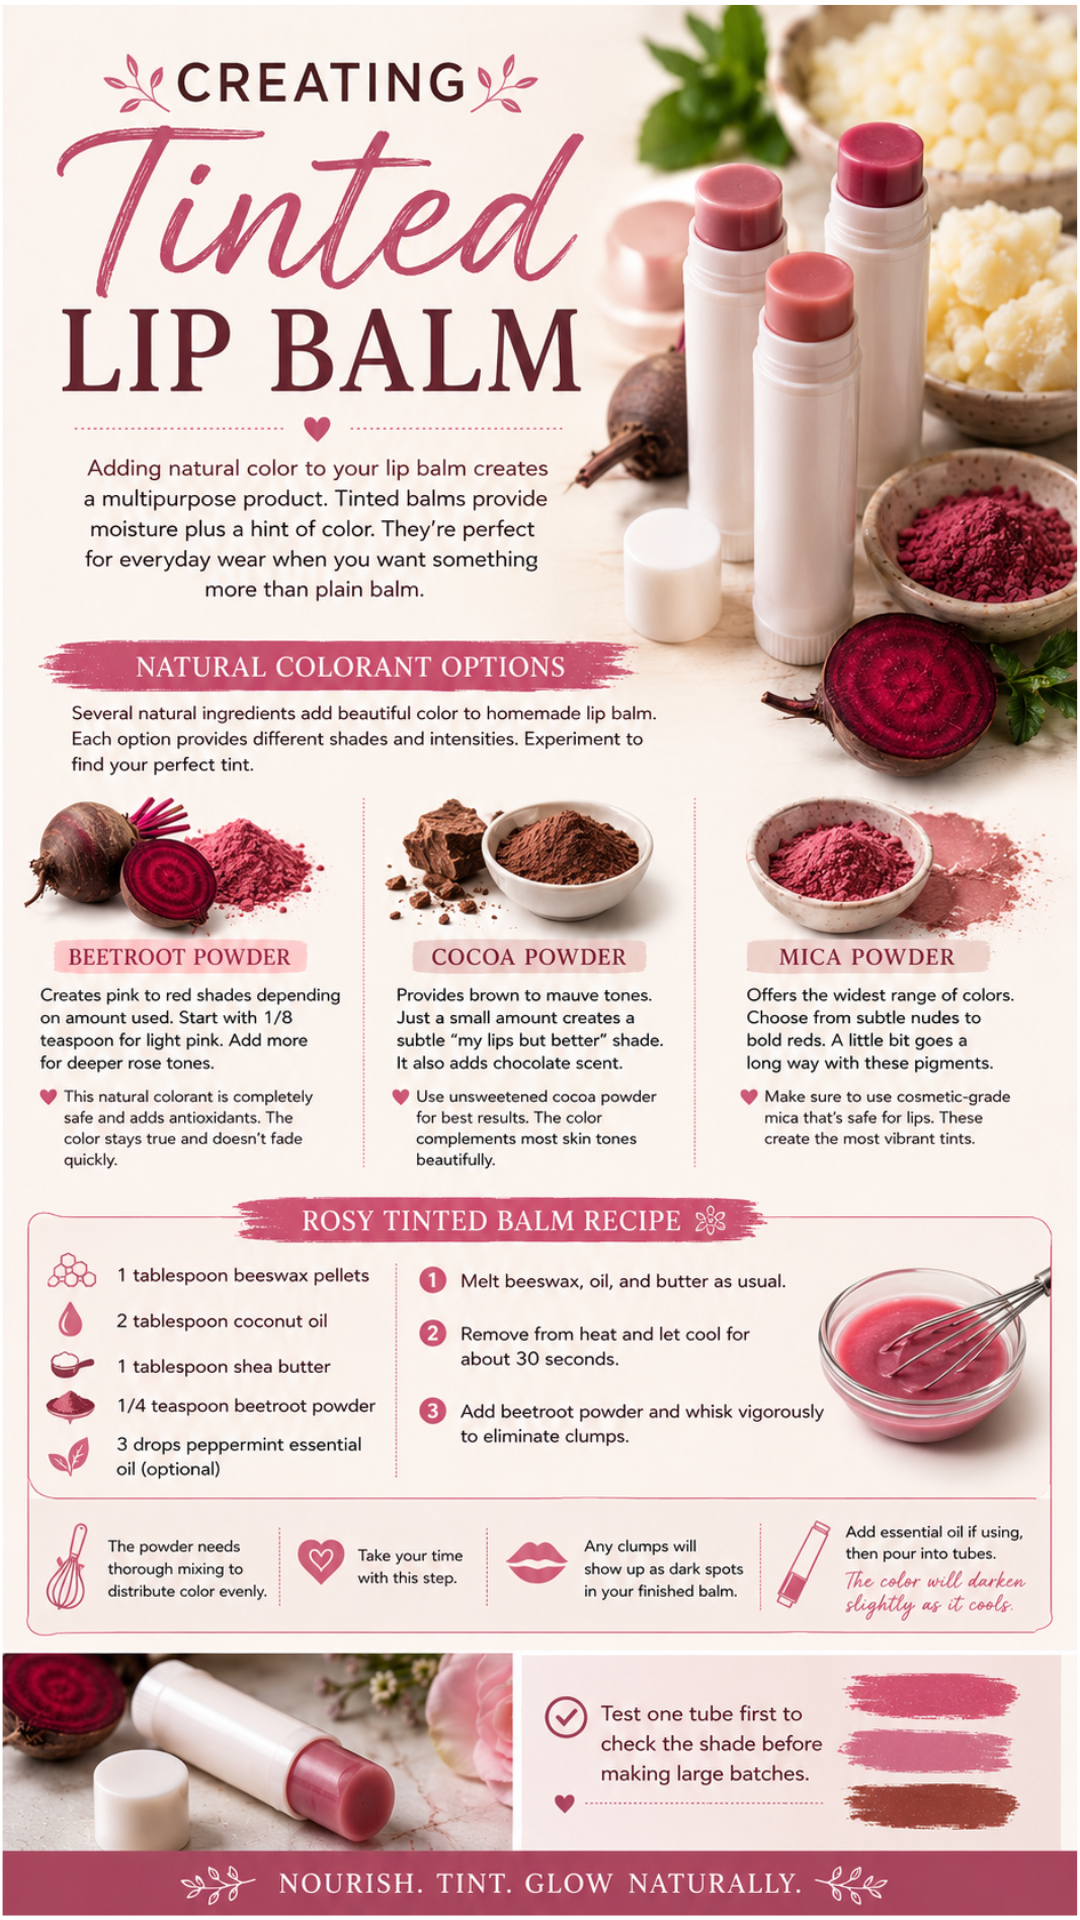
Adding natural color to your lip balm creates a multipurpose product. Tinted balms provide moisture plus a hint of color. They’re perfect for everyday wear when you want something more than plain balm.
Natural Colorant Options
Several natural ingredients add beautiful color to homemade lip balm. Each option provides different shades and intensities. Experiment to find your perfect tint.
Beetroot Powder
Creates pink to red shades depending on amount used. Start with 1/8 teaspoon for light pink. Add more for deeper rose tones.
This natural colorant is completely safe and adds antioxidants. The color stays true and doesn’t fade quickly.
Cocoa Powder
Provides brown to mauve tones. Just a small amount creates a subtle “my lips but better” shade. It also adds chocolate scent.
Use unsweetened cocoa powder for best results. The color complements most skin tones beautifully.
Mica Powder
Offers the widest range of colors. Choose from subtle nudes to bold reds. A little bit goes a long way with these pigments.
Make sure to use cosmetic-grade mica that’s safe for lips. These create the most vibrant tints.
Rosy Tinted Balm Recipe
- 1 tablespoon beeswax pellets
- 2 tablespoon coconut oil
- 1 tablespoon shea butter
- 1/4 teaspoon beetroot powder
- 3 drops peppermint essential oil (optional)
Melt beeswax, oil, and butter as usual. Remove from heat and let cool for about 30 seconds. Add beetroot powder and whisk vigorously to eliminate clumps.
The powder needs thorough mixing to distribute color evenly. Take your time with this step. Any clumps will show up as dark spots in your finished balm.
Add essential oil if using, then pour into tubes. The color will darken slightly as it cools. Test one tube first to check the shade before making large batches.
Cosmetic-Grade Colorants
This set includes lip-safe mica powders in multiple shades. Create custom colors by mixing different powders together.
Advanced Lip Balm Formulations
Once you master basic recipes, try these advanced formulations. They incorporate additional beneficial ingredients for specific purposes. These recipes address particular lip care needs.
Ultra-Healing Lip Balm for Severely Chapped Lips
This intensive formula helps repair very dry, cracked lips. It uses multiple healing ingredients that work together. Keep this recipe on hand for winter weather or whenever lips need extra help.
- 1 tablespoon beeswax pellets
- 1 tablespoon coconut oil
- 1 tablespoon almond oil
- 1 tablespoon mango butter
- 1/2 teaspoon vitamin E oil
- 3 drops lavender essential oil
- 2 drops tea tree essential oil
The combination of oils and mango butter creates superior moisture. Tea tree oil adds gentle antibacterial properties. Lavender soothes irritation and promotes healing.
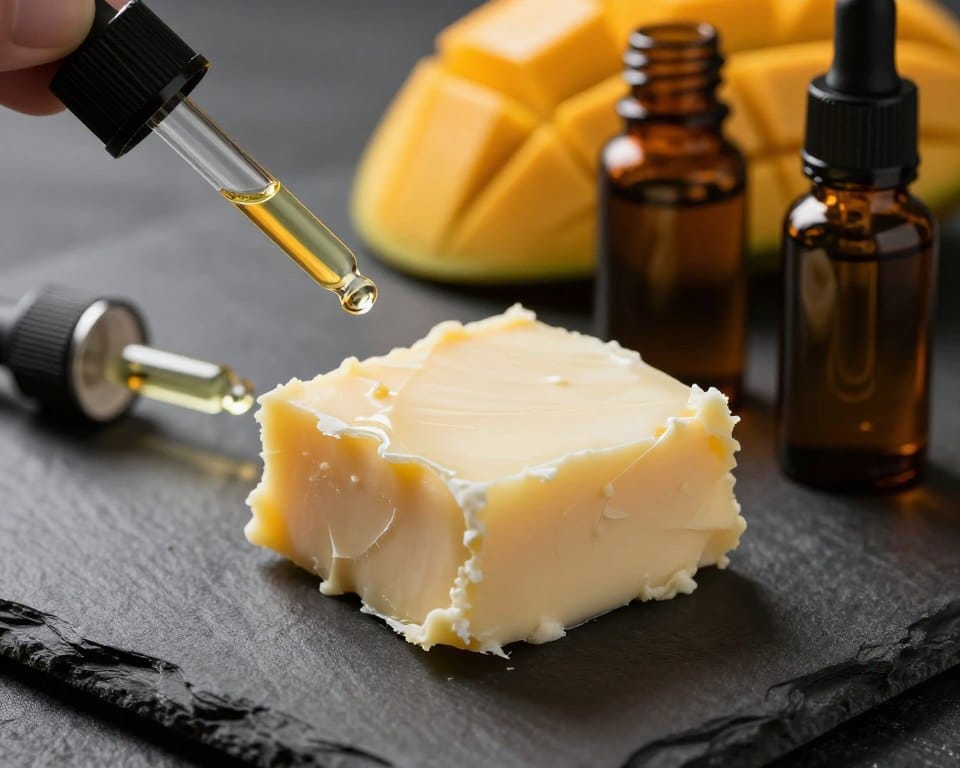
Melt all ingredients except essential oils and vitamin E. Once melted and combined, remove from heat. Add vitamin E and essential oils, mixing thoroughly.
This balm has a richer consistency than basic recipes. The extra butters make it more protective. Apply generously at night for intensive overnight treatment.
SPF Lip Balm for Sun Protection
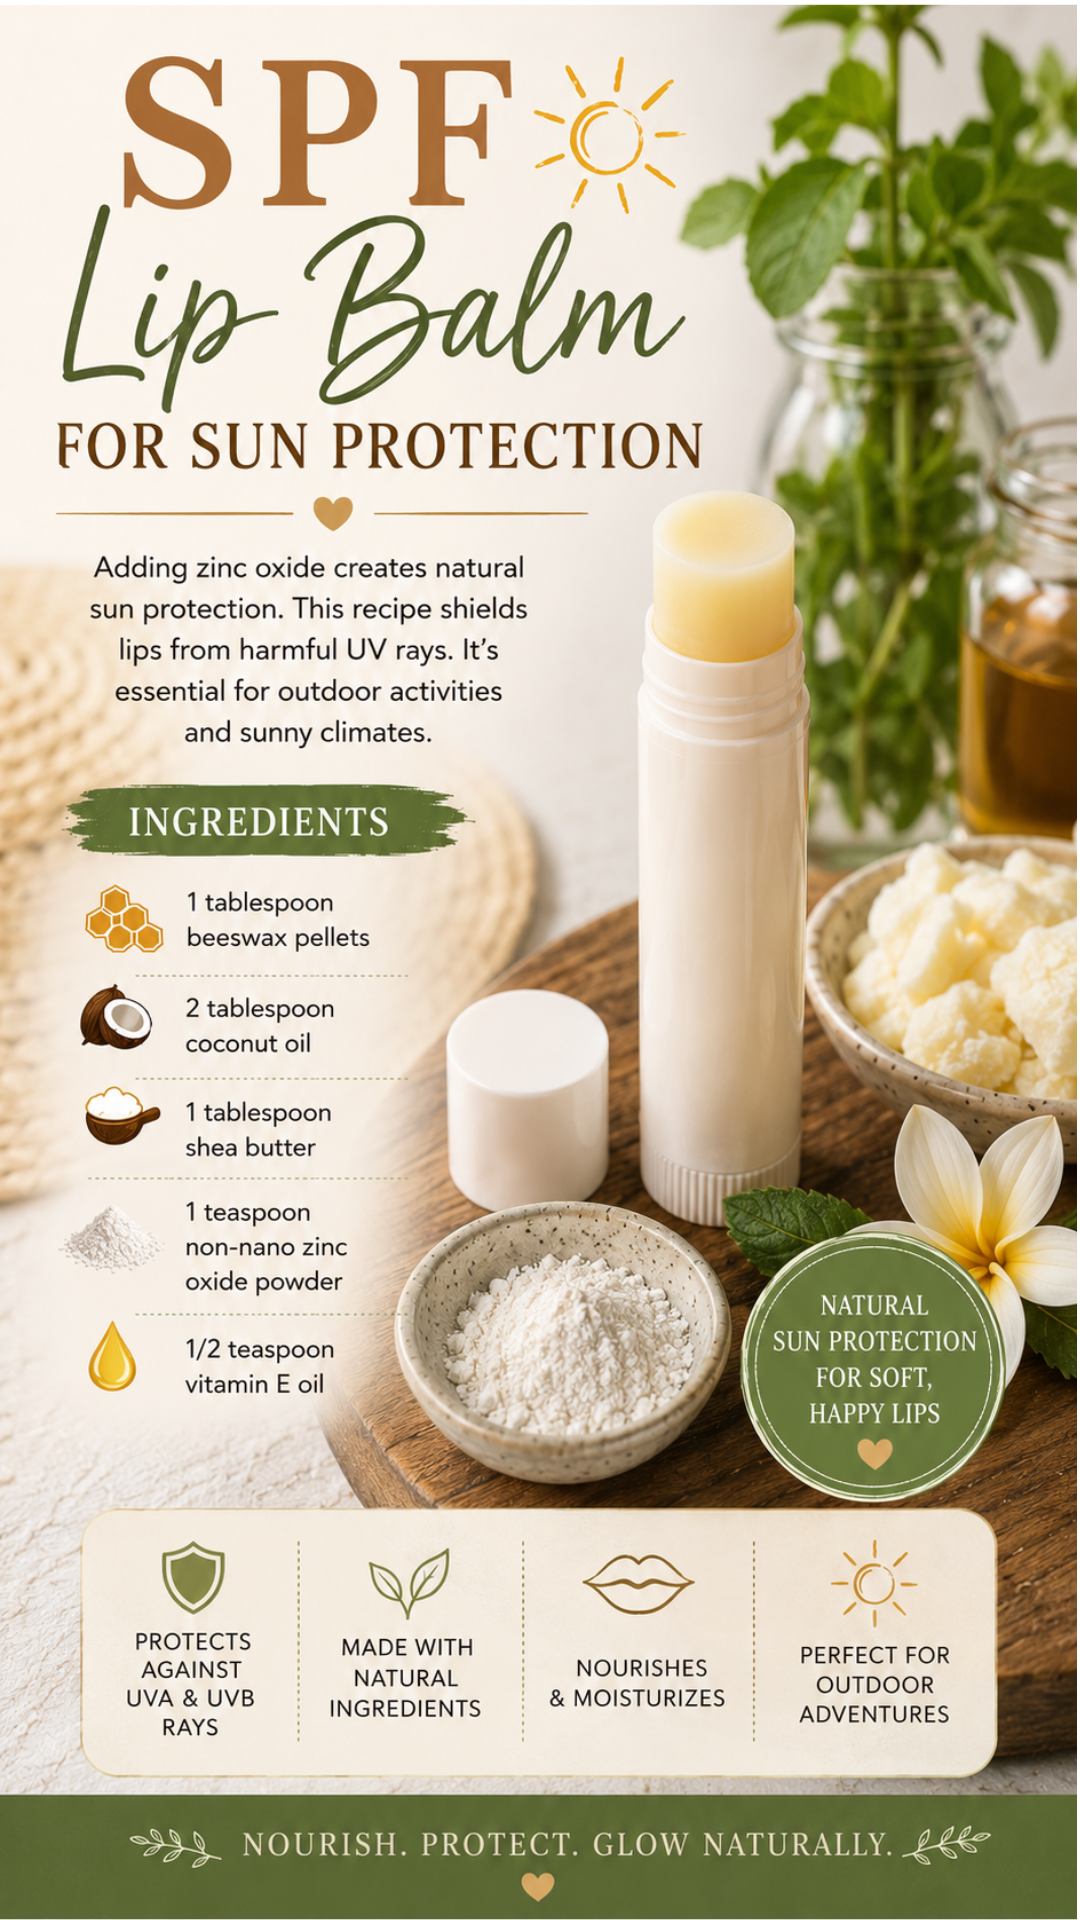
Adding zinc oxide creates natural sun protection. This recipe shields lips from harmful UV rays. It’s essential for outdoor activities and sunny climates.
- 1 tablespoon beeswax pellets
- 2 tablespoon coconut oil
- 1 tablespoon shea butter
- 1 teaspoon non-nano zinc oxide powder
- 1/2 teaspoon vitamin E oil
Safety Note: Use only non-nano zinc oxide for lip products. Wear a mask when handling powder to avoid inhaling particles.
Follow standard melting procedures for base ingredients. After removing from heat, add zinc oxide powder slowly while stirring constantly. This prevents clumping and ensures even distribution.
The zinc oxide will make your balm slightly opaque and white. This is normal and actually shows the product is working. The white cast fades after application.
This SPF balm provides approximately SPF 15-20 protection. Reapply frequently when spending time outdoors. It won’t protect as long as commercial sunscreens formulated specifically for high SPF.
Storage and Shelf Life Guidelines
Proper storage keeps your homemade lip balm fresh and effective. Understanding shelf life prevents using expired products. Follow these guidelines to maximize the life of your creations.
Best Storage Practices
Store lip balm tubes in a cool, dry place. Avoid direct sunlight and heat sources. High temperatures can cause separation or melting.
A drawer or cabinet works perfectly. Keep balms away from bathroom humidity when possible. Moisture can affect texture and promote bacterial growth.
If you live in very hot climates, consider refrigerator storage during summer months. This keeps balms firm and fresh. Let them come to room temperature before using for easier application.
Label your lip balm tubes with creation dates. This helps track freshness. Use small adhesive labels or write directly on tubes with permanent marker.
Expected Shelf Life
Basic balms without vitamin E last about 6 months. Adding vitamin E extends life to roughly 12 months. The natural preservative properties make a significant difference.
Balms with fresh ingredients like honey may have shorter shelf lives. Use these within 3-4 months. Watch for any changes in smell or texture.
Signs your lip balm has expired include rancid smell, color changes, or grainy texture. Separation of ingredients also indicates the product is past its prime. When in doubt, make a fresh batch.
Making smaller batches more frequently ensures you always have fresh product. It also lets you experiment with different recipes without waste.
Pro Tip: Make a large batch once you find your favorite recipe. Store extras in the refrigerator. They’ll stay fresh much longer in cold storage.
Customization Tips and Creative Add-Ins
Personalizing recipes makes lip balm creation truly fun. Small additions create unique products tailored to your preferences. Here are creative ways to customize your formulations.
Flavor Variations Beyond Essential Oils
Flavor oils designed for lip products offer more variety than essential oils. These concentrated extracts come in countless options. Popular choices include strawberry, cherry, bubblegum, and cake batter.
Use flavor oils sparingly. They’re much more concentrated than you might think. Start with 3-4 drops per batch. You can always add more in the next batch if desired.
Natural extracts like vanilla, almond, or peppermint work beautifully too. These food-grade options are safe for lips. They provide authentic flavors without artificial ingredients.
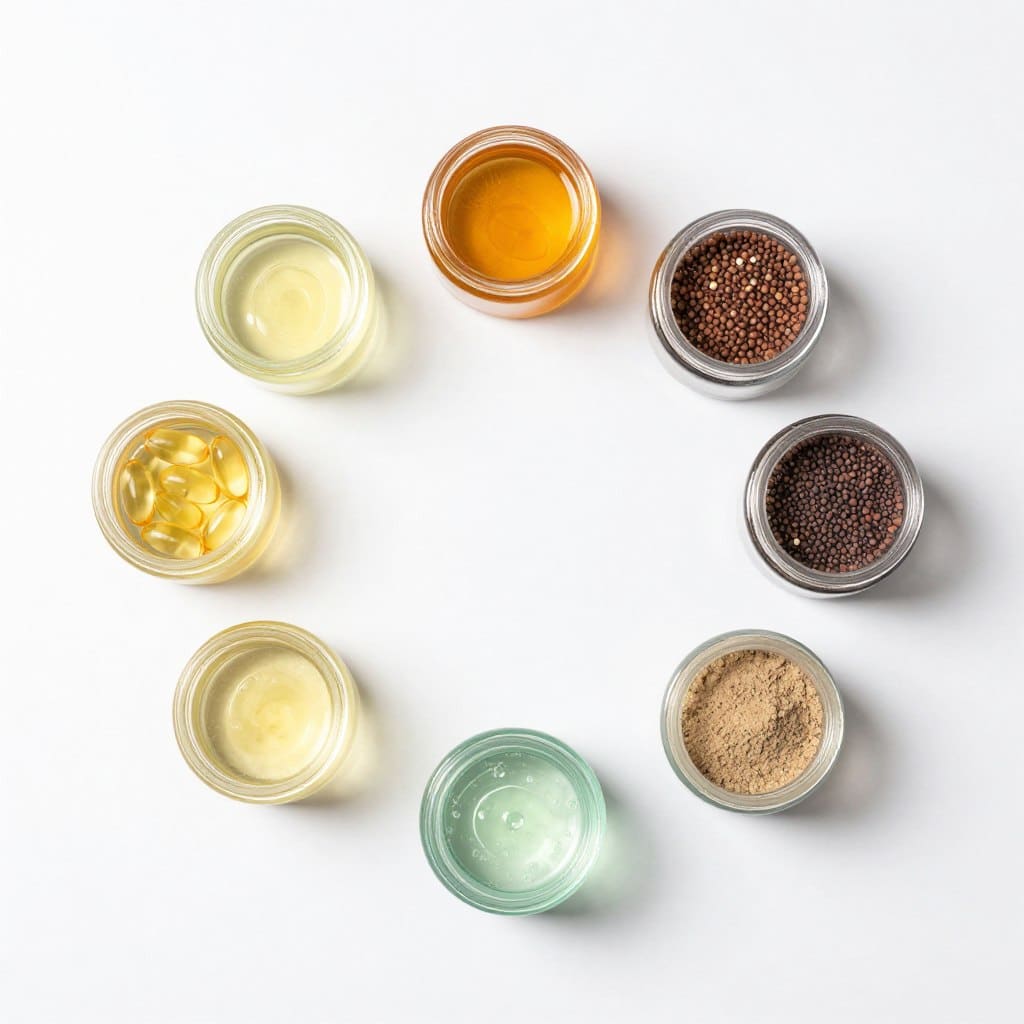
Beneficial Add-In Ingredients
- Honey: Natural antibacterial properties, adds subtle sweetness
- Vitamin E oil: Preservative and skin nourishment
- Aloe vera gel: Soothing and healing for damaged lips
- Jojoba beads: Gentle exfoliation for smooth lips
- Mica powder: Subtle shimmer without heavy glitter
- Activated charcoal: Detoxifying properties, creates black balm
Each add-in serves a specific purpose. Consider what benefits you want most. Combine compatible ingredients for multifunctional balms.
Seasonal Recipe Ideas
Create special editions for different seasons. This keeps your lip balm collection interesting. Seasonal scents also make excellent gifts.
For fall, try pumpkin spice (cinnamon, nutmeg, ginger oils). Winter calls for peppermint mocha or vanilla chai blends. Spring welcomes floral scents like rose or jasmine. Summer loves tropical combinations like coconut lime or mango.
Match your balm colors to seasons too. Warm tones for autumn, cool shimmers for winter, pastels for spring, bright colors for summer. This makes choosing daily balm more fun.
Packaging Ideas and Gift Presentation
Beautiful packaging transforms homemade lip balm into impressive gifts. Creative presentation shows thoughtfulness and care. These ideas will make your balms gift-ready.
Individual Packaging
Wrap single tubes in tissue paper tied with twine. Add a small tag with the flavor or scent name. This simple presentation looks charming.
Small organza bags work wonderfully too. Choose colors that complement your balm. These reusable bags add perceived value.
Gift Sets
Create sets of 3-5 different flavors in a small box. Line the box with shredded paper. Include a card listing each variety.
Mason jars make cute containers for multiple tubes. Stack tubes inside and add decorative ribbon. This creates an attractive display.
Custom Labels
Design labels with recipe names and ingredients. Print on sticker paper or regular paper with glue. Professional labels elevate homemade products.
Include contact information if giving to potential customers. List key ingredients for people with allergies. This shows professionalism.
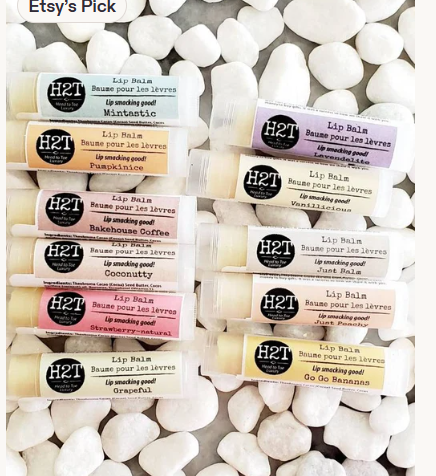
Holiday-themed packaging makes seasonal gifts special. Use festive colors and decorations. Small ornaments attached to gift sets add extra charm.
For wedding favors or party gifts, customize labels with event details. Match balm scents to your theme. Guests love practical favors they’ll actually use.
Scaling Recipes for Larger Batches
Making large batches saves time when you need multiple tubes. The process stays the same but requires more attention to detail. Here’s how to scale successfully.
Converting Recipe Quantities
All recipes in this guide use tablespoon measurements for easy scaling. To double a recipe, simply double each ingredient amount. Triple for three times the quantity.
Maintain the same ratios even in large batches. The proportions matter more than total volume. A balanced recipe scales perfectly without adjusting ratios.
| Batch Size | Beeswax | Oil | Butter | Tubes Filled |
| Single | 1 tablespoon | 2 tablespoon | 1 tablespoon | 5-6 |
| Double | 2 tablespoon | 4 tablespoon | 2 tablespoon | 10-12 |
| Triple | 3 tablespoon | 6 tablespoon | 3 tablespoon | 15-18 |
| Quadruple | 4 tablespoon | 8 tablespoon | 4 tablespoon | 20-24 |
Large batches need bigger containers for melting. Make sure your bowl can hold the entire mixture. A larger double boiler makes the process much easier.
Melting time increases with larger quantities. Allow extra time for all ingredients to melt completely. Stir more frequently to ensure even heating.
Pouring Large Batches Efficiently
Set up an assembly line of balm tubes before starting. Line them up on a cookie sheet or large tray. This lets you pour quickly before mixture cools.
Consider using a small measuring cup or pitcher for pouring. This gives better control than pouring directly from your mixing bowl. You’ll have fewer spills and more consistent fills.
Work with a helper if possible for very large batches. One person pours while another positions tubes. This speeds up the process significantly.
If mixture starts solidifying before you finish, gently rewarm it. Don’t let it get too hot again. Just warm enough to return to liquid consistency.
Turning Your Hobby Into a Small Business
Many lip balm makers eventually consider selling their products. Understanding requirements helps you start properly. Here are important considerations for small-scale production.
Legal and Safety Requirements
Check local regulations about cosmetic production. Requirements vary by location. Some areas need special licenses or certifications for selling lip products.
Liability insurance protects you if someone has a reaction. Even natural products can cause allergies. This coverage provides important protection.
Label laws require ingredient lists and contact information. Research FDA guidelines or your country’s equivalent. Proper labeling builds customer trust.
Business Tip: Start by selling to friends and family. Gather feedback before expanding. This helps you refine recipes and packaging.
Pricing Your Products
Calculate total costs including ingredients, packaging, and time. A good rule is charging at least three times your material costs. This covers overhead and provides profit.
Research competitor pricing in your area. Position yourself appropriately in the market. Handmade products can command premium prices with proper marketing.
Offer variety packs or bulk discounts to increase average order value. Bundle complementary products together. This strategy boosts sales effectively.
Complete Recommended Supplies List
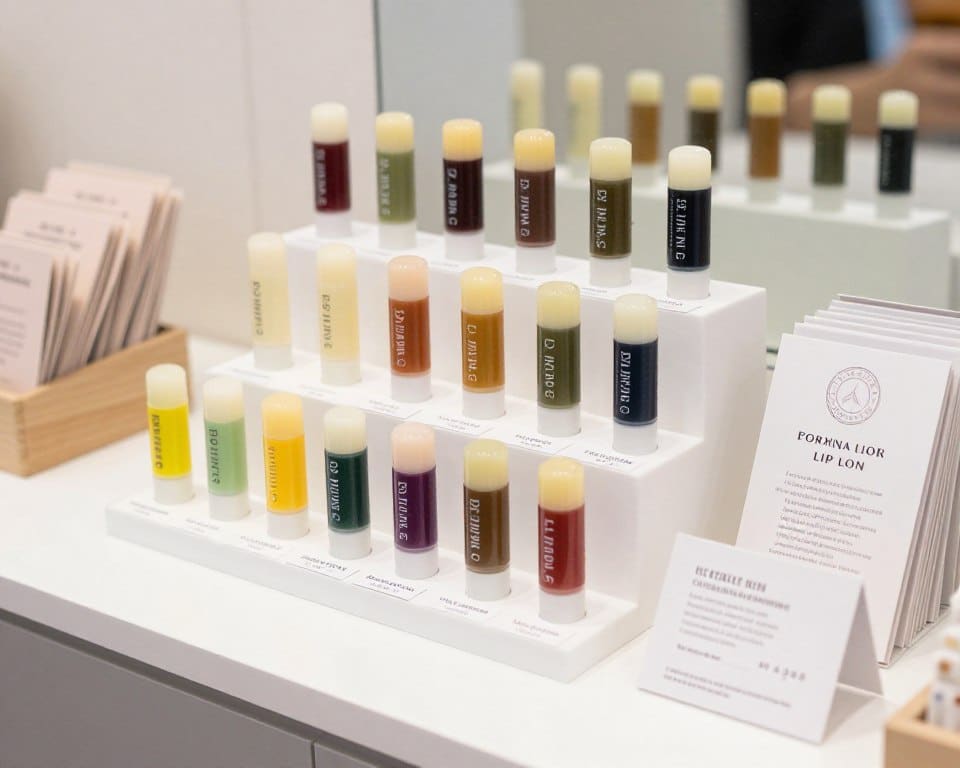
Having all the right supplies makes lip balm creation smooth and enjoyable. This comprehensive list covers everything you need. Invest in quality tools for best results.
Everything You Need to Get Started
This complete kit includes all essential equipment and ingredients. Perfect for beginners who want to start making lip balm immediately.
Equipment
- Double boiler or heat-safe glass bowl
- Measuring spoons (tablespoon and teaspoon)
- Small whisk or stirring stick
- Small measuring cup for pouring
- Kitchen scale (optional but helpful)
Base Ingredients
- Beeswax pellets (8 oz bag)
- Coconut oil (16 oz jar)
- Shea butter (8 oz container)
- Vitamin E oil (1 oz bottle)
Containers
- Lip balm tubes (50-count starter pack)
- Small tins (optional alternative)
- Labels for finished products
Optional Enhancements
- Essential oils variety pack
- Natural colorants set
- Flavor oils collection
- Additional butters (cocoa, mango)
This starter kit lets you make approximately 50-75 lip balm tubes. That’s enough to experiment with multiple recipes and share with others. The supplies last for many batches.
Shop Complete Starter Kit
Quality ingredients produce superior results. Cheap beeswax might contain impurities. Low-grade oils can have off smells. Investing in good supplies from the start prevents frustration.
Buy in bulk once you find favorite ingredients. This reduces per-unit costs significantly. Store excess supplies in cool, dark places to maintain freshness.
Start Creating Your Perfect Lip Balm Today
Making homemade lip balm combines creativity with practical skincare. You control every ingredient that touches your lips. The process is simple once you understand basic techniques.
Start with the basic recipe to build confidence. Experiment with different essential oils and butters. Soon you’ll develop signature recipes uniquely yours.

Remember that practice makes perfect. Your first batch might not be exactly as expected. Each attempt teaches you something new about the process.
The satisfaction of using products you made yourself is wonderful. Knowing exactly what’s in your lip balm brings peace of mind. Plus, friends and family love receiving these thoughtful handmade gifts.
Keep experimenting with new combinations. Try seasonal scents and colors. Make lip balm creation a regular part of your self-care routine.
Share your creations and experiences with others. The DIY community loves seeing new recipe variations. Your unique twist might inspire someone else.
With the recipes and tips in this guide, you have everything needed to begin. Gather your supplies and start making the best lip balm you’ve ever used. Your lips will thank you.